
Okay, so I’ve been wrenching on bikes for a while, and I recently got my hands on a 2003 Yamaha R6. The thing was a beauty, but the engine… well, let’s just say it had seen better days. I figured, why not document the whole process of getting this thing running like new again? So, here’s the story of how I tackled this 2003 Yamaha R6 engine.
Getting Started
First things first, I needed space. I cleared out my garage, making sure I had plenty of room to move around and lay out parts. I’m talking about a clean, well-lit area, cuz you don’t want to be dropping tiny screws into the abyss.
Next up, tools. I’ve got a decent collection, but I made sure I had everything specific for this bike: a good set of metric sockets and wrenches, a torque wrench (super important!), feeler gauges, and, of course, the Yamaha service manual. That manual is like the bible for this project.
Tear Down Time
This is where things got real. I started by draining all the fluids – oil, coolant, the works. It’s messy, but gotta be done. Then, I carefully disconnected everything attached to the engine: the exhaust, the airbox, the throttle bodies, all the wiring harnesses, and the radiator. I labeled everything as I went, taking tons of pictures. Trust me, you think you’ll remember where everything goes, but you won’t.
With everything disconnected, it was time to pull the engine out of the frame. I used an engine hoist, slowly and carefully lowering it onto a sturdy engine stand. Having it on a stand makes working on it so much easier.
Digging Deep
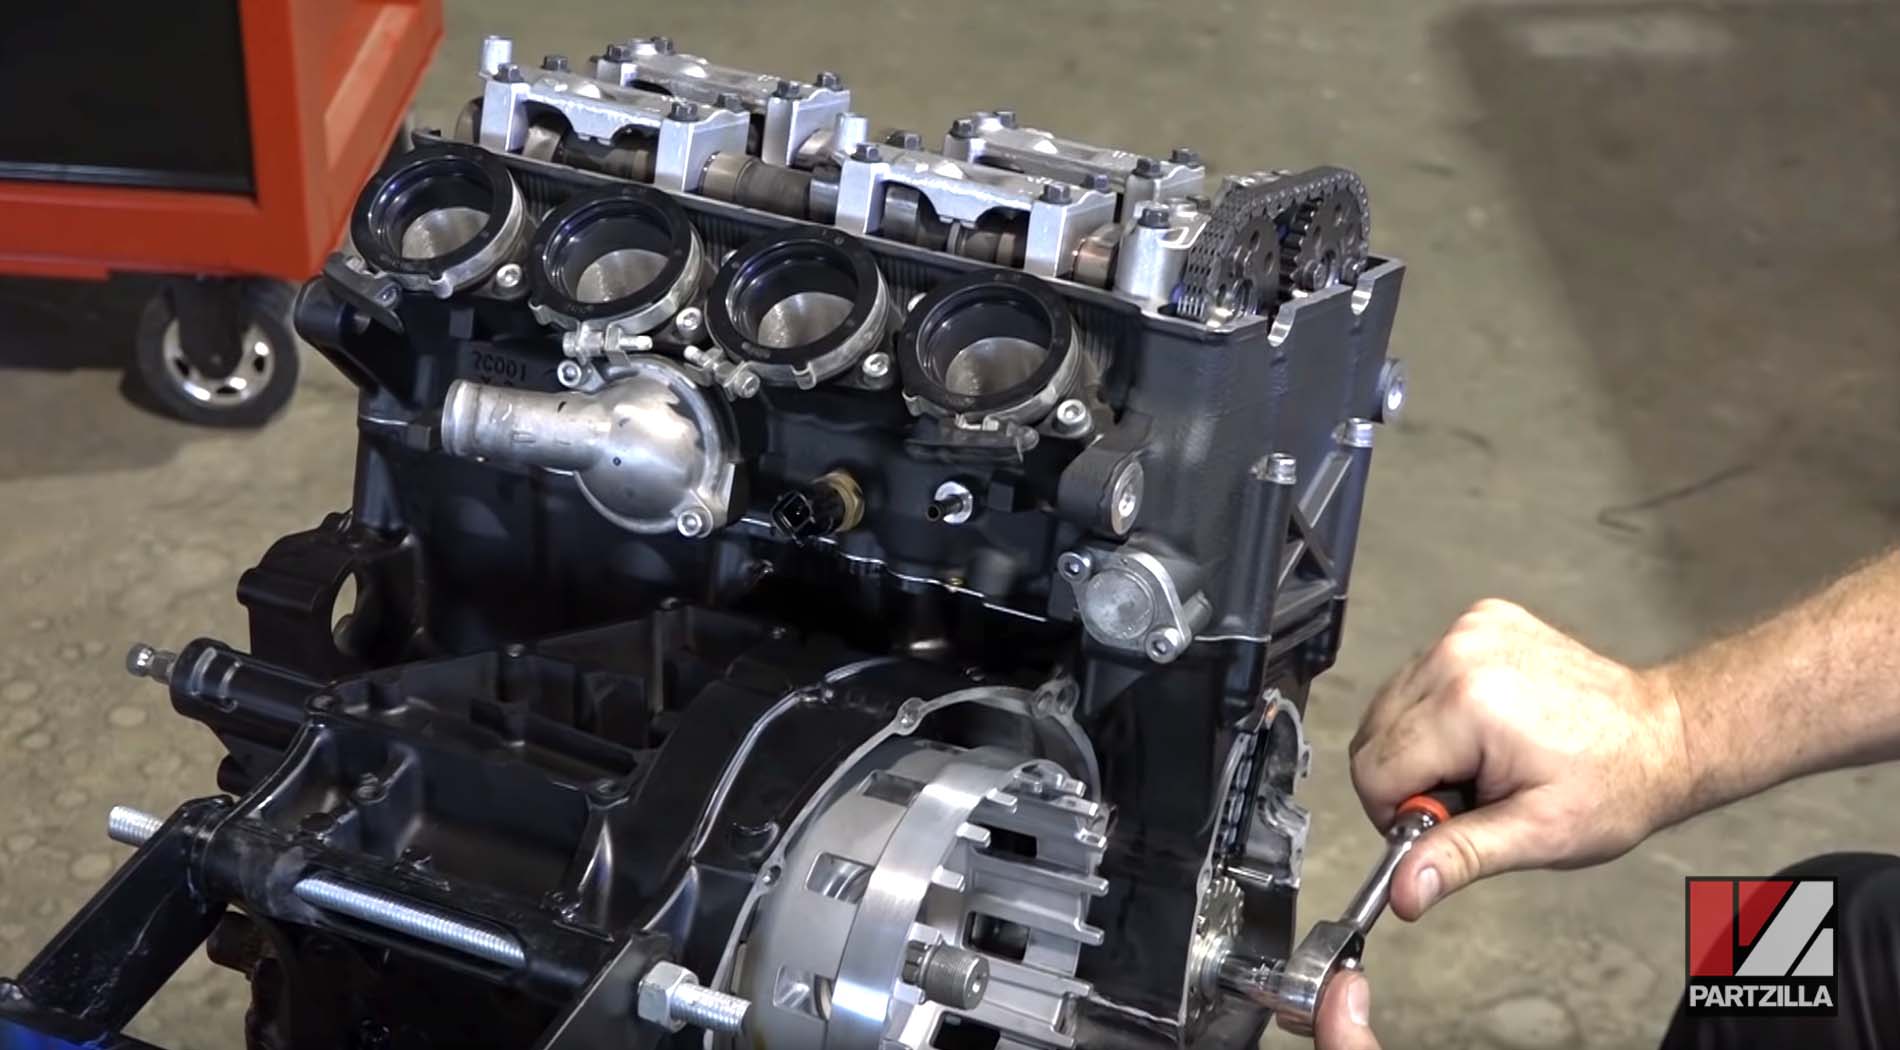
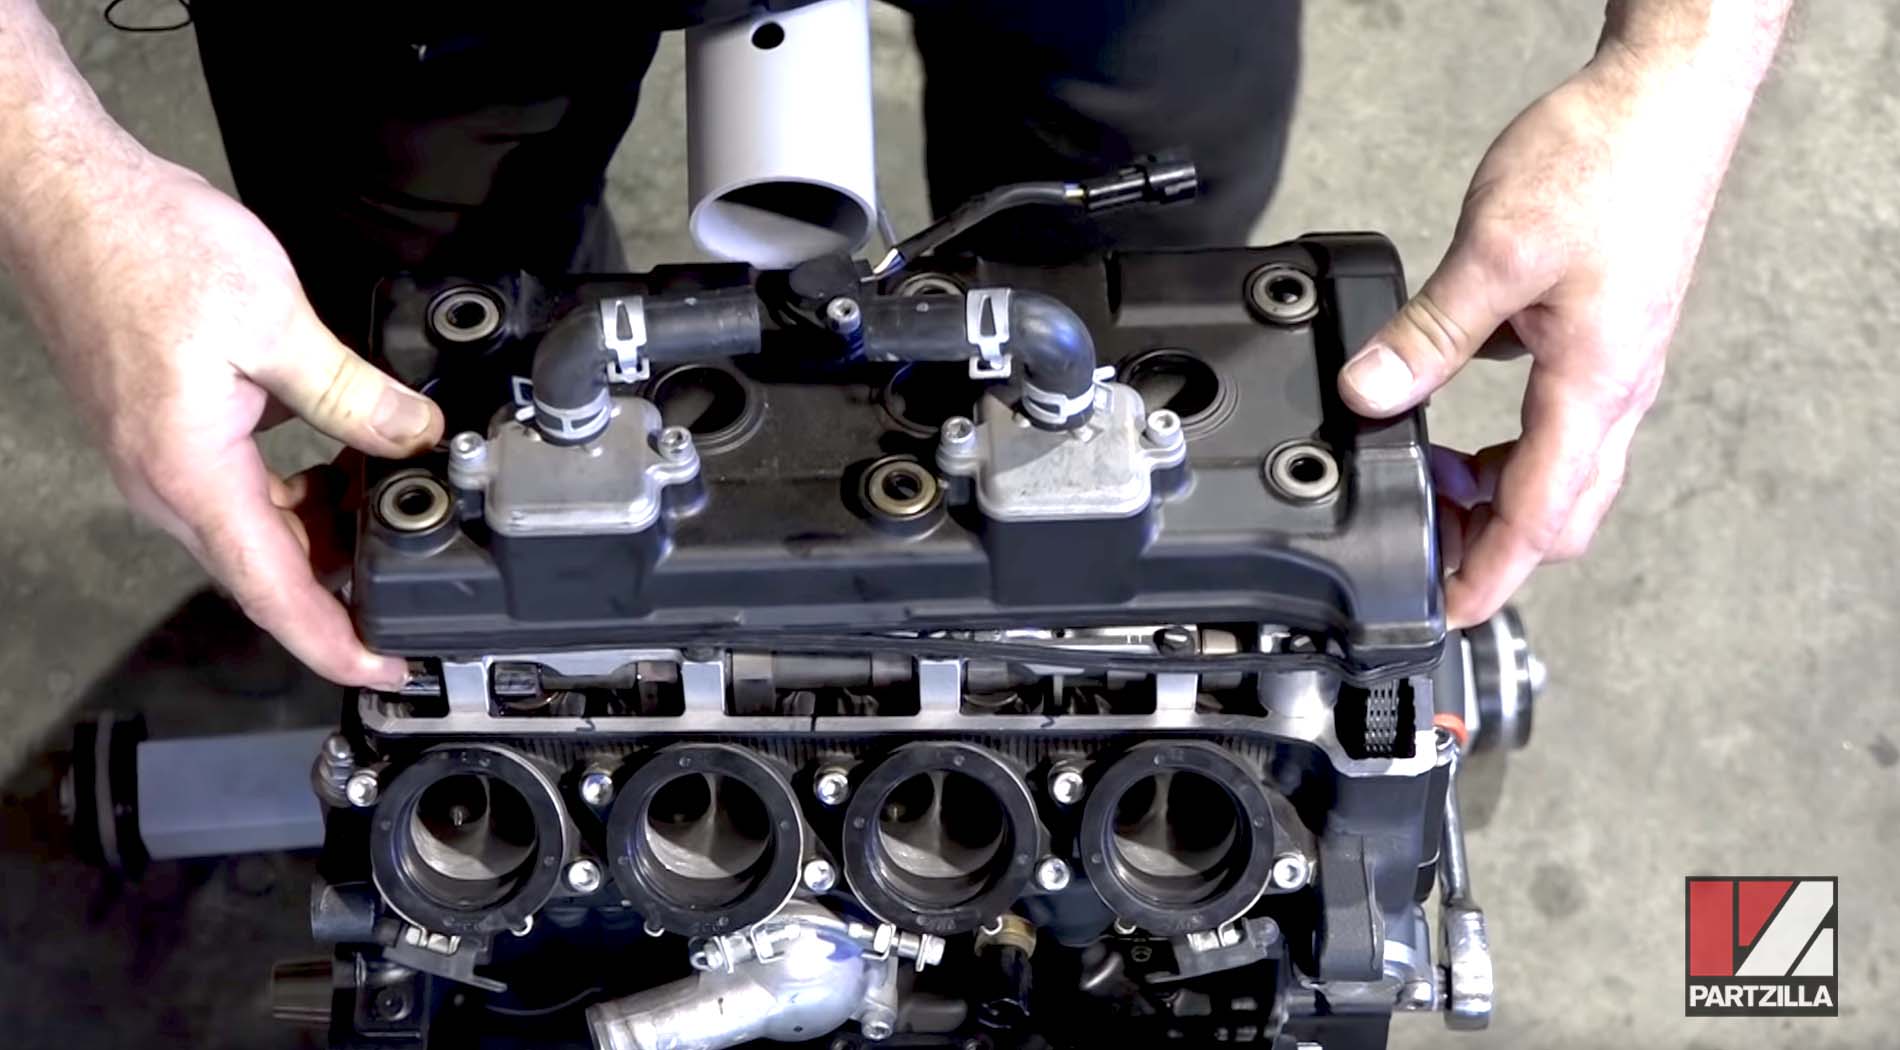
Now for the fun part – taking the engine apart! I started with the top end, removing the valve cover, camshafts, and cylinder head. Inside, I found some wear and tear, as I expected. The valves needed some attention, and the cylinder walls had some scoring.
Next, I moved to the bottom end, splitting the crankcase. This revealed the crankshaft, connecting rods, and pistons. The pistons and rings were definitely worn, and I found some minor bearing wear, too. It confirmed my initial thought: this engine needed a full rebuild.
Parts, Parts, Parts
With the engine completely disassembled, I made a detailed list of everything I needed: new pistons and rings, bearings, gaskets, seals, valve stem seals, the works. Ordering parts is always a bit of a waiting game, so I used that time to clean everything meticulously. Every nut, bolt, and engine component got a good scrub.
The Rebuild
Once the parts arrived, the rebuild began. I started by honing the cylinders to get a nice, smooth surface for the new rings. Then, I installed the new pistons and rings onto the connecting rods, and carefully installed them into the cylinders.
Next, I installed the crankshaft with new bearings, making sure everything was torqued to the exact specifications from the service manual. This part is critical – get the torque wrong, and you’re in for a world of hurt.
Then came the cylinder head. I lapped the valves to ensure a good seal, installed new valve stem seals, and reassembled the whole head, carefully setting the valve clearances with my feeler gauges.
With the top and bottom ends rebuilt, I carefully reassembled the crankcase, making sure all the mating surfaces were clean and the sealant was applied correctly.
Back in the Frame
With the engine fully assembled, it was time to put it back in the bike. Again, I used the engine hoist, carefully lining everything up and bolting it back into the frame.
Then came the tedious part – reconnecting everything I had disconnected earlier. This is where those pictures and labels really came in handy. I routed all the wiring, reconnected the throttle bodies, airbox, exhaust, and radiator, making sure everything was tight and secure.
First Start!
Finally, the moment of truth. I filled the engine with fresh oil and coolant, double-checked everything, and hit the starter button. After a few cranks, the engine roared to life! It was a beautiful sound, the culmination of all that hard work. I let it idle for a while, checking for leaks and listening for any unusual noises.

Fine-Tuning
After the initial start, I took the bike for a few short rides, gradually increasing the load and RPMs. I had to make a few minor adjustments to the carburetors to get the fueling just right, but after that, the engine ran like a dream.
- It was not easy.
- It was a lot of work.
- I am happy I did it.
It was a rewarding experience, taking a tired old engine and bringing it back to its former glory. It’s definitely not a project for the faint of heart, but with the right tools, patience, and a good service manual, it’s totally doable. And the feeling of riding a bike you’ve rebuilt yourself? Priceless.