
Okay, here’s my write-up about the 2011 BMW S1000RR project. Get ready, it’s a long one!
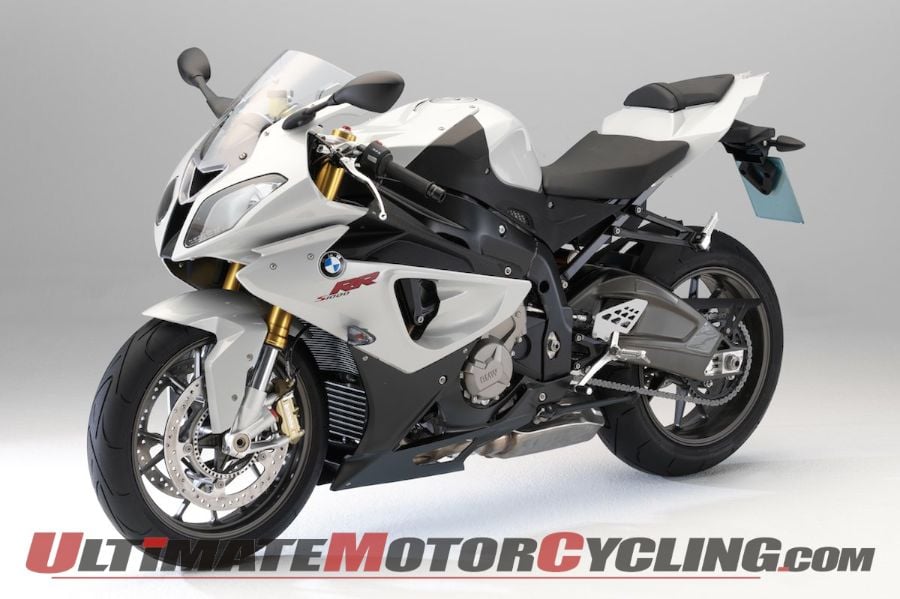
Alright, so I snagged a 2011 BMW S1000RR a few months back. It was a screaming deal I couldn’t pass up. The bike wasn’t exactly perfect, but hey, that’s part of the fun, right?
First things first: assessment time. I walked around that bike like a hawk, looking for anything out of place. I checked the fluids, the tires, the chain – everything. Found a few minor things: needed new brake pads, the chain was a bit rusty, and the fairings had some scratches. Nothing major, just typical wear and tear.
Next up, I fired it up. The engine sounded healthy, no weird noises or anything. I let it warm up and then gave it a few revs. Man, that inline-four sounds angry! I did notice a slight hesitation in the throttle response, so I figured I’d check the throttle bodies later.
Time for a proper tear-down. I stripped off all the fairings. Gotta see what’s hiding underneath. This is where I found some more interesting stuff. Some of the wiring was a bit dodgy, with some exposed wires and loose connections. Someone had clearly been messing around in there before. I made a note to address that. The air filter was also pretty dirty, so I added that to the list.
Okay, brakes first. I ordered some new EBC brake pads and installed them. Pretty straightforward job, but always important to get it right. I bled the brakes and made sure everything was nice and firm. No squishy levers here!
Next, the chain. I cleaned it up as best as I could, but it was pretty far gone. I decided to just replace it. I went with a DID chain and new sprockets. Installing a new chain is always a bit of a pain, but with a chain breaker and some patience, it’s doable. I made sure the chain was properly adjusted and lubed. Good to go.
Now, the wiring. This was the most time-consuming part. I carefully went through all the wiring, tracing circuits and fixing any dodgy connections. I used heat shrink tubing to protect the exposed wires and made sure everything was properly grounded. It was tedious, but important for reliability and safety. I even found a completely disconnected sensor wire! No idea what it was for but i plugged it back in anyway.
Then I got to the throttle hesitation. I pulled the airbox off and checked the throttle bodies. They were a bit dirty, but not too bad. I cleaned them with some throttle body cleaner and checked the throttle position sensor (TPS). That seemed okay. I also decided to replace the spark plugs while I was in there. New plugs never hurt.
Put everything back together, fired it up… and the hesitation was still there! Argh! Okay, time to dig deeper. I hooked up a diagnostic tool and checked for any error codes. Nothing! Great. I started thinking about the fuel system. Maybe the injectors were clogged?
I decided to remove the fuel injectors and have them cleaned and flow-tested. Sent them off to a local shop. A few days later, I got them back. They said two of the injectors were definitely clogged. Okay, that’s probably it! I reinstalled the injectors and fired it up. Bingo! Smooth throttle response. Finally!

Finally, time to address the fairings. The scratches weren’t too deep, so I decided to try and buff them out. I used some polishing compound and a microfiber cloth. They didn’t come out perfect, but they looked a lot better. I might eventually get them repainted, but for now, they’re good enough.
I put all the fairings back on, double-checked everything, and took it for a test ride. It ran like a dream! The engine pulled strong, the brakes were sharp, and the handling was precise. It really felt amazing, considering where I started. Optional extras might be nice, but I just wanted to get it running well.
- New brake pads
- New chain and sprockets
- Fixed dodgy wiring
- Cleaned throttle bodies
- Replaced spark plugs
- Cleaned and flow-tested fuel injectors
- Buffed out scratches on fairings
All in all, it was a fun and rewarding project. It took a lot of time and effort, but now I have a S1000RR that I know inside and out. Plus, I saved a bunch of money doing it myself. Next up? Maybe a track day!