
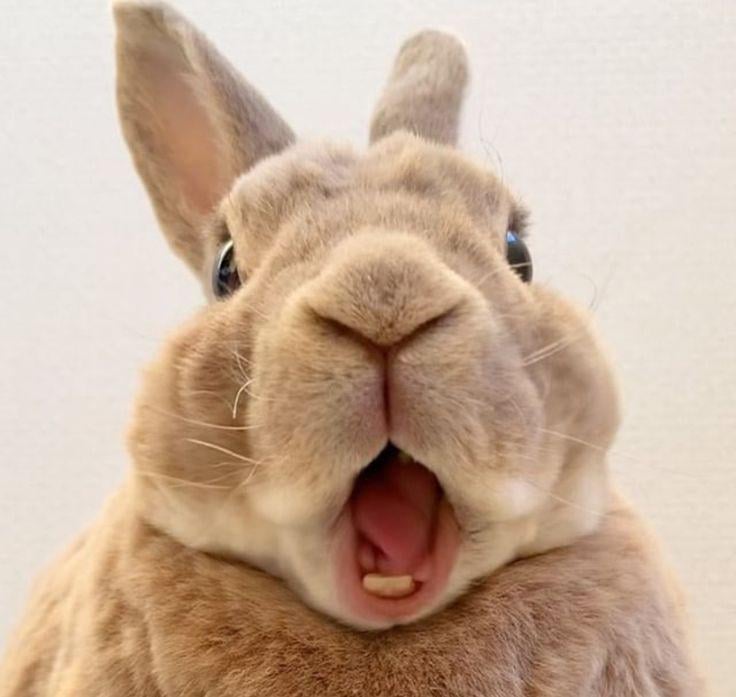
Okay, so picture this: I had this crazy idea to make a “bunny in shock” image. You know, like those viral videos where a cute animal just looks utterly bewildered? I figured it would be fun to try and recreate that digitally.
First, I grabbed my tablet and stylus. I usually start with a rough sketch, just to get the basic pose and expression down. I doodled a few bunnies, trying different angles and levels of “shock.” Some looked more confused than shocked, some looked downright angry – it was a whole process!
Once I had a sketch I liked, I started on the line art. This is where things get a bit more precise. I zoomed in and cleaned up all those messy sketch lines, making sure the bunny’s outline was nice and smooth. I really wanted those big, round eyes to pop, so I spent extra time making them look perfect.
Next up: color! I went with a classic white bunny, but I added some soft pink to the ears and nose. For the “shocked” part, I played around with the background. I tried a few different things – a bright, chaotic mess of colors, a simple gradient – but nothing felt quite right.
Then it hit me: What’s more shocking than a giant carrot? I drew this massive, almost comically large carrot behind the bunny. It was bright orange, of course, and I added some green leafy bits at the top for extra detail.
- Sketching: Lots of trial and error to get the right expression.
- Line Art: Cleaning up the sketch and defining the shapes.
- Coloring: Choosing the right colors for the bunny and the background.
- The “Shock” Factor: The giant carrot was the key!
Finally, I added some shading and highlights. This really brought the whole thing to life. The bunny looked fluffier, the carrot looked more… carrot-y, and the shocked expression was just perfect. I added extra highlights to the eyes to help give a “stunned” expression.

I was so excited and proud of myself when I finished this. It looked so funny.