
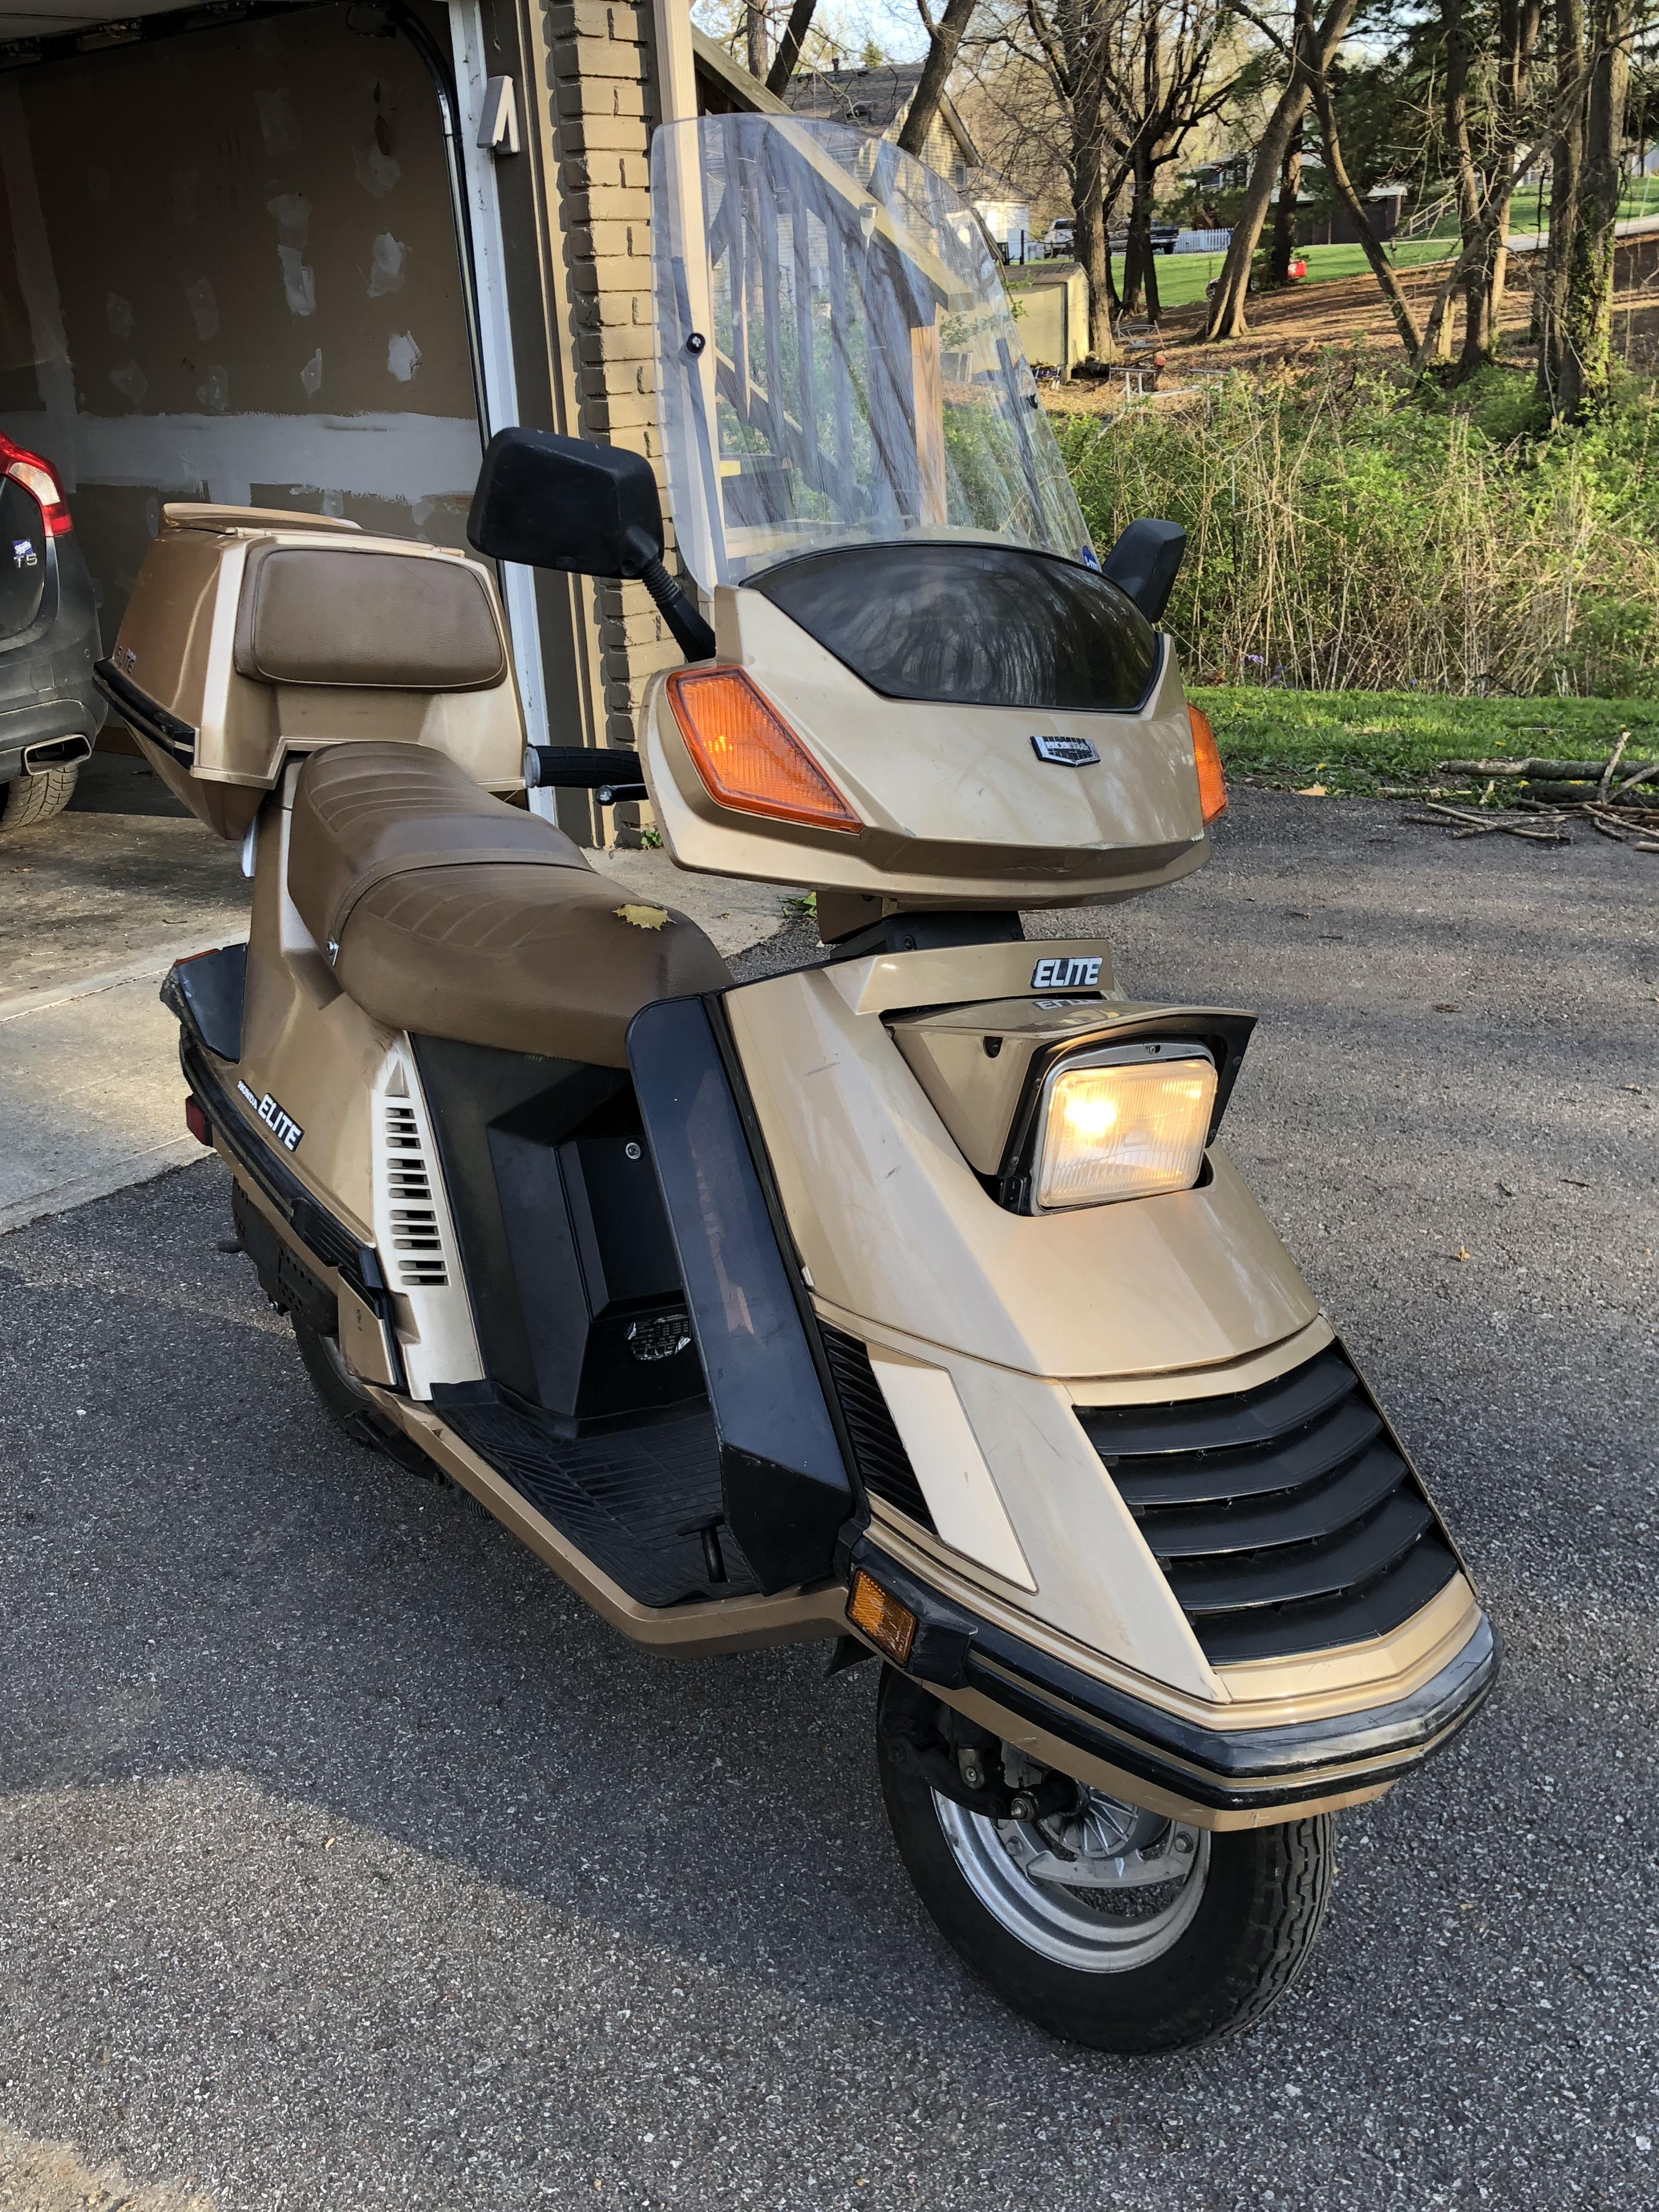
Alright folks, buckle up! Today I’m spilling the beans on my latest obsession: breathing new life into a 1984 Honda Elite scooter. Yeah, you heard right. A scooter from ’84. It was sitting in my buddy’s garage, gathering dust, and I thought, “Why the heck not?”
The Discovery & Initial Assessment
- First, I dragged the poor thing out into the daylight. It looked rough, I’m not gonna lie.
- Then, I gave it a good once-over. Tires were flat, the paint was faded, and there were definitely some cobwebs involved.
- After that, I poked around the engine. It seemed complete, but who knew what kind of shape it was in.
Getting My Hands Dirty: The Teardown
Alright, time to get to work. I started tearing it down, piece by piece.
- First, I removed the body panels. They were brittle and cracked in places, but surprisingly intact.
- Then, I drained the old gas. Man, that stuff smelled NASTY. Like something from a forgotten tomb.
- After that, I wrestled with the carburetor. It was gunked up tighter than a drum. I spent a solid hour just soaking it in cleaner.
- Next I pulled the spark plug. It looked like it hadn’t been changed in, oh, about 40 years.
- Finally, I checked the air filter. It was basically disintegrated.
Engine Rebuild (The Scary Part!)
This was the part I was most nervous about. I’m no engine expert, but I figured I could give it a shot.

- First, I removed the cylinder head. The piston looked okay, but there was definitely some carbon buildup.
- Then, I cleaned everything up. I used a wire brush and some solvent to get rid of all the gunk.
- After that, I checked the piston rings. They seemed worn, so I ordered a new set.
- Next, I lapped the valves. I used some valve lapping compound and a suction cup tool to get a good seal.
- Finally, I reassembled the engine with new gaskets and seals. I made sure to torque everything to the proper specs.
Cleaning, Painting, and Reassembly
- First, I sanded down the body panels. I wanted to get rid of all the old paint and rust.
- Then, I primed the panels. I used a good quality primer to help the new paint adhere.
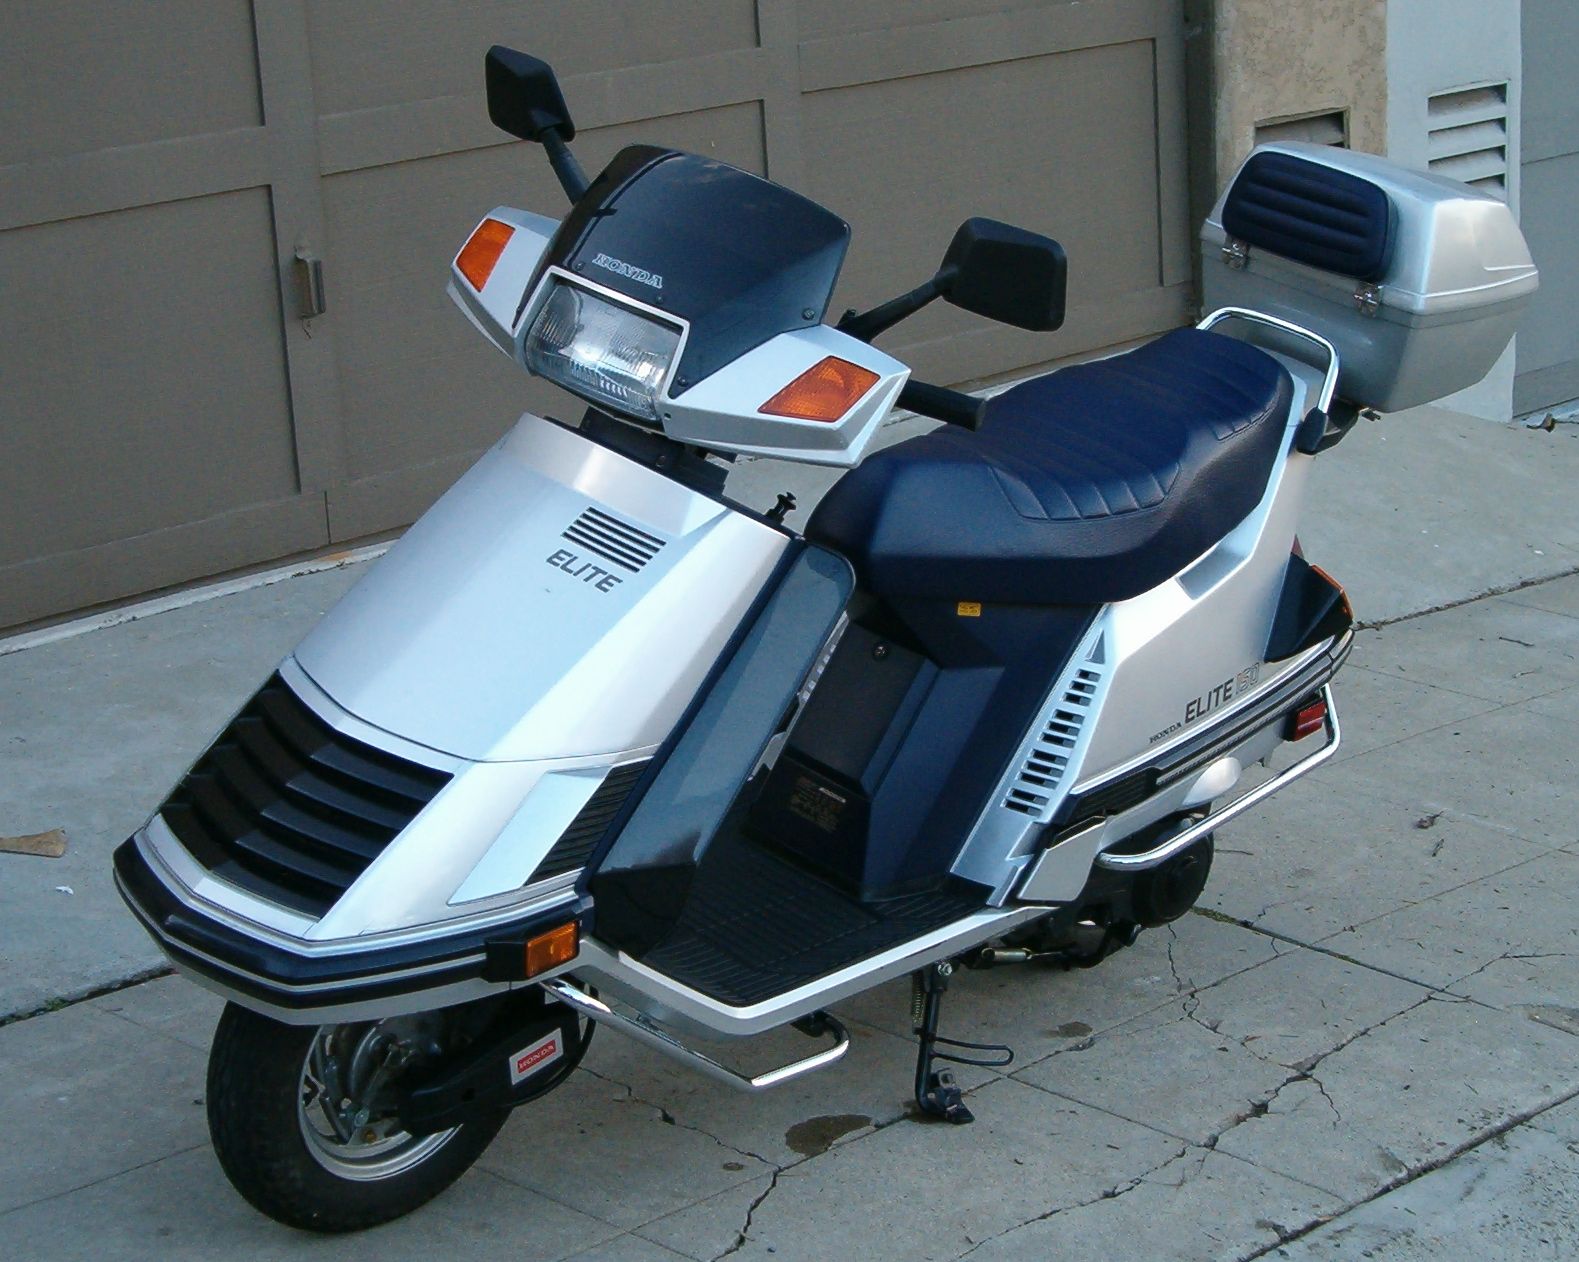
- After that, I painted the panels. I went with a classic red color. It looks amazing!
- Next, I reassembled the scooter. I put all the parts back together, one by one.
The Moment of Truth: Starting It Up
Okay, this was it. The big moment. Would it actually start?
- First, I filled the gas tank with fresh fuel.
- Then, I turned on the ignition.
- After that, I hit the starter button… and NOTHING.
- Next, I checked the spark plug. No spark!
- Finally, after a bit of troubleshooting, I found a loose wire on the ignition coil. I reconnected it, and BAM! The engine sputtered to life!
Riding into the Sunset (Almost!)
It ran! Not perfectly, mind you. It was a bit rough, and the idle was all over the place. But it ran! I took it for a quick spin around the block, and it was a blast. I still need to do some fine-tuning, but I’m so stoked with how it turned out.
Lessons Learned
This whole project was a learning experience. I learned a lot about scooter engines, and I also learned a lot about patience. It took a lot longer than I expected, but it was totally worth it. Now, I’ve got a sweet vintage scooter that I can cruise around on. And that, my friends, is priceless.