
Alright, so today I’m gonna walk you through this little project I did – painting some model cars in British Racing Green. It was a spur-of-the-moment thing, but I think the results are pretty cool, so here’s how it went down.
First off, grabbing the cars. I had a few old die-cast models lying around – you know, the kind you pick up at flea markets or garage sales. Nothing fancy, just some cheapo metal cars that were begging for a makeover. I made sure they were relatively clean, wiped off any dust and grime with a damp cloth.
Next, prep work is key. I can’t stress this enough. I scuffed up the existing paint on the cars with some fine-grit sandpaper. Nothing too aggressive, just enough to give the new paint something to grip onto. Then, I cleaned them again, this time with a bit of degreaser to get rid of any oils or residue from my fingers.
Then comes the priming stage. I used a spray-on primer – grey, just a basic one from the hardware store. I applied a couple of thin coats, letting each coat dry completely before applying the next. This is super important to prevent runs and drips. Priming helps the color coat adhere better and gives a more uniform finish.
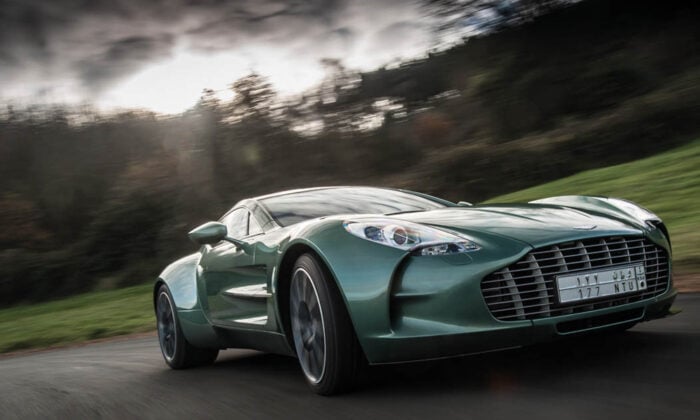
Now, the fun part: the paint! I specifically wanted British Racing Green, and I found a spray paint can that was a pretty close match. I shook the can like crazy for a good couple of minutes before spraying. Again, thin coats are your friend here. I did about three light coats of the green, letting each one dry in between. I made sure to hold the can about 10-12 inches away from the cars to avoid getting too much paint in one spot.
After the green coats, I let everything dry overnight – patience is key, man. The next day, I applied a couple of coats of clear coat. This gives the cars a nice glossy finish and protects the paint job. Same deal as before, thin coats, let them dry completely.

Finally, the detailing. I used a fine-tip paint brush and some silver paint to touch up the bumpers, grilles, and other little details on the cars. I also used a black Sharpie to darken the panel lines and make the details pop. This step is optional, but I think it really adds to the finished look.
So, that’s basically it. A few old cars, some sandpaper, primer, green paint, clear coat, and a little bit of patience, and you’ve got yourself some British Racing Green beauties. They look pretty damn good sitting on my shelf, if I do say so myself.
Things I learned:
- Thin coats are always better than thick coats.
- Prep work is crucial for a good finish.
- Patience is a virtue when it comes to painting.
Give it a try sometime! It’s a fun little project, and you can end up with some cool-looking cars.