
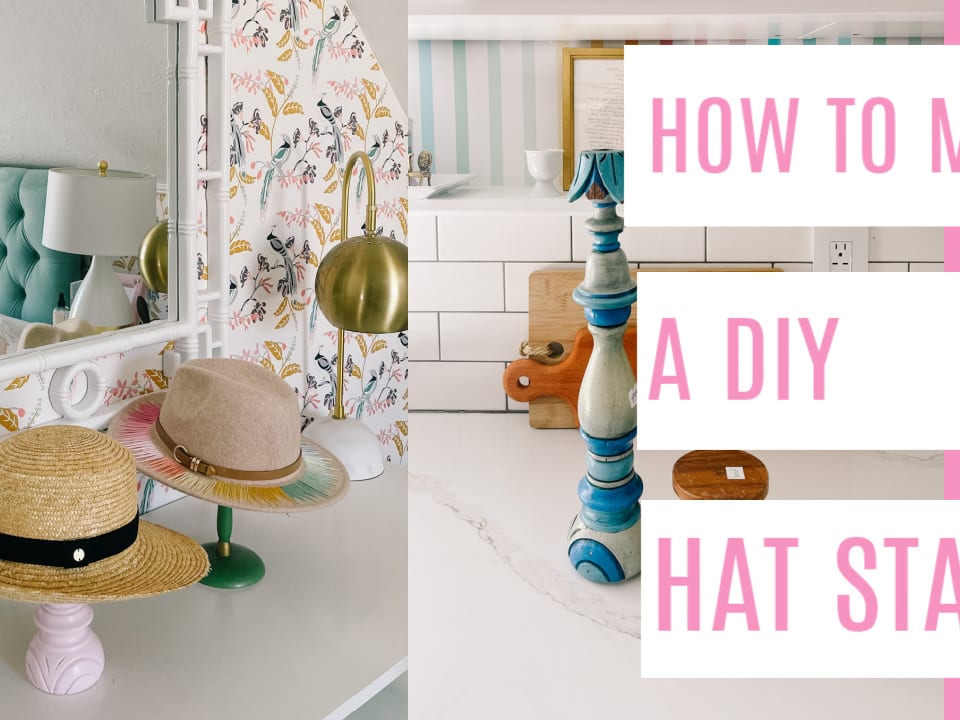
Getting Started with the Hat Stand
Alright, so I had this pile of hats just kinda sitting around, getting squashed. Needed a proper place for them. I always liked those old wooden hat stands you see sometimes, the ones with a bit of character. Decided I’d just make one myself. Nothing fancy, just something solid and, well, vintage-looking.
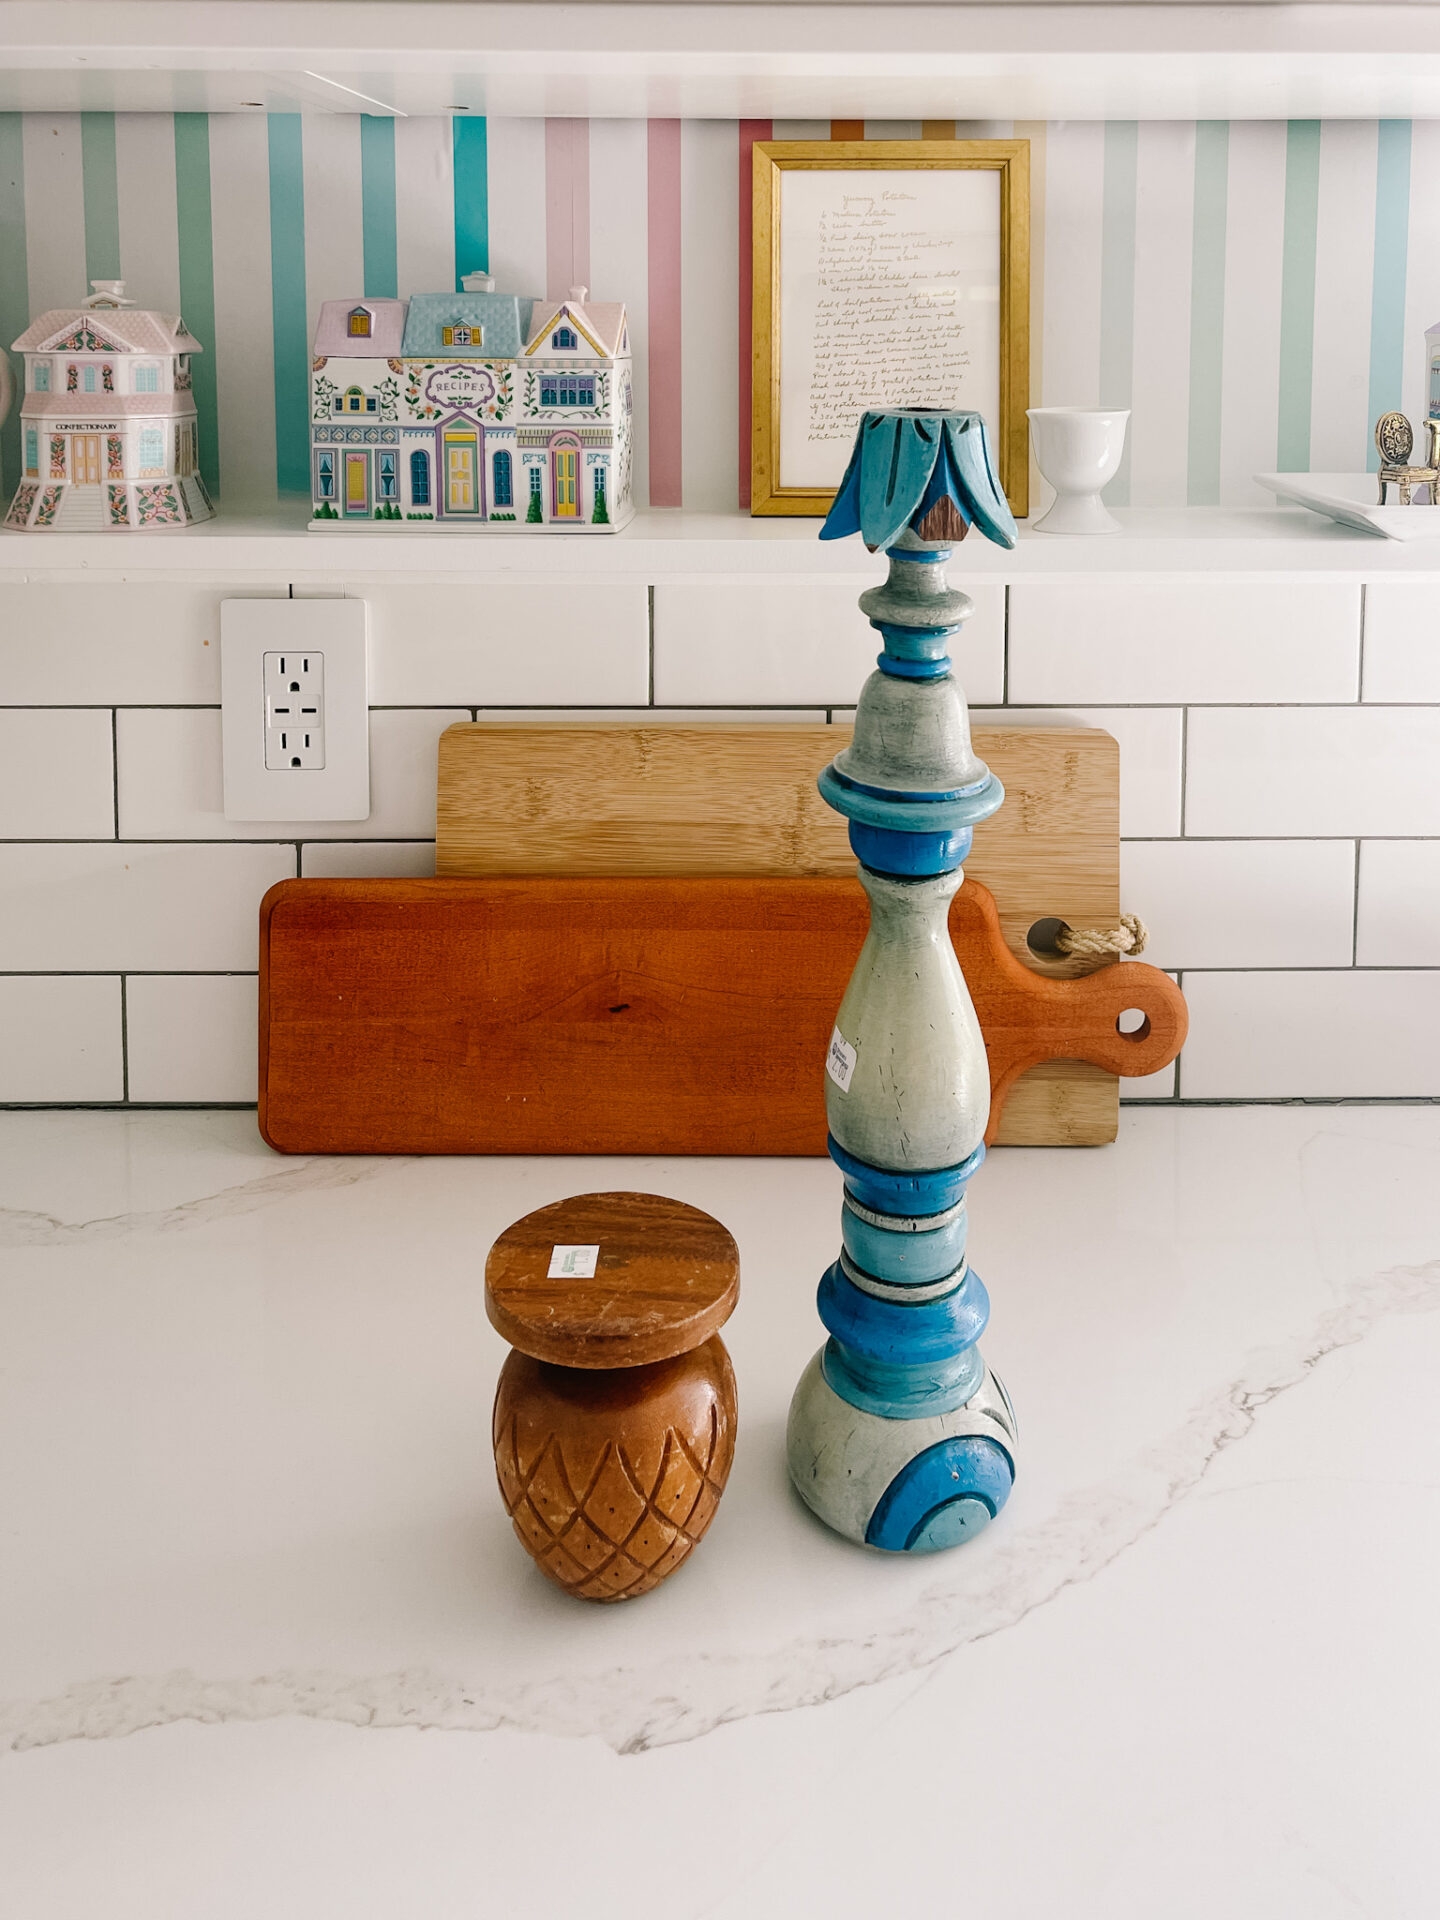
Finding the Right Bits and Pieces
First thing, I went digging through my wood scraps. Found a nice thick piece of pine that looked like it would make a sturdy base. Also grabbed a length of dowel, maybe oak, felt pretty solid for the main post. For the top part, where the hats actually hang, I found some smaller leftover bits I could shape.
- A chunky square for the base.
- A long, round piece for the upright post.
- Some smaller blocks for the hat pegs.
Also grabbed my usual suspects: wood glue, some screws just in case, sandpaper (different grits), and that dark walnut stain I like.
Cutting and Shaping It Up
Okay, time to make some sawdust. I measured out the base, wanted it wide enough so the stand wouldn’t just tip over. Cut that square out first. Then, figured out the height for the post – tall enough for longer hats but not ridiculously huge. Sawed that to length.
For the top pegs, I just kinda eyeballed them, cut four small blocks. Then came the shaping. I spent a good bit of time rounding the edges of the base with my sander, didn’t want sharp corners. Same for the top pegs, gave them a nice rounded end so they wouldn’t damage the hats. Sanded the post smooth too. Started rough, worked my way down to fine grit. You gotta get it smooth for the finish to look good.
Putting It All Together
Assembly time. I marked the center of the base and drilled a pilot hole. Did the same for the bottom of the post. Put a good amount of wood glue on the end of the post and lined it up with the base. Drove a long screw up from the bottom of the base into the post, just for extra strength. Wiped off the glue squeeze-out right away.
For the top pegs, I decided to angle them up slightly. Drilled pilot holes into the top section of the post and into the pegs themselves. More glue, then carefully attached each peg with a screw. Had to make sure they were spaced out evenly. Let the whole thing sit for a while so the glue could really set up solid.
Getting That Vintage Look
This is my favorite part.
Once the glue was totally dry, I got out the dark walnut stain. Used an old rag and wiped it on, following the grain. Really soaked it into the pine base, gave it that aged look I was going for. The oak post took the stain nicely too, just darkened it up a bit. Gave it one good coat, let it dry completely. Didn’t bother with varnish, I kinda like the matte, worn look the stain gives on its own. Maybe I’ll wax it later if it needs it.
The Finished Stand
And there it was. Stood it up, gave it a little wobble test – pretty solid. The dark stain really made it look like it’s been around for a while. Found the perfect spot for it in the corner of the bedroom. Hung up my hats… yeah, that works. Feels good making something useful with your own hands, especially from bits you already had lying around. Much better than hats piled on a chair!