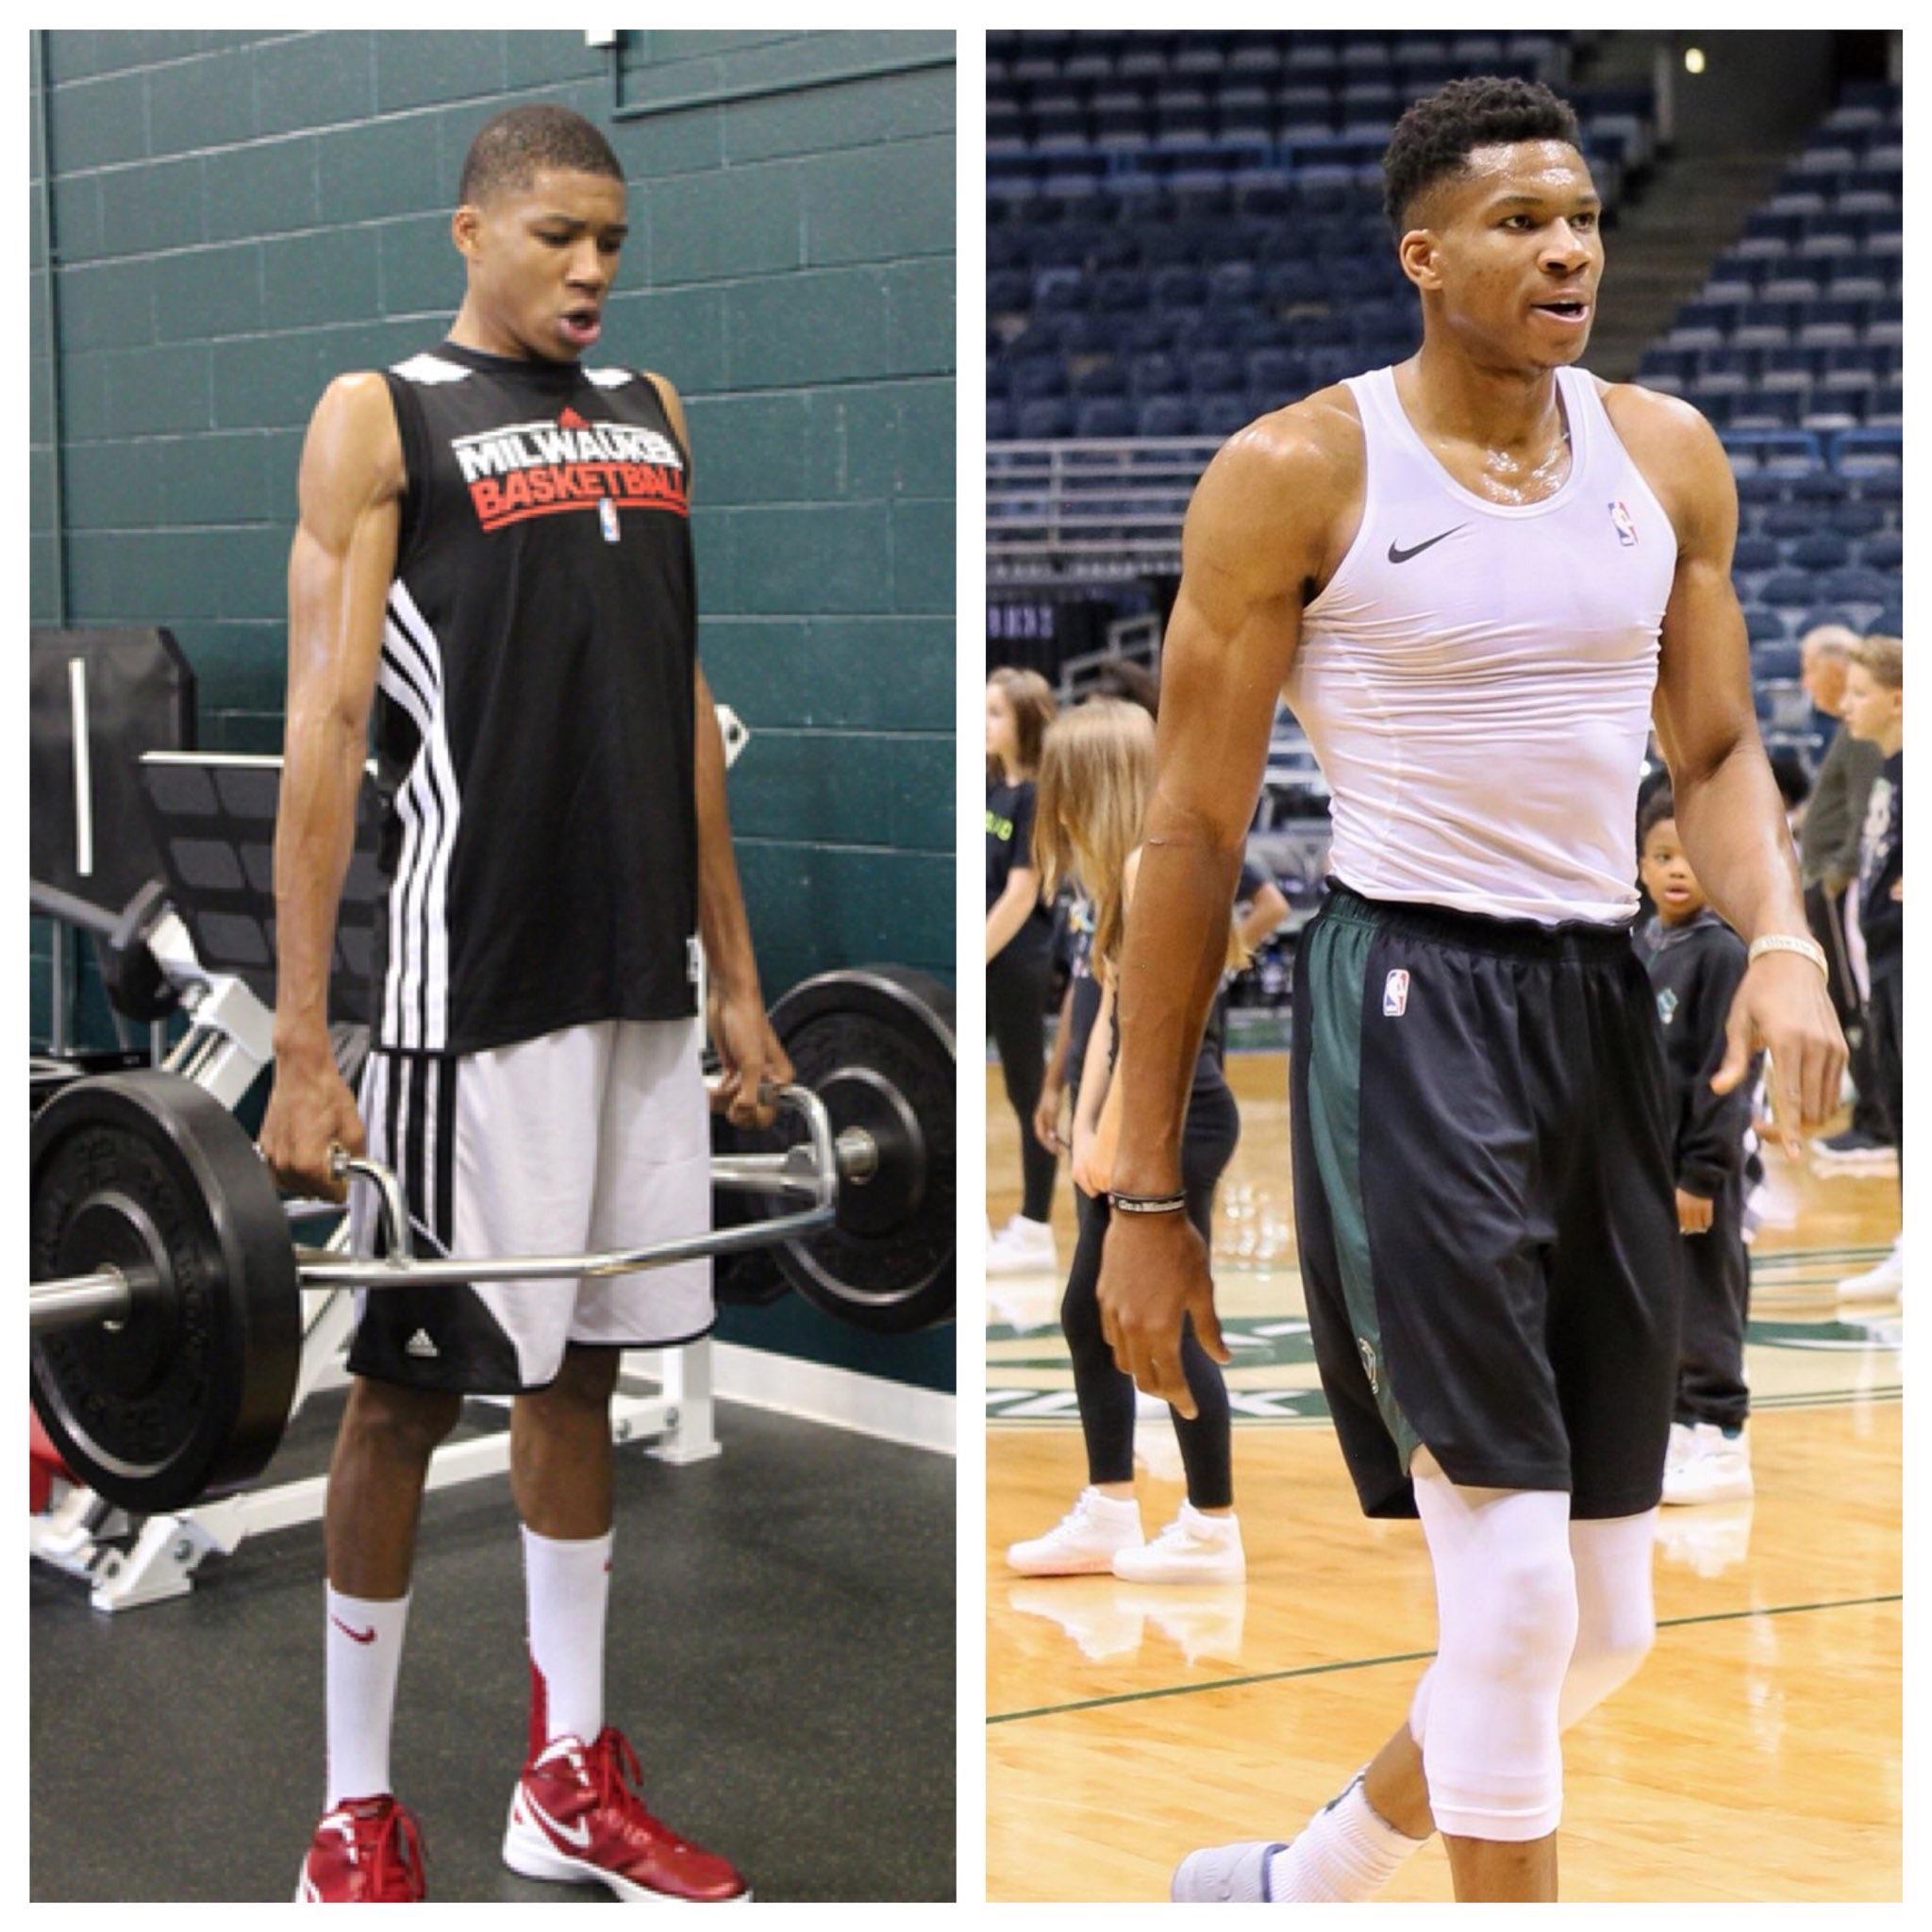
Alright, so I gotta share this thing I’ve been messing with. It’s about visualizing Giannis Antetokounmpo’s stats, before and after a specific point, to see if there’s a noticeable change. I’m calling it “giannis before and after” – super original, I know.

First off, I grabbed the data. Used a simple CSV file with Giannis’ game logs. Got it from a sports stats site – plenty of those around. Made sure the data included all the basic stats like points, rebounds, assists, etc., and most importantly, a date for each game.
Next, decided on the “before and after” point. This is key! I wanted to see if there was a change after a specific injury, so I looked up the date of a notable one. Found a date, slotted it in as my divider. Could be anything really – a coaching change, trade, whatever you’re curious about.
Then, I fired up my code editor. I’m using Python with Pandas for data manipulation and Matplotlib for the visualizations. Super basic stuff, but gets the job done.
Here’s the breakdown of what I did in the code:
- Imported the libraries: Pandas to read the CSV, Matplotlib to plot stuff.
- Read the CSV: Used `*_csv()` to get the data into a DataFrame.
- Converted the date column: Made sure the ‘Date’ column was actually in datetime format using `*_datetime()`. This is crucial for comparing dates.
- Defined the “before and after” date: Just a simple datetime object: `datetime(year, month, day)`.
- Split the data: Created two new DataFrames, one for games before the date and one for games after the date. Used boolean indexing – something like `df[df[‘Date’] < cutoff_date]`
- Calculated the means: Used `.mean()` on each DataFrame to get the average of each stat (points, rebounds, assists, etc.) for the “before” and “after” periods.
Now comes the fun part – plotting! I chose a simple bar chart to compare the “before” and “after” averages for each stat.
Here’s how I did the plot:
- Created a figure and axes: `*()` to get a canvas to draw on.
- Defined the stats to compare: A list of the column names I wanted to visualize.
- Plotted the bars: Used `*()` to create two sets of bars for each stat – one for “before” and one for “after”. Had to play around with the positions of the bars so they wouldn’t overlap.
- Added labels and titles: `*_xticks()`, `*_xticklabels()`, `*_ylabel()`, `*_title()` – all the usual stuff to make the chart readable.
- Added a legend: `*()` so people know which bars are “before” and “after”.
Ran the script, and bam! A bar chart popped up showing the differences in Giannis’ stats before and after the chosen date. Pretty cool to see it all visualized.
After that, I started tweaking things. Tried different dates, different stats, even different types of plots (scatter plots can be useful too!). It’s all about exploring the data and seeing what you can find.
Learned a few things along the way:
- Data cleaning is key. Make sure your data is in the right format before you start messing with it.
- Choosing the right visualization matters. A bar chart worked well for comparing averages, but other plot types might be better for different questions.
- Experiment! Don’t be afraid to try different things and see what happens. That’s how you learn.
Overall, it was a fun little project. Simple, but effective. And it gives you a nice visual way to explore data and see if there are any interesting trends. Give it a shot yourself!
