
Okay so last weekend I got this wild hair to jazz up my boring old patio space. Seriously, it was just gray concrete and sad-looking pot plants. Saw a picture somewhere with smooth round pebbles looking all zen and cool and thought, “Heck yeah, I can do something like that.” Figured it was cheap and wouldn’t need some fancy landscaper.
Getting Started: The Stone Hunt
First thing, needed stones. Lots of ’em. Remembered seeing some decent-sized round river pebbles piled up near the back fence where the last owners probably dumped leftover garden junk. Dug around back there and sure enough, found a bunch mixed with dirt and leaves. Score! Saved me a trip to the garden center and some cash. Lugged bucket after bucket over to the patio, spilling dirt everywhere like a fool. Man, those things get heavy quick.
Prep Work: Cleanup Central
Couldn’t just dump them dirty rocks where I wanted ’em. Looked way too ratty. Dragged out the garden hose and my stiffest broom. Started hosing down the patio corner where this little seating area was gonna go. Had to really scrub the concrete – years of grime and pollen stains just sitting there looking nasty. Swept the water towards the drain about a hundred times until the water ran mostly clear. Then, tackled the stones themselves. Dumped a few buckets into an old plastic storage bin and hosed them down like crazy. You wouldn’t believe the mud that came off! Shook the bin around, drained the muddy water, refilled, hosed again. Repeated until the water stopped looking like chocolate milk. Left them sitting in the bin to drip dry mostly. My back was already complaining.
Laying It Down: Playing Stone Tetris
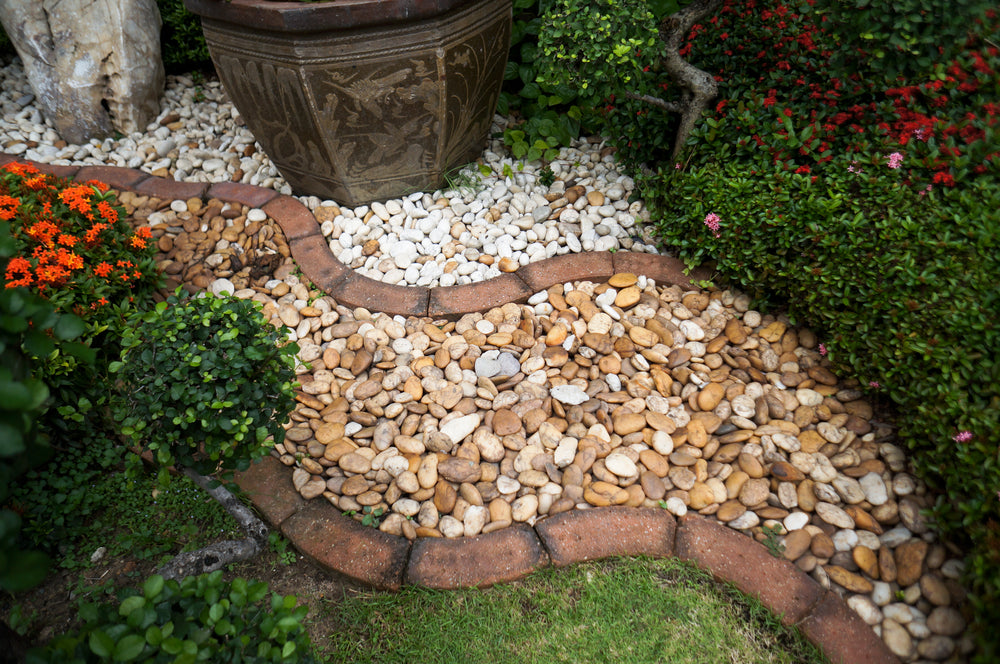
Finally time for the fun part! Started spreading the clean, wet stones right over the damp patio corner. No glue, no fancy edging, just free-styling. Tried to make a nice thick layer so no gray concrete peeped through. Took more stones than I thought. Kept running back to my cleaned pile for more buckets. Had to really scoop deep into the cleaned stones each time. Wanted that nice, smooth, pebbly riverbed look. Had to fiddle around a lot. Some stones played nice and nestled together. Others? Stubborn little buggers refused to sit flat or rolled away where I didn’t want ’em. Took ages to get them all settled into a layer that looked pretty even and didn’t have obvious gaps. Kept stepping back, squinting, moving a few rocks around. Who knew arranging rocks could be so picky?
Finishing Touches: Adding the Magic
It looked clean and simple, just stones. Nice, but kinda plain. Needed a bit more life. Spotted this chunky weathered old terra cotta pot I had kicking around the garage. Washed it out, plopped it right in the middle of the pebble circle. Then went and grabbed that weird little green fern thing from the kitchen window that somehow refuses to die. Put that inside the pot. Stepped back again. Better. Needed something with height. Found an old metal lantern buried in the shed. No clue if it even works, but it looked rusty and cool. Stuck a fat candle stub in it and put that beside the pot. Much better.
Then I noticed the shadows were getting long. Evening light. Went inside, grabbed a couple of those little battery-powered tea lights, the cheap ones from the discount store. Kinda look like fake flames. Shoved them into little nooks between the stones near the pot and the lantern. Hit the lights. Man! The lantern candlelight and the little flickery fake tea lights bouncing off all those wet-looking round stones? Absolute magic.
What I Figured Out
- Size matters: Bigger stones stayed put way better than smaller ones I found at first. The little ones wandered off like toddlers.
- Clean clean clean: Washing stones and the patio first was a pain but made everything look a million times fresher. Skipping that step would’ve looked messy.
- Play with layers: Just a thick blanket of pebbles is fine, but adding simple stuff on top (like my pot and lantern) gave it way more personality without costing extra.
- Light it up: Seriously, those little tea lights scattered in between cost pennies and make the whole thing glow at night. Instant atmosphere.
So now my outdoor space actually has a little cool spot to sit with my coffee in the morning before the sun blasts everything. Didn’t cost me a thing besides some muscle and hose water. Feels pretty dang good to look at. Maybe I’ll tackle that boring strip along the garage next. This stone thing has possibilities.