
Alright guys, pulled out the toolbox last weekend finally tackling that reserve tank project on my old motorcycle. Figured it’d be simple, just bolt on an extra gas container for longer rides, right? Man, was I wrong. Learned some hard lessons that nearly cost me fuel all over my driveway.
Jumping In Too Fast
First mistake? I didn’t measure squat. Saw the shiny new reserve tank online, thought “Yeah, that’ll fit!”, clicked buy. Showed up, held it against the frame near the side panel – looked good! Grabbed the drill immediately. Started marking spots, drilled two holes before my buddy walked by and said, “You know the exhaust pipe gets crazy hot there, right?” Oops. Melted plastic smell just thinking about it. Had to scrap that whole spot. Tip number one: Don’t just eyeball it. Actually measure clearances from the engine, exhaust, moving parts, AND think about heat. Twice.
Mounting Mayhem
Found a new spot under the seat. Seemed solid. Slapped on the brackets that came with the kit, tightened everything down hard. Finished, proud moment. Took the bike for a quick spin around the block. Got back, checked my beautiful tank… the brackets were loose! Rattling around. Turns out the cheap foam padding they included was useless. Worse, vibrations made the bracket edge rub against the frame paint. Scratched it up bad. Tip number two: Your mounting HAS to fight vibration. Don’t trust flimsy brackets or cheap pads. Use heavy-duty stuff, real rubber isolators, and really crank it down tight. Protect your paint too.
Fuel Line Fiasco
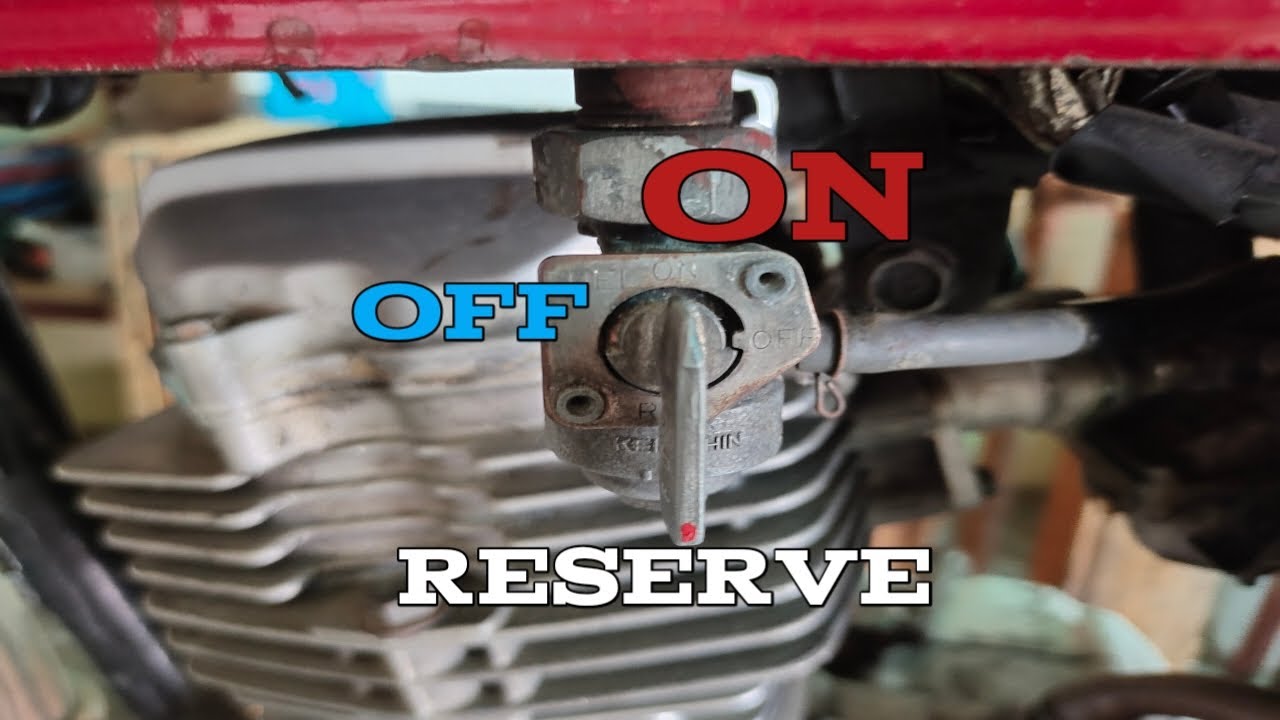
Connecting the hoses was next. The kit had those cheap, clear plastic fuel lines. Easy to cut, right? I hooked the main line from the petcock to the reserve tank inlet no problem. Then, ran the outlet hose from the reserve tank back to where I disconnected the main fuel line to the carb. Big mess alert. Left too much slack. Didn’t secure it properly. First turn I took, that slack hose brushed against the drive chain. Nearly got sliced! Plus, all that loose hose looked terrible. Tip number three: Plan your hose routes like military operations. Cut accurately, secure with proper clamps (screw types, not those crappy squeeze ones!), and keep everything clear of moving parts and heat sources. Route it clean.
Leak Disaster (Almost)
Finally ready to test. Filled the reserve tank with a little gas, super carefully. Saw no drips. Victory! Next day, hop on for a longer ride. Smell gas strong half a mile out. Pull over instantly. Fuel dripping down near the petcock connection I’d just made. Didn’t tighten it enough the first time. The rubber gasket looked fine, but pressure or temperature change made it weep. Had no tools on me. Tip number four hammered home: Check and RE-CHECK every single connection. Before adding fuel, right after, and again the next day after stuff settles and vibrates. A cold leak check isn’t enough. Carry basic tools for roadside checks too.
So yeah, got the reserve tank on finally. Works? Sure. Looks okay? Passable. But the process? Messy. Avoid my head-scratching moments:

- Measure like your bike’s life depends on it (it kinda does),
- Lock that mount down tight & protect your frame,
- Route those fuel lines like a ninja – short, secure, safe,
- Leak check obsessively.
Save yourself the spilled gas and panic, folks. Do it smarter than me. Ride safe!