
Okay, so I’ve been messing around with this “madrid men” thing, and let me tell you, it’s been a bit of a journey. I wanted to share what I did, mostly so I don’t forget, but also maybe it’ll help someone else out there.

Getting Started
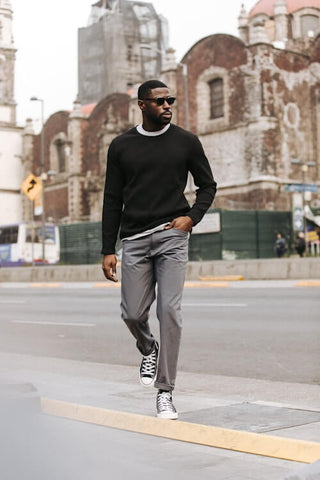
First, I needed to figure out what I was even dealing with. I started by just looking at the name. “madrid men” Okay so I know it’s related to Madrid .
I opened up my trusty image editor – I’m using, but use whatever you’re comfortable with. It has all that stuff, is a bit overwhelming at first, but you get used to it.
Experimenting the pictures
I tried searching a image on google, and adjust it.
- I played around with the levels. You know, making the darks darker and the lights lighter. Just trying to get some good contrast.
- Then, I messed with the curves. This is where you can really fine-tune things. I mostly just eyeballed it until it looked, well, better.
- I added a bit of sharpening. Not too much, though, or it starts to look weird.
- Finally, I changed the Hue/Saturation.
Saving My Work (Don’t Forget This!)
Once I was happy with how it looked, I made sure to save it. And not just a quick “Save”. I went to “File” -> “Save As” and picked a good file name, something like “madrid_men_final”. I also made sure to save it as a high-quality JPEG. You don’t want to lose all that hard work to compression artifacts!
It is done!