
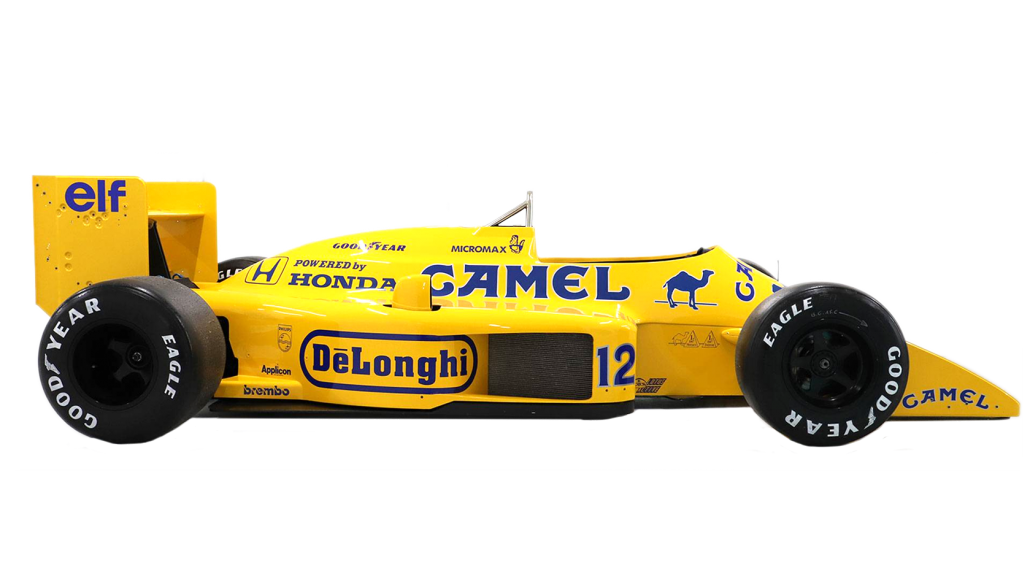
So, I was rummaging through some old boxes in the attic the other day, you know how it is, trying to declutter a bit. And I stumbled upon a stack of ancient motorsport magazines. Flipping through them, one particular theme just jumped out at me – those bright yellow Camel sponsored race cars. Man, they were everywhere back in the day, weren’t they?
Getting the Idea
Seeing those iconic liveries again, it kinda sparked something. I thought, “Hey, I haven’t built a model car in ages.” And just like that, I decided I wanted to try and recreate one of those Camel cigarettes racing machines. Not for any particular reason, just felt like a cool little project to get my hands dirty with.
First things first, I had to figure out what I was actually going to build. There were so many options – F1 cars, rally cars, bikes even. I leaned towards an F1 car from the late 80s or early 90s. That era had such a distinct look.
The Hunt for Parts and Info
Then, I started looking for a base kit. Didn’t need anything super expensive or complicated. Just a decent representation of a car from that period. Found a pretty generic one online that looked like it would do the trick. The real mission was going to be the paint and, crucially, the decals. That iconic yellow isn’t just any yellow, you know? And getting “Camel” logos isn’t as straightforward as popping down to the local hobby shop anymore.
I spent a fair bit of time researching.
- Looked up old photos and videos to get the color shades right.
- Searched for aftermarket decal sheets, which were surprisingly hard to find, or super expensive.
- Considered printing my own, which sounded like a whole other level of fiddly.
Getting Stuck In
Once I had a basic plan, I got to work. The model kit arrived, and I began by washing all the plastic parts. Standard procedure. Then I assembled the main chassis and bodywork, leaving off bits that would be easier to paint separately. Primer went on next, a couple of light coats to get a good base.

Then came the yellow. Oh, that yellow. I bought a few different shades that looked close. Did some test sprays on spare plastic. Eventually, I settled on one that felt right, or at least close enough for my liking. Several thin coats later, it was looking pretty vibrant.
The decals… yeah, that was the tricky part. I managed to find a guy online who did custom decal sets, so I ordered what I needed. Waiting for those to arrive felt like forever. When they did, applying them was a slow, careful process. Lots of decal solution, a soft brush, and a ton of patience. A few of them tore a little, which was frustrating, but I managed to patch things up or hide the worst bits.
I painted the details next – the black wings, the silver engine bits, the tires. Made sure the driver figure had a helmet that matched the period. It’s these little things that bring it all together, I reckon.
The Finished Piece
Finally, after a few weeks of tinkering in the evenings and on weekends, it was done. Stood back and looked at it. Not perfect, by any means. If you look close, you can see a few flaws. But you know what? I was pretty chuffed with it. It’s got that distinctive Camel cigarettes racing look down, and it was fun to make something with my hands again.
It’s funny how these things go. Started with finding some old magazines, and ended up with this little yellow race car sitting on my shelf. A nice reminder of a very specific, and pretty memorable, era in motorsport. Sometimes, you just gotta follow those random little sparks of inspiration, eh?
