
Alright, buckle up, buttercups! Today, I’m spillin’ the tea on how I built a chicken swing. Yeah, you heard right. A swing. For chickens. Don’t judge, they deserve some fun too, right?
It all started last month. I was watchin’ my girls peck around in the yard, lookin’ all bored and whatnot. I thought, “Hey, why not spice things up a bit?” So, I hit up Google, typed in “chicken enrichment ideas,” and BAM! Chicken swing. Seemed simple enough.
First things first: Supplies. I didn’t wanna spend a fortune, so I raided my garage. Found an old broom handle – perfect! Then I grabbed some sturdy rope from the shed (the kind I use for tying down tarps), a drill, and some carabiner clips I had lying around. You know, the kind climbers use. Safety first, even for chickens!
Okay, so the first thing I did was measure out the broom handle. I wanted it to be wide enough for a few chickens to perch comfortably, but not so wide that it’d be unwieldy. Ended up choppin’ it down to about 2 feet. Used a handsaw for that, nice and easy.
Next up: drillin’ the holes. This part was a little tricky. I wanted the holes to be evenly spaced and big enough for the rope to pass through easily. I marked the spots with a pencil, then carefully drilled two holes on each end of the broom handle. Make sure you deburr the holes so the rope doesn’t fray!
Now for the rope. I cut two lengths of rope, each about 6 feet long. Figured it’s better to have too much than not enough, right? I threaded the rope through the holes, making sure to knot it securely on the underside of the broom handle. Gotta make sure that thing can hold some weight!
Attaching the carabiner clips was the last step. I just clipped them onto the loops of rope at the top. These will be used to hang the swing from the chicken coop. Easy peasy!
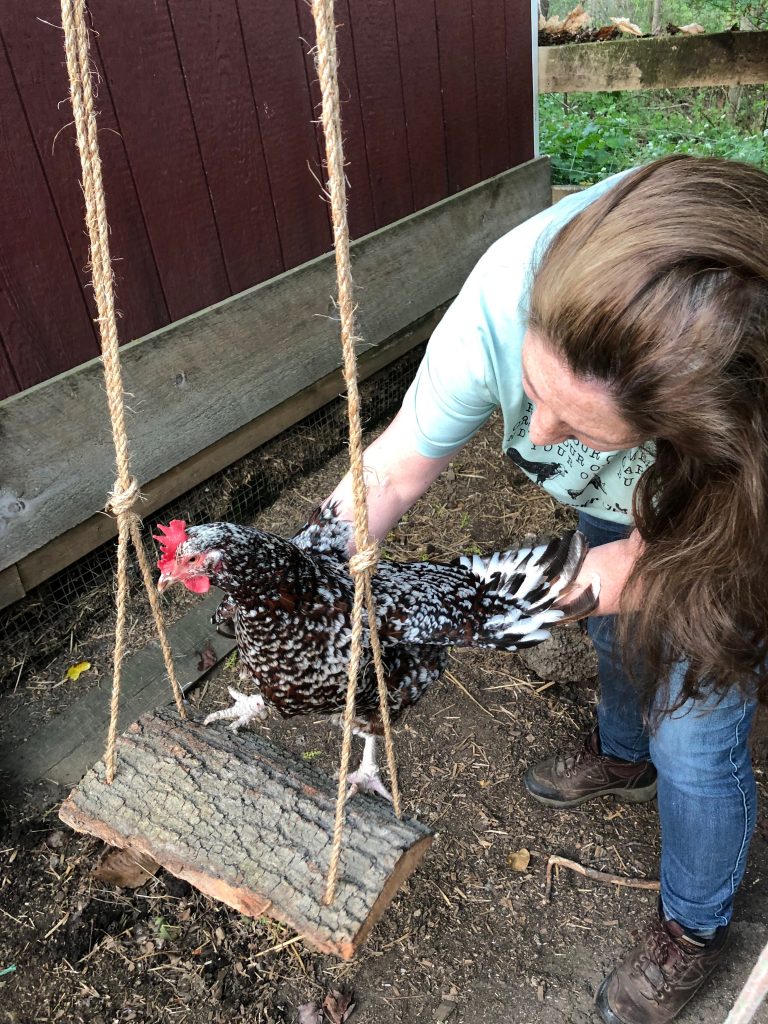
The Moment of Truth: Installation! I headed out to the coop with my newly crafted chicken swing. I chose a spot that was relatively sheltered from the elements but still had plenty of sunlight. I hung the swing from a sturdy beam in the coop, making sure it was high enough off the ground so the chickens could swing freely but not so high that they couldn’t reach it.
And… nothing. The chickens just stared at it. Like, “What is this strange contraption?” I even tried to coax them onto it with some scratch grain, but they were having none of it. I was starting to think I’d wasted my time.
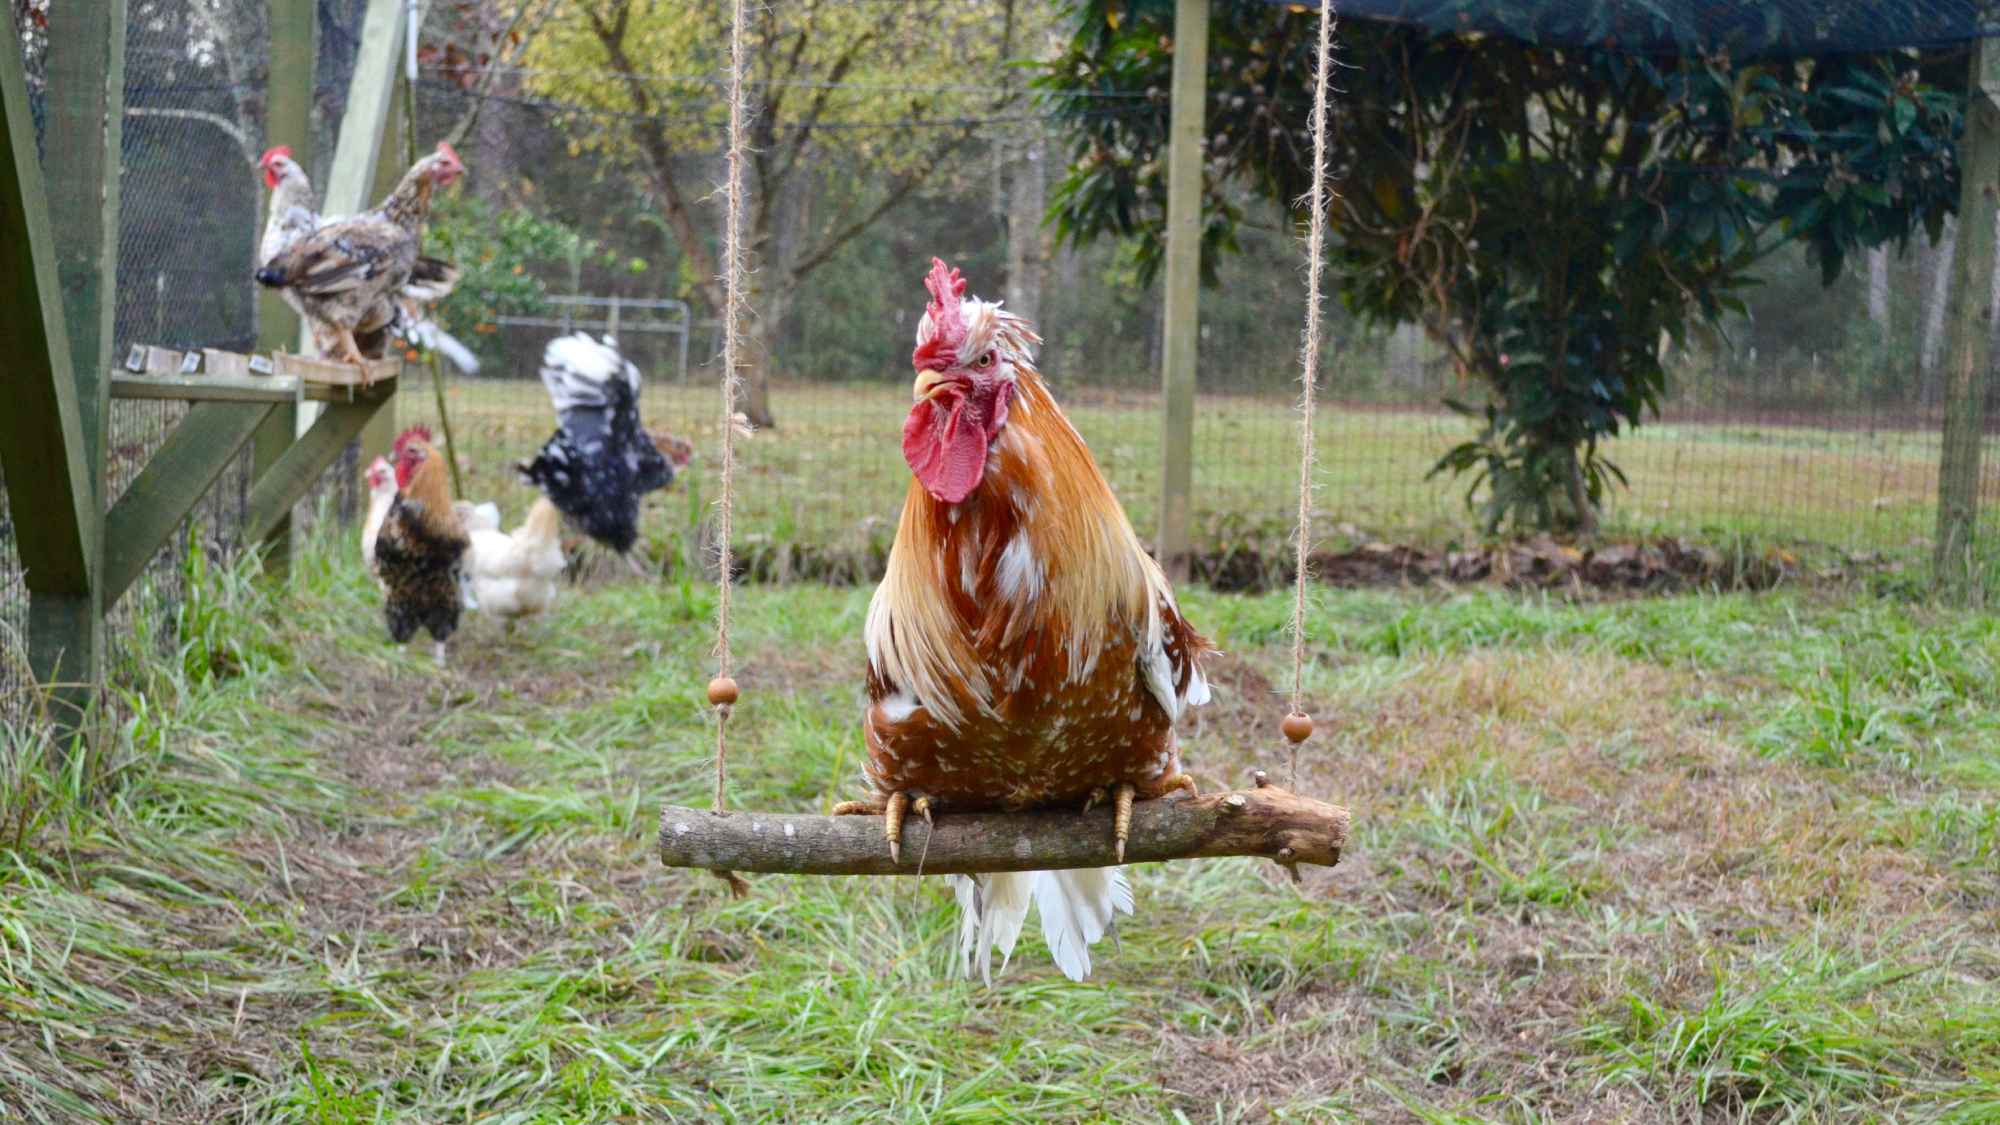
But then, after about an hour, one brave little hen hopped up onto the swing. And then another. And another! Soon, they were all vying for a spot. It was hilarious! They were swingin’ and swayin’ and lookin’ like they were having the time of their lives.
A few tips I learned along the way:

- Make sure the swing is sturdy and secure. You don’t want it to collapse under the weight of your chickens.
- Start low and gradually raise the swing as the chickens get used to it.
- Be patient! It may take them a while to warm up to the idea.
All in all, building a chicken swing was a fun and rewarding project. The chickens love it, and it’s great to see them having some fun. Plus, it’s a good way to recycle old materials and keep them entertained.
So, if you’re looking for a way to spice up your chicken coop, I highly recommend giving it a try. Who knows, you might just become the coolest chicken parent on the block!