
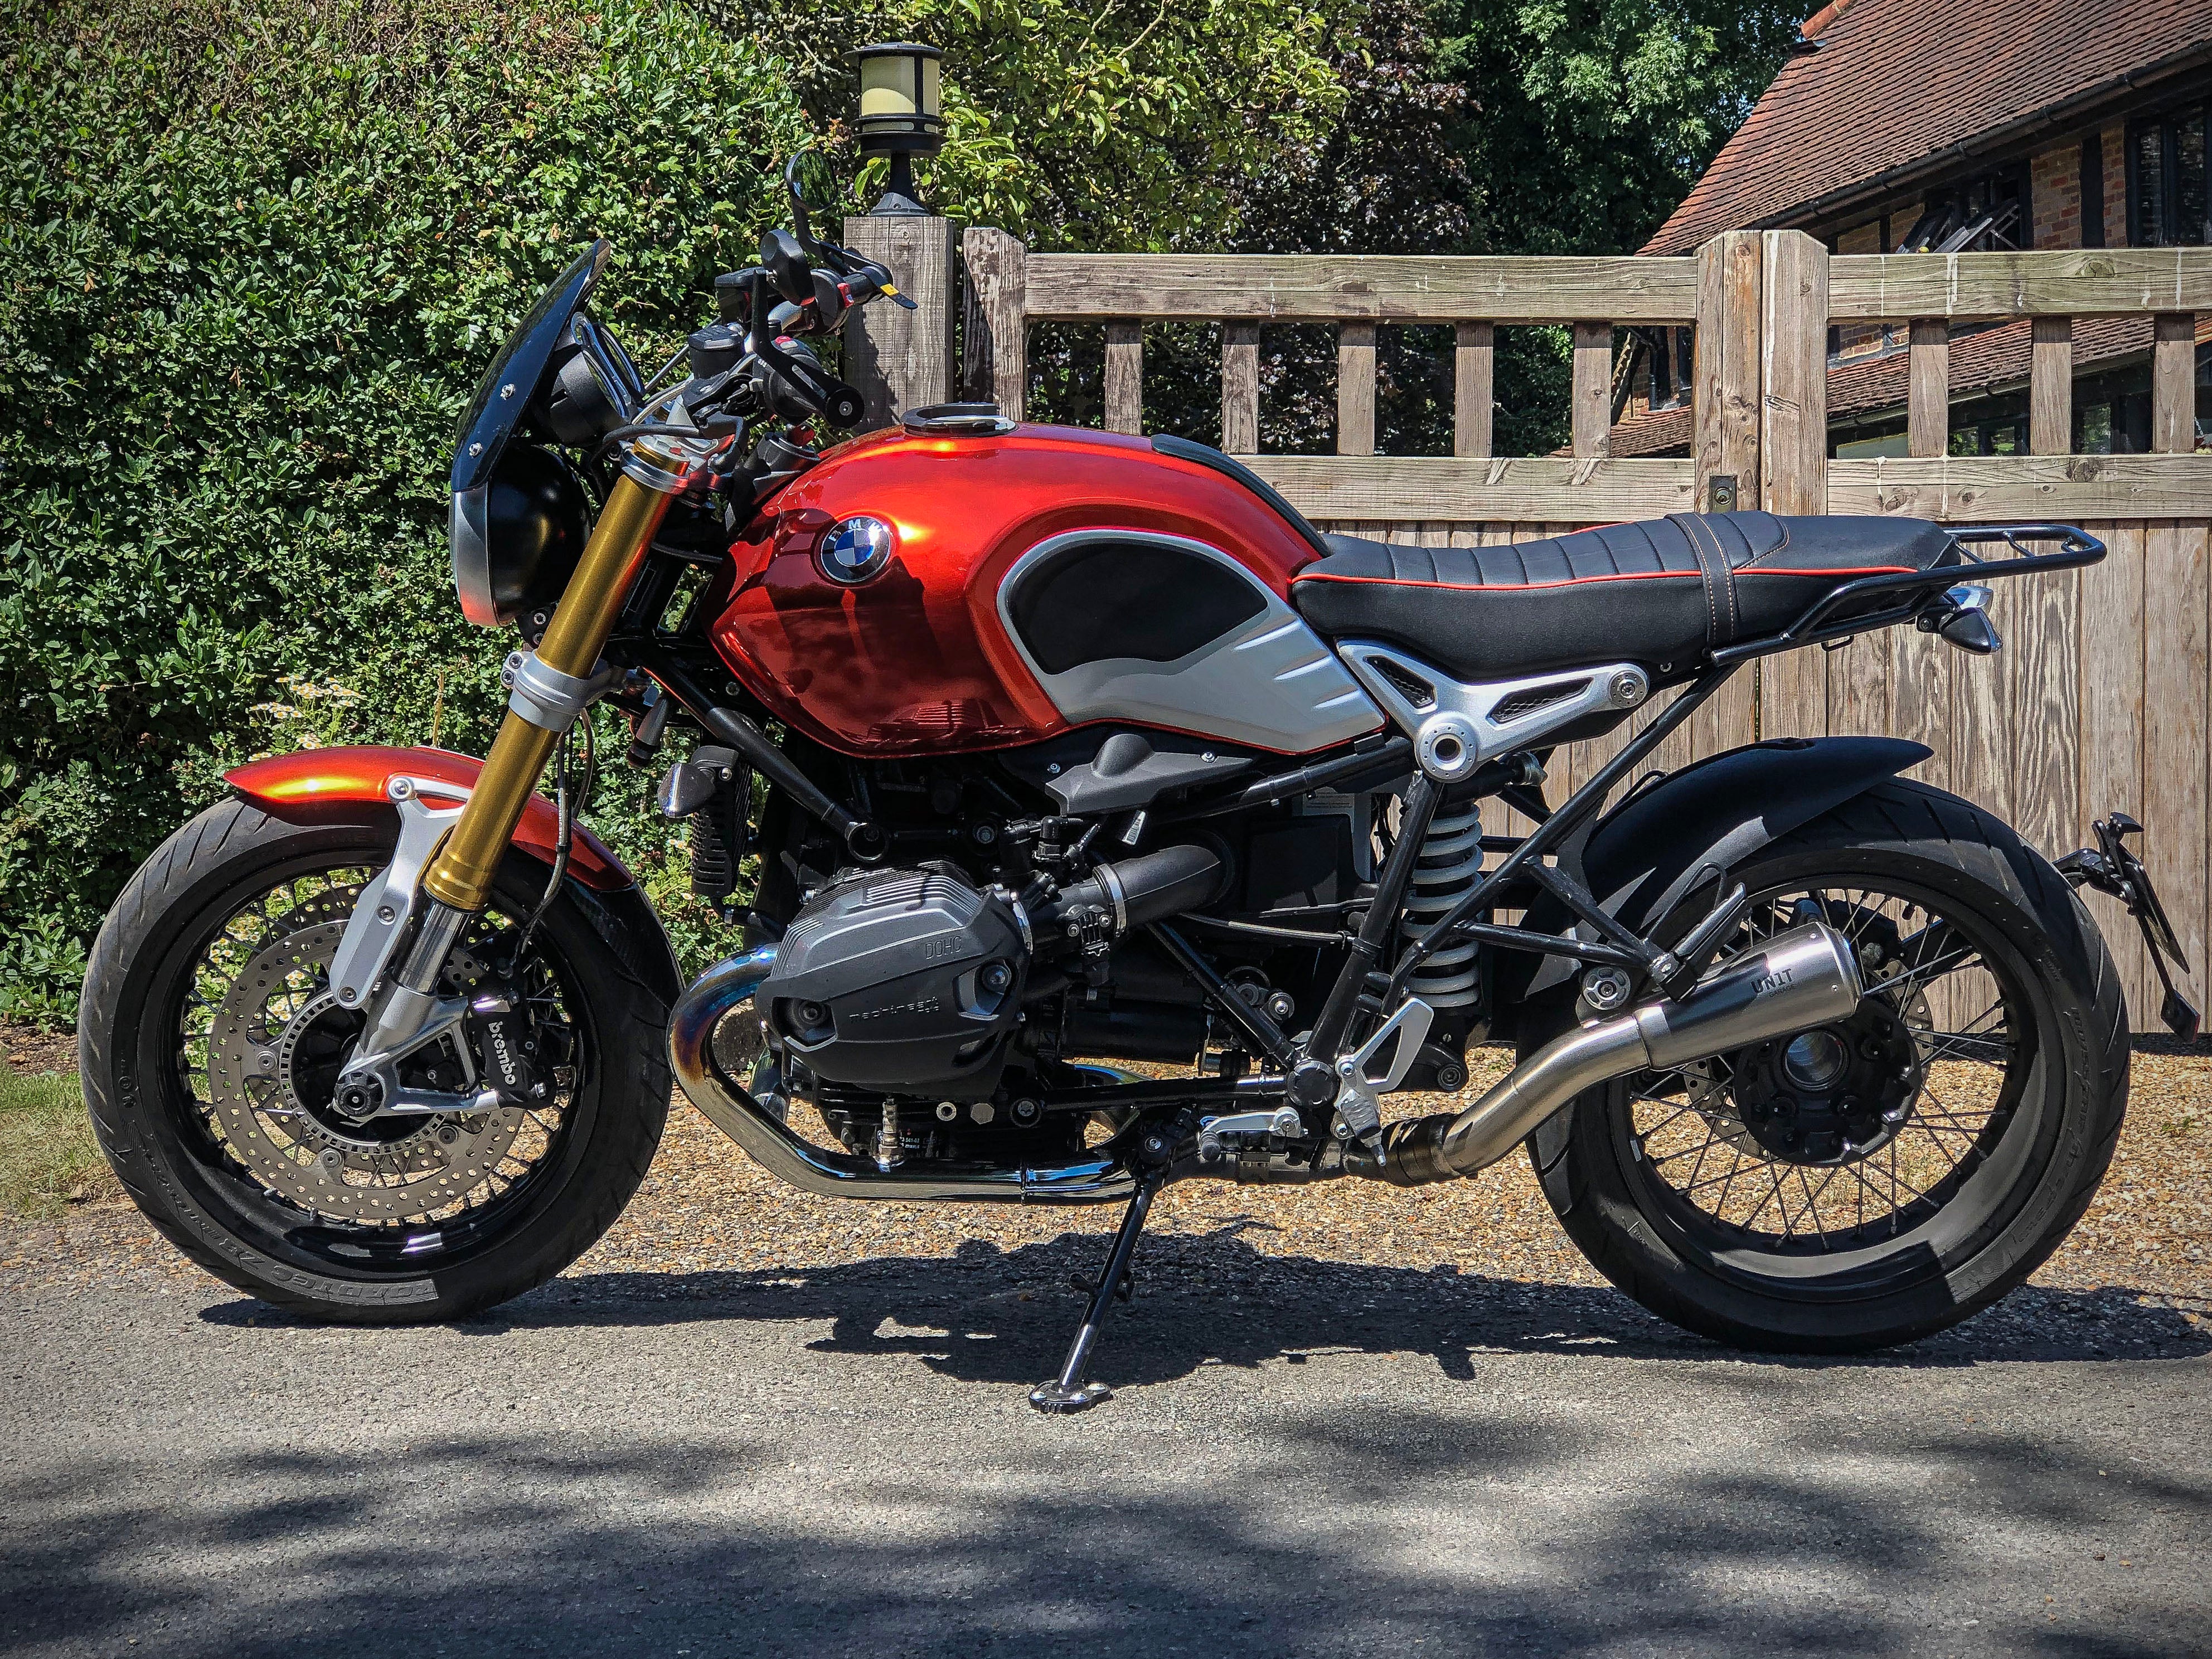
Alright, let’s dive into how I tricked out my BMW R9 Scrambler last weekend. Been itching to personalize this beast since I got it, you know? Stock’s nice but feels like wearing someone else’s clothes.
Where I Started
First step was eyeballing what bugged me. Hate that clumsy rear fender – looks like it’s dragging its feet. And those basic mirrors? Can barely see past my elbows. Figured I’d start with five upgrades:
Must-dos:
- Chop that rear fender down
- Swap mirrors for bar-ends
- New LED turn signals
- Leather tool pouch for the side
- Exhaust tip swap (because vroom needs attitude)
Shopping Shenanigans
Hit up my garage stash first – had some bar-end mirrors from an old project. Score! But the fender eliminator kit? Forget local shops. Ended up deep in motorcycle forums at 2am. Found this German site that makes bolt-on kits specifically for R9s. Ordered it along with these slick arrow-shaped LED turn signals. Pro tip: measure your bolt holes twice before clicking checkout. Learned that the hard way last year.
Wrench Time (With Swearing)
Saturday morning, coffee in hand, garage door open. Started simple: yanked off the stock mirrors. The bar-ends screwed in easy-peasy – took maybe 15 minutes. Then tackled the rear fender. Unscrewed the monstrosity…
Roadblock #1: The new eliminator plate didn’t align perfect with my wiring harness. Had to dangle it with zip ties while drilling an extra hole. Note to self: Always have spare drill bits.
Wiring the LED signals had me sweating though. Cut the old connectors off thinking it’d be plug-n-play. Nope. Had to splice wires like a surgeon. Positive to positive, negative to… wait is blue positive?! Made it work after testing with a 9-volt battery.
Finishing Touches
Slapped on the brown leather tool pouch with heavy-duty Velcro – no tools rattling now. Saved the exhaust tip for last. Just unscrewed the old one (hot tip: wait until your pipes are cold – guess how I know?) and hand-tightened the new shorty tip. Immediate sound difference – deeper growl without being obnoxious.
Why It Worked
Took me one weekend total. Spent more time researching than installing honestly. Final cost? Around $320 since I reused the mirrors. Biggest win: The bike looks leaner now – like it lost 20 pounds. Bar-end mirrors actually show traffic, and the shorter fender shows off the back wheel. Only regret? Wish I’d bought the turn signals with built-in resistors. Had to add load resistors separately to stop hyper-flashing.
Next phase? Maybe knobby tires for dirt… but that’s another wallet-emptying adventure!