
Okay, here’s my take on sharing my “o d e n” practice, blog-style:
My Oden Adventure: From Scratch to Steaming Goodness
Alright folks, so I decided to tackle oden from scratch. Why? Because the pre-made stuff is okay, but I wanted real oden, the kind that warms you from the inside out.
First thing’s first, the dashi. I grabbed some kombu (dried kelp) and dried shiitake mushrooms from the Asian market. I soaked the kombu in cold water for about an hour, then tossed it in a pot with the shiitake and more water. Brought it to a simmer, then killed the heat and let it steep for like, another hour. Gotta get all that umami! I strained it all out, and boom – dashi base done.
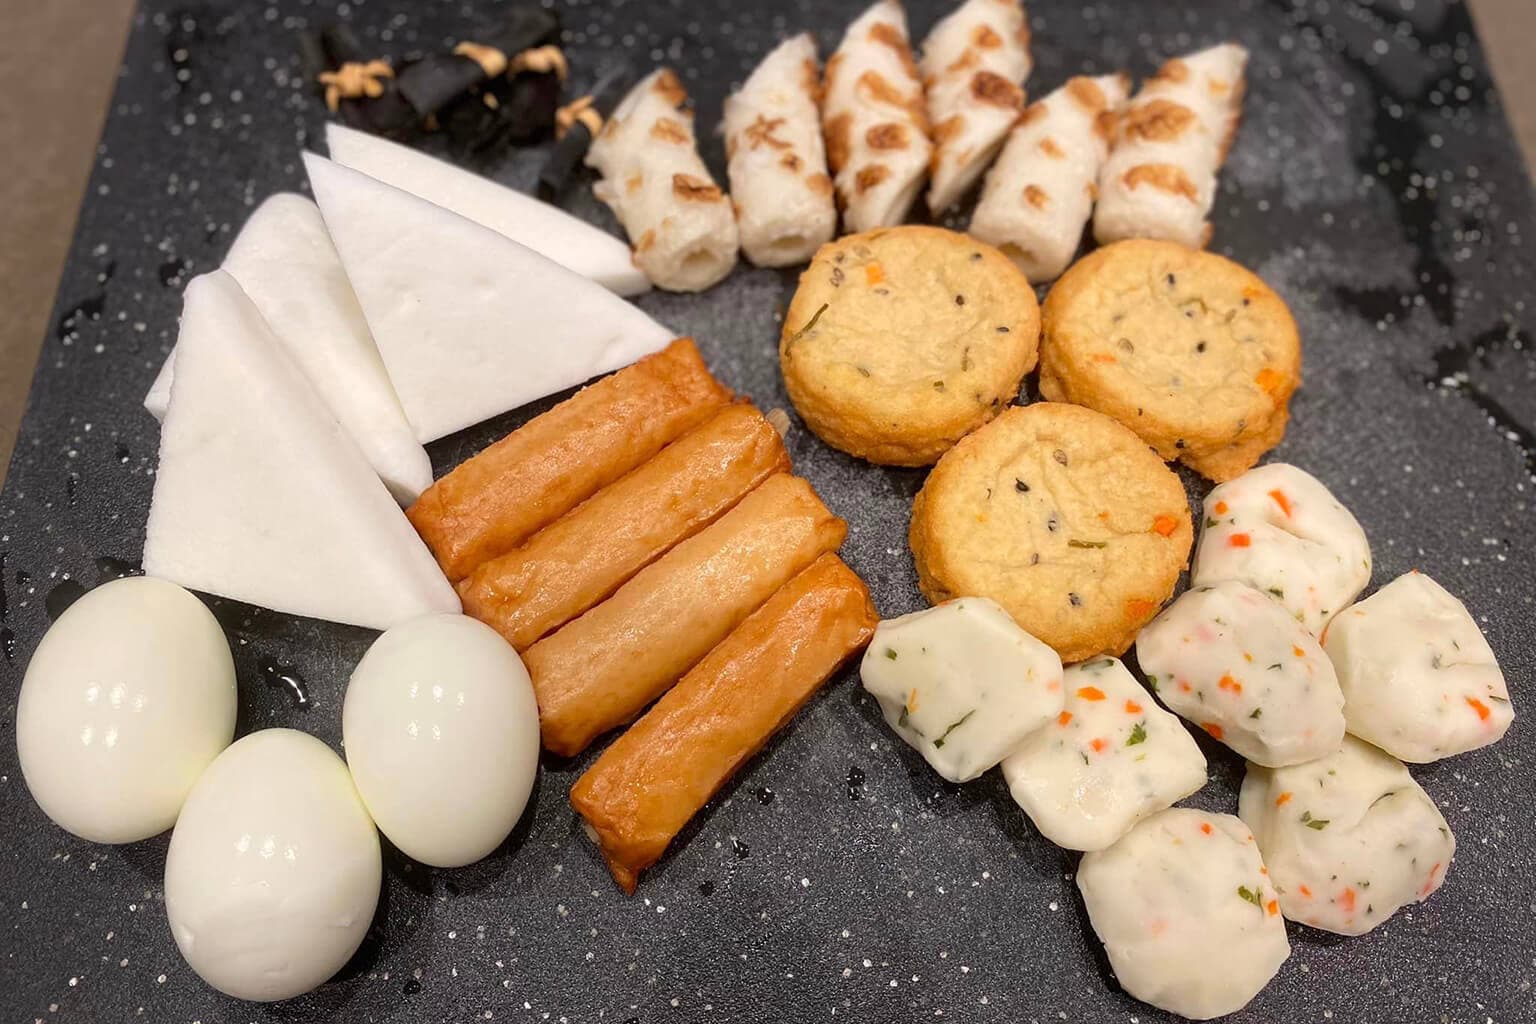
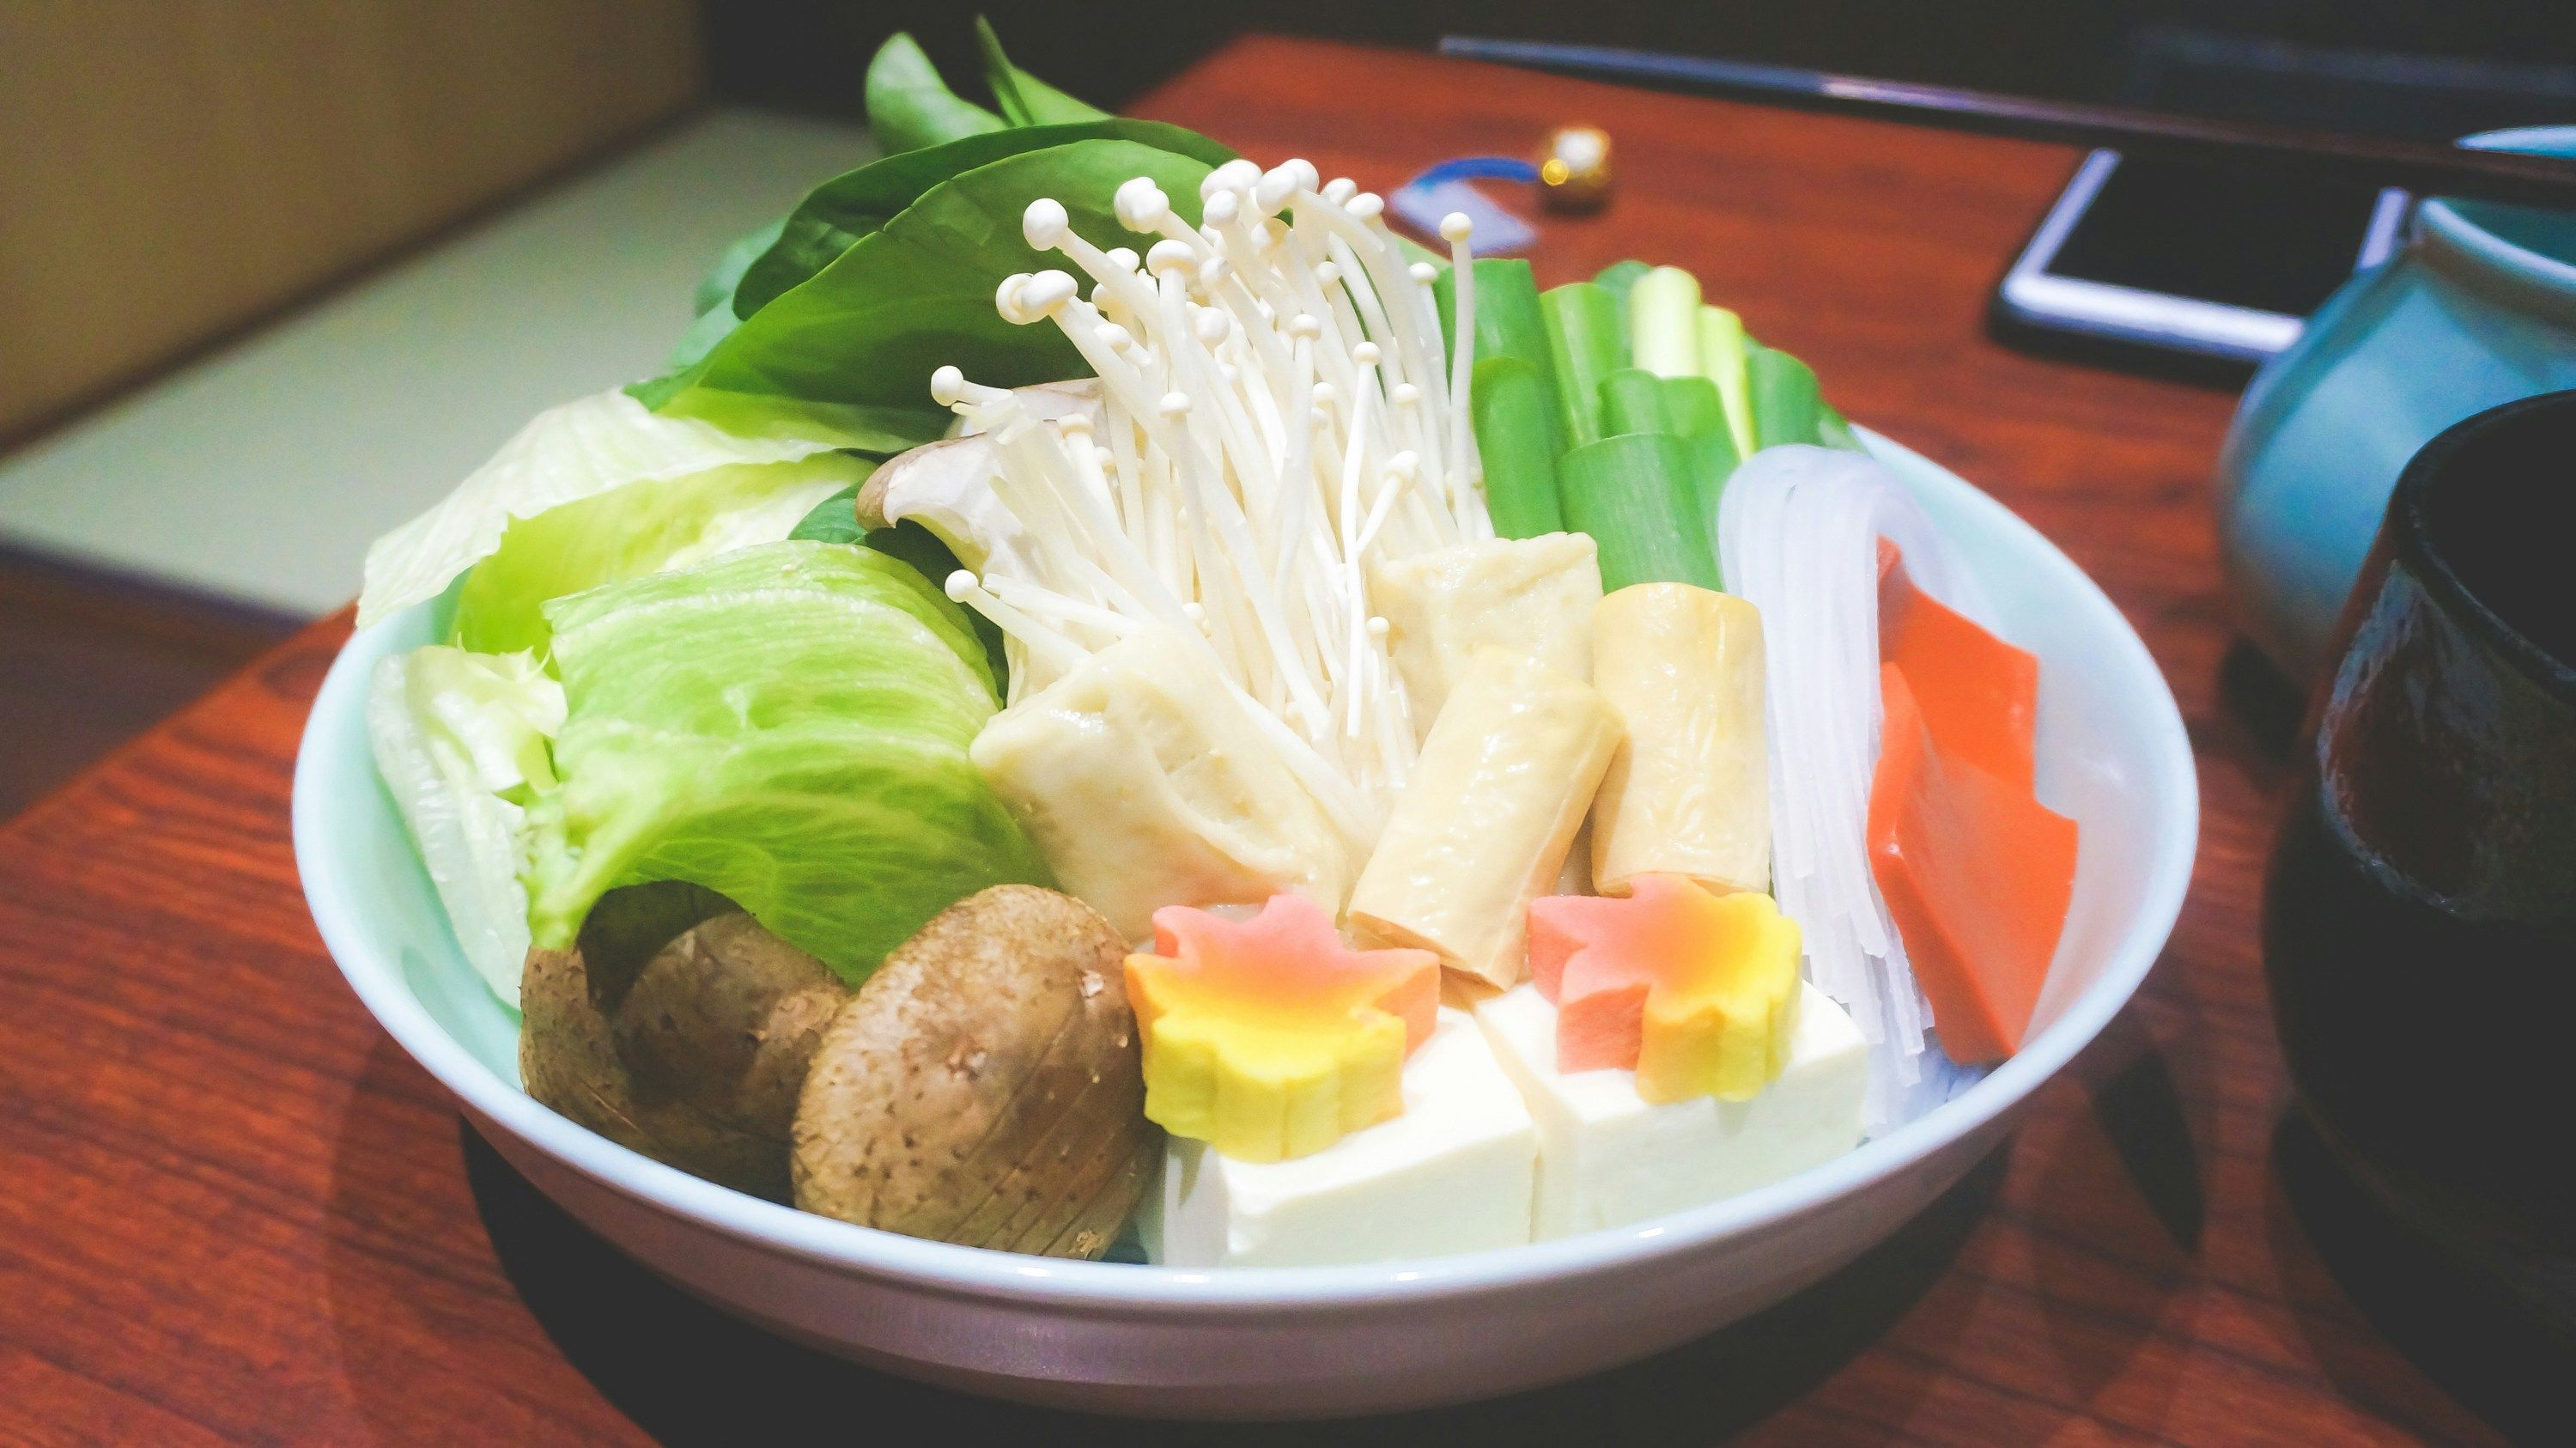
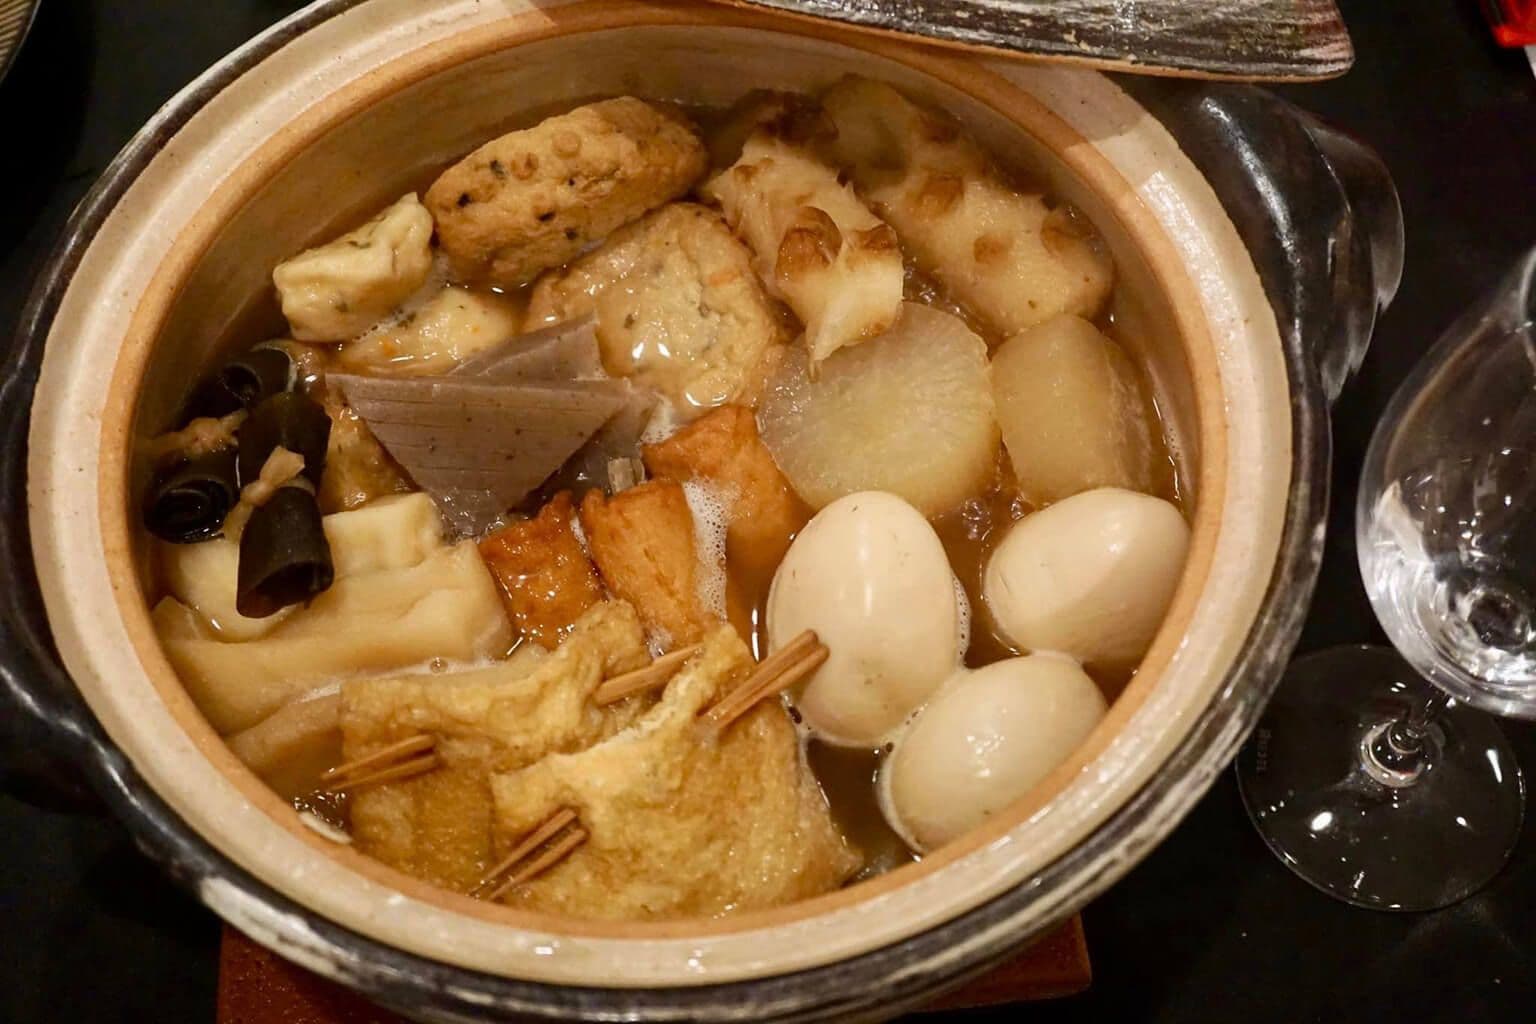
Next up, the oden ingredients. This is where it gets fun. I went for:
Daikon radish (gotta have it!)
Konnyaku (the grey, jiggly stuff)
Boiled eggs (duh)
Fish cakes (various shapes and sizes)
Atsuage (fried tofu)
Chikuwa (tube-shaped fish cake)
Hanpen (the fluffy white fish cake)
Beef tendon (this needs some extra work)
The beef tendon was the tricky part. I gave it a good rinse, then boiled it for a while to soften it up. After that, I cut it into bite-sized pieces and simmered it separately in a little bit of soy sauce, sake, and sugar until it was nice and tender. This step is important, it adds so much flavour!
Now, for the assembly! I poured the dashi into a big pot and added soy sauce, mirin, and a little bit of sugar to season it. You gotta taste it and adjust until it’s just right – savory and slightly sweet.
Then, I started adding the ingredients. Daikon goes in first, since it takes the longest to cook. Then the konnyaku. Next came the beef tendon. After those simmered for a while, I added the rest of the ingredients – the eggs, fish cakes, atsuage, chikuwa, and hanpen.
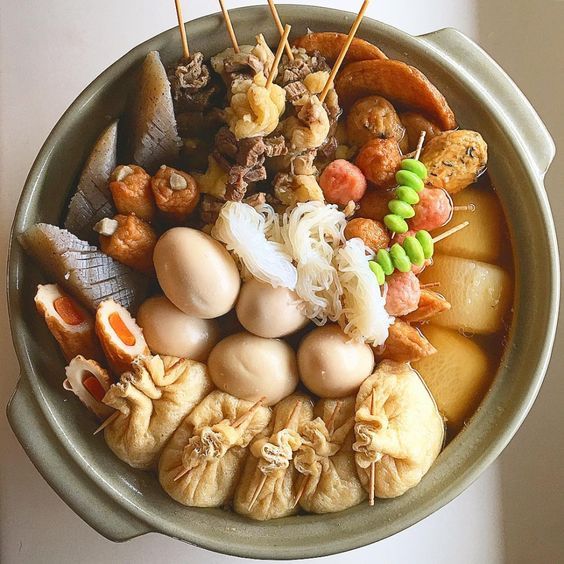
I let the whole thing simmer on low heat for at least an hour, letting all the flavors meld together. The longer it simmers, the better it gets!
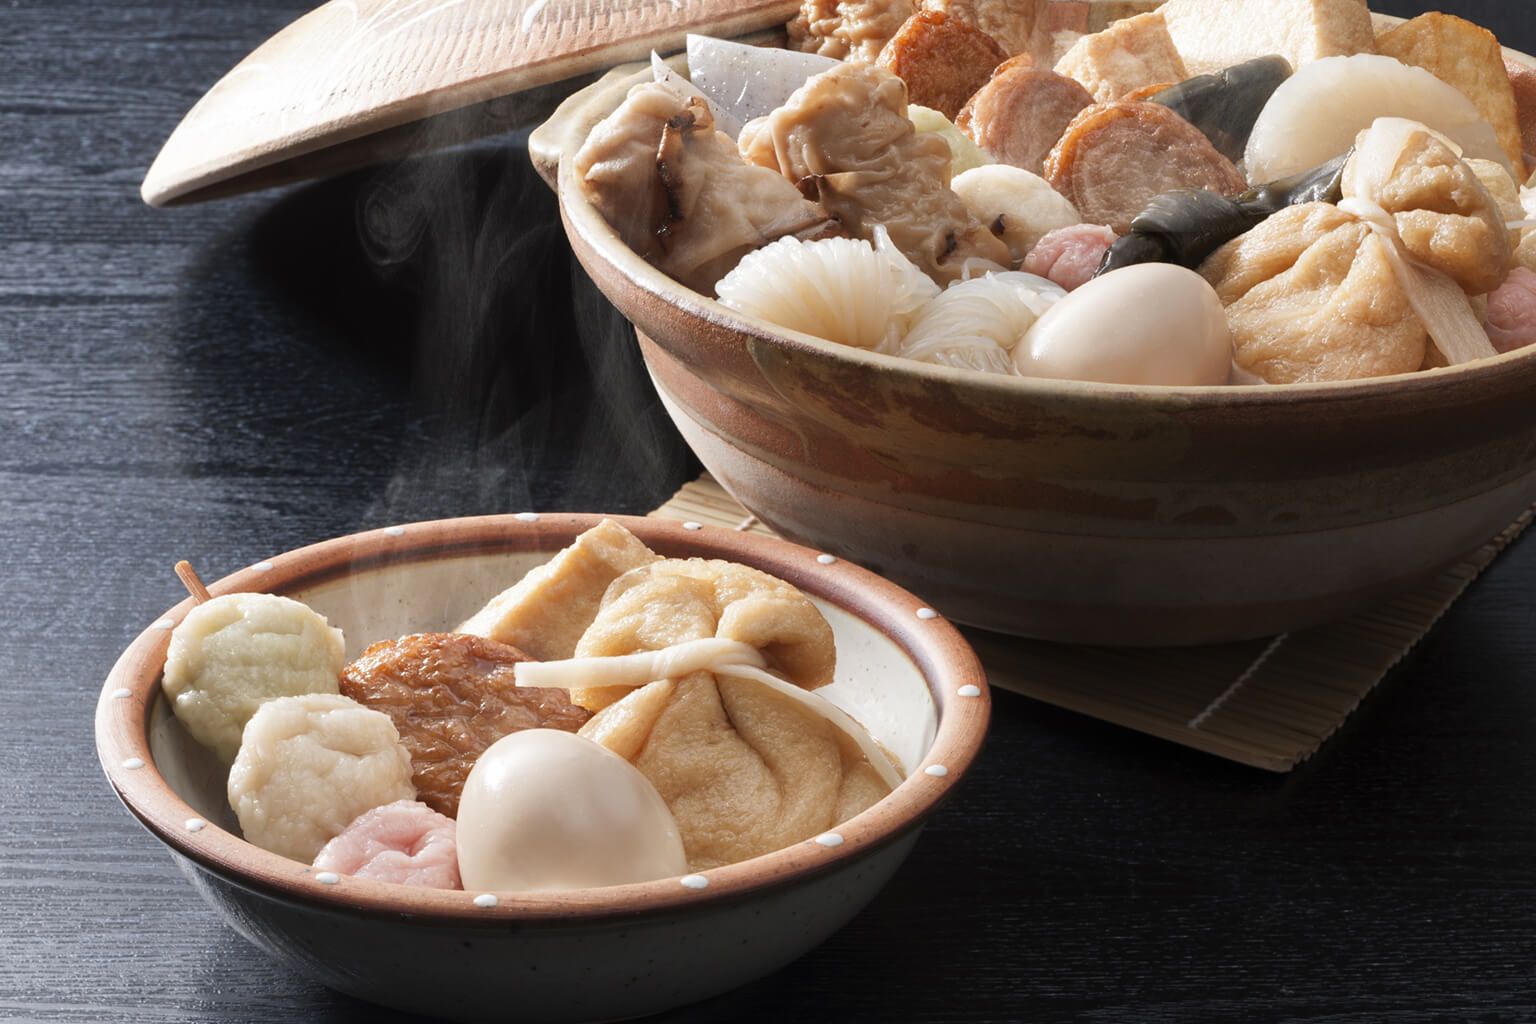
Finally, time to eat! Ladled a bunch of the oden into a bowl, making sure to get a little bit of everything. Added a dollop of Japanese mustard (karashi) for a kick.
Seriously, this was the best oden I’ve ever had. The dashi was rich and flavorful, the ingredients were perfectly cooked, and the beef tendon was melt-in-your-mouth tender. It was so worth the effort!
Tips for Your Oden Adventure:
Don’t be afraid to experiment with different ingredients. Oden is all about personal preference.
Simmering is key. The longer it simmers, the better the flavors will develop.
Serve with karashi (Japanese mustard) for a little bit of heat.
Enjoy with a cold beer or some sake!
- Daikon Radish
- Konnyaku
- Boiled Eggs
Conclusion
Making oden from scratch is a bit of a project, but it’s so rewarding. The homemade dashi makes all the difference, and you can customize it with your favorite ingredients. Give it a try – you won’t be disappointed!