")
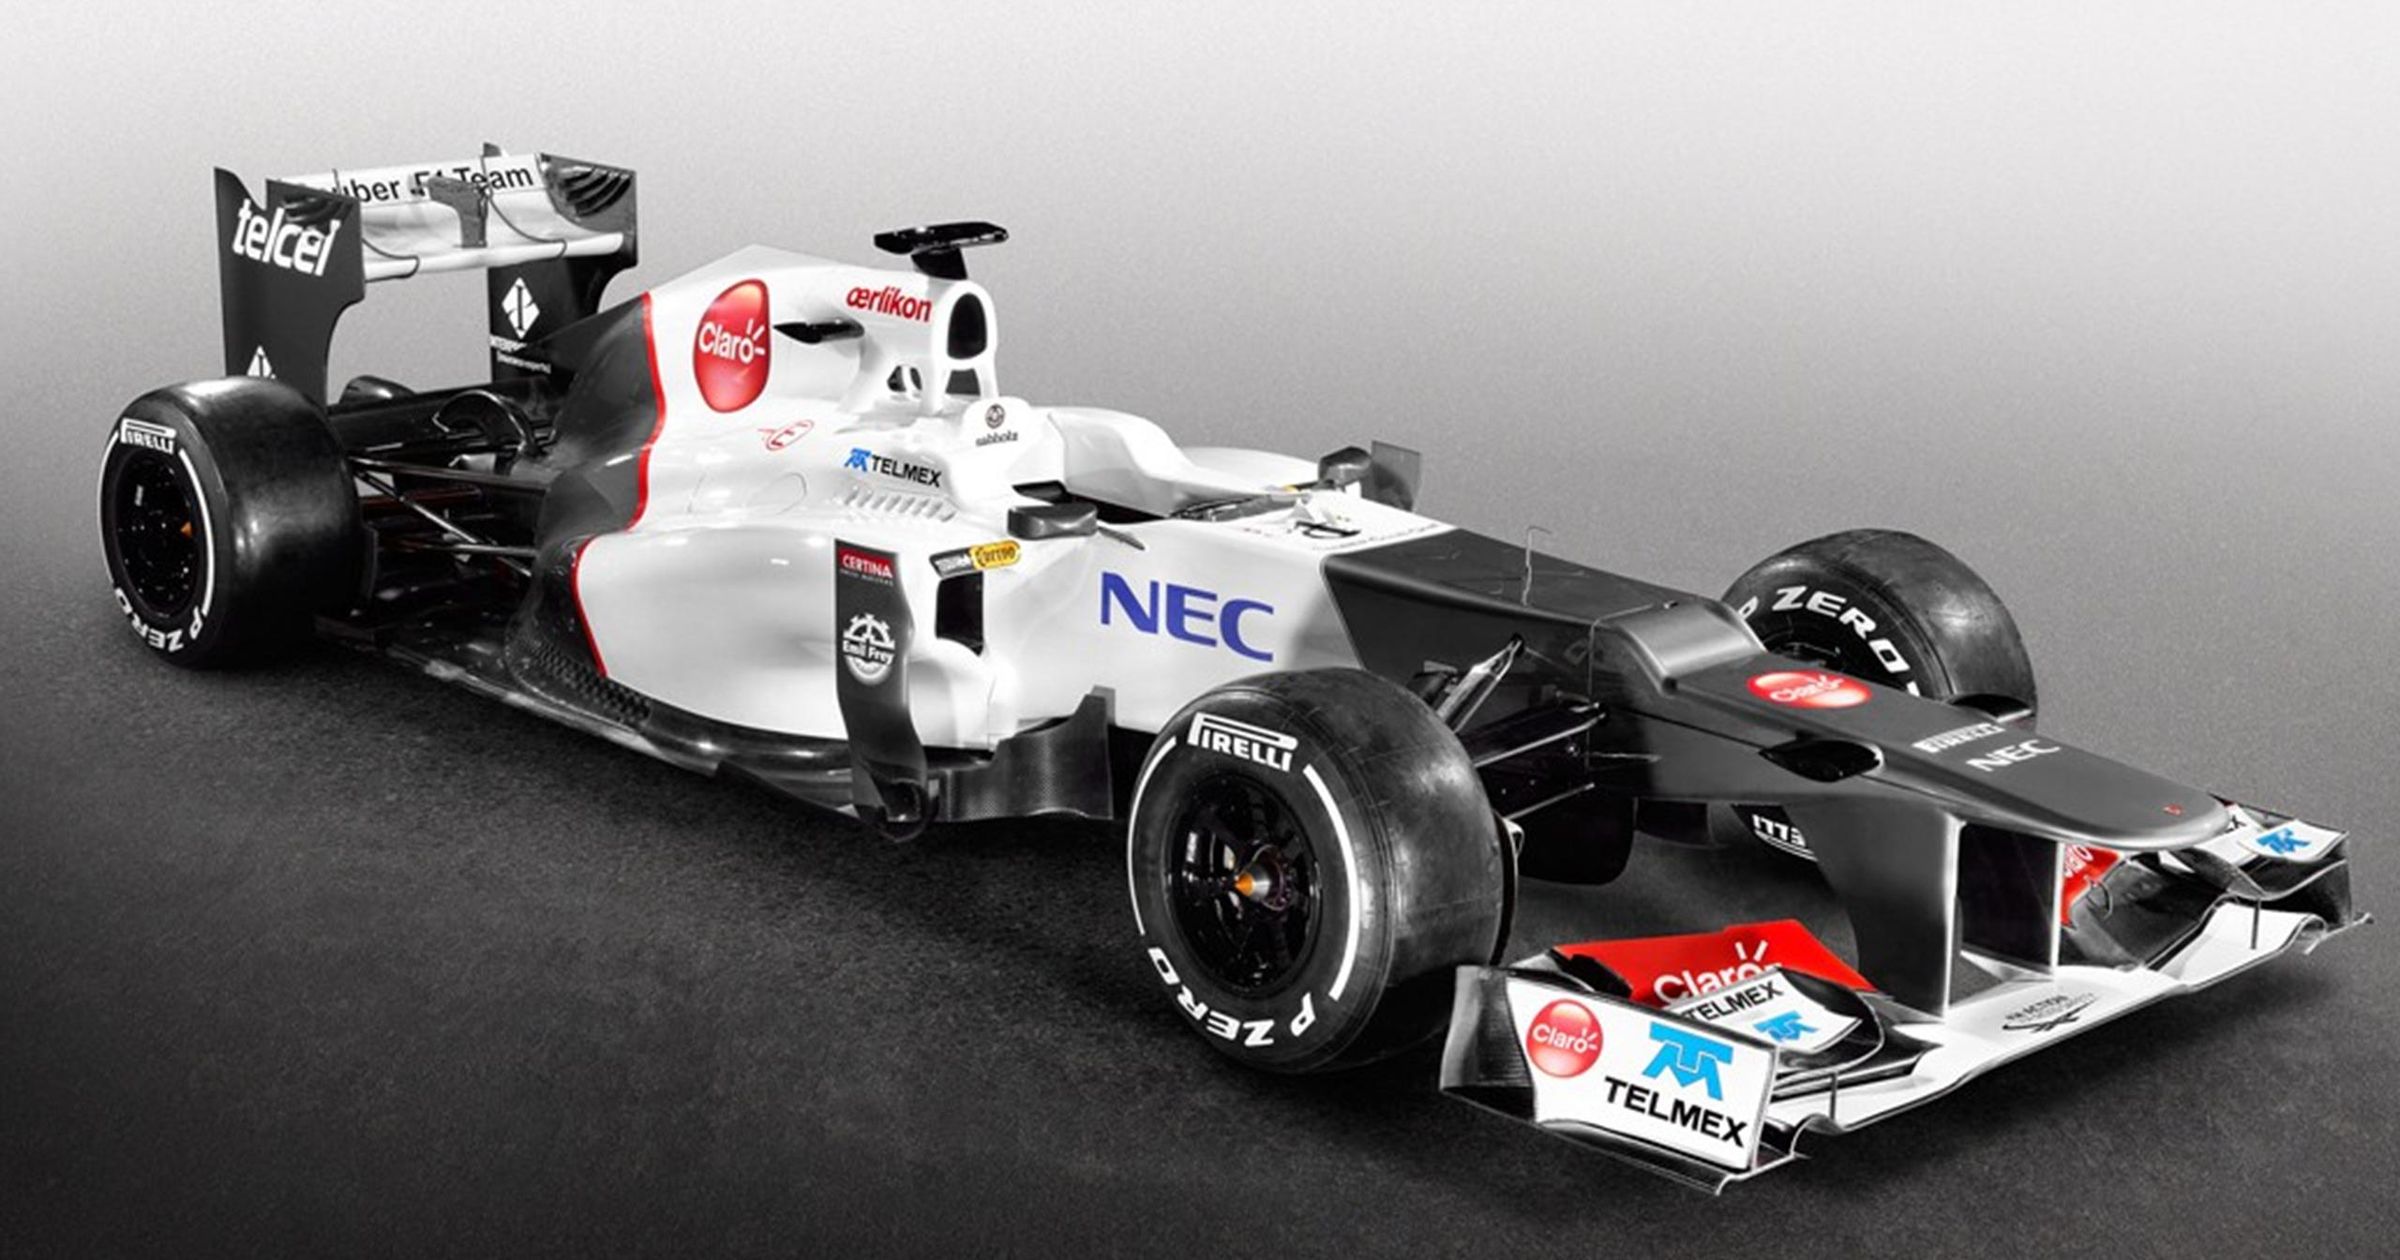
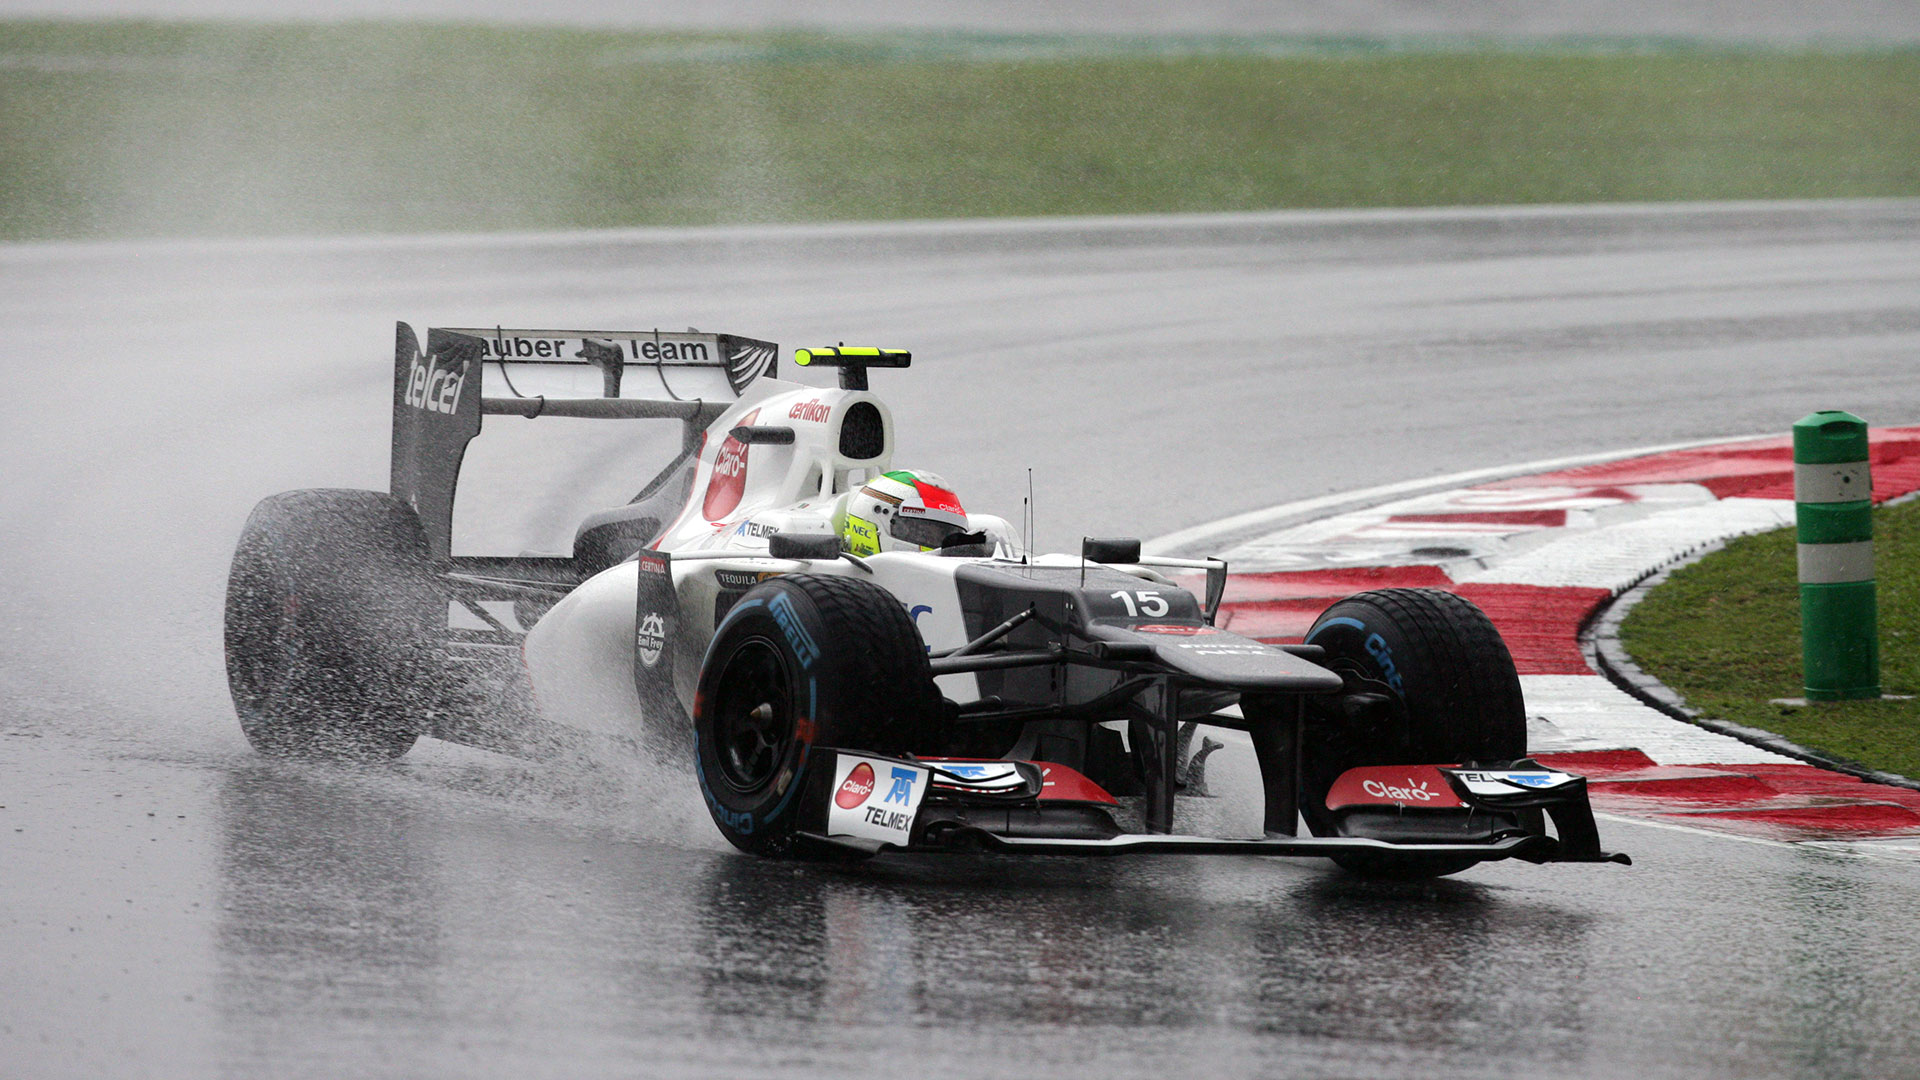
Today, I got a new task and it’s pretty fun, building a model of the F1 Sauber C31. I’ve always been a fan of Formula 1, and getting to build a model of one of these amazing machines is a dream come true. This specific car, the Sauber C31, was driven by Kamui Kobayashi and Sergio Pérez in the 2012 season. I remember watching them, and now I am going to make a model by myself.
I started by gathering all the materials. I got the model kit online. It came with all the parts, decals, and instructions. I also got some paints, brushes, glue, and a few other tools that I thought I might need. It’s important to have everything ready, so you don’t have to stop in the middle of building to go search for something.
First, I opened the box and laid out all the parts. There were a lot of them! I carefully read through the instructions, just to get an idea of how everything was supposed to go together. It looked pretty complicated, but I wasn’t going to give up.
I started with the chassis, the main body of the car. It came in a few pieces that I had to glue together. I used a special plastic model glue, and clamped the pieces together while they dried. This was to make sure they wouldn’t come apart later. I was really careful to line everything up perfectly because any mistakes here would mess up the whole model.
- Paint job comes next. I painted the chassis in the Sauber team’s colors. I used an airbrush for this, because it gives a much smoother finish than a regular brush. This part took a while. Because I had to wait for each coat of paint to dry before applying the next one. I did lose my patience a little bit but the result was so good.
- Then, I assembled the engine and gearbox. These were some of the most detailed parts of the model. There were lots of tiny pipes and wires that had to be glued in place. It was a bit fiddly, but I took my time and made sure everything was in the right spot. The sense of accomplishment when I finished this part was huge!
- Next up was the suspension. This was another tricky part because the suspension arms are quite delicate. I had to be very careful not to break them. I followed the instructions closely, and after a few hours, I had the front and rear suspension assemblies completed. I was actually kind of surprised I didn’t break anything.
After that, I put the wheels together. Each wheel had multiple parts, including the tire, the rim, and the brake disc. Getting the tires onto the rims was a bit of a struggle, but I managed it eventually. I learned a trick online to soak the tires in warm water first, which made them a bit more flexible and easier to work with.
Finally, I attached all the smaller details, like the wings, mirrors, and the driver’s seat. This is where the model really started to come to life. Each little piece added more realism to the car. I spent a good amount of time making sure everything was perfectly aligned and securely attached.
Adding the Decals
The last step was applying the decals. These are the stickers that give the car its racing livery. I used a pair of tweezers to carefully place each decal in the correct position, using the instructions as a guide. This part was also quite delicate, but I was very careful not to tear any of the decals. I soaked them in water for a few seconds to make them easier to slide into place, then used a soft cloth to smooth out any air bubbles.
And that was it! After many hours of work, my F1 Sauber C31 model was complete. It looked amazing! I was really proud of how it turned out. It’s now proudly displayed on my shelf, and it’s a great reminder of the fun I had building it. The whole process was a great learning experience, and I’m already thinking about which model to build next. Maybe a Ferrari? Or a McLaren? Time will tell.