
Okay, so I’ve always loved those little table football games, you know, the ones with the spinning players? I decided I wanted to make my own, a proper, sturdy one. It seemed like a fun project.
Getting Started
First, I grabbed some scrap wood I had lying around from other projects. An old bookshelf and some leftover plywood. I figured it was a good way to recycle and save some money.
- Measured everything out. I wanted a decent-sized playing surface, not too big, not too small.
- Cut the wood for the sides, the base, and the playing field. This was the tricky part, getting everything square and even.
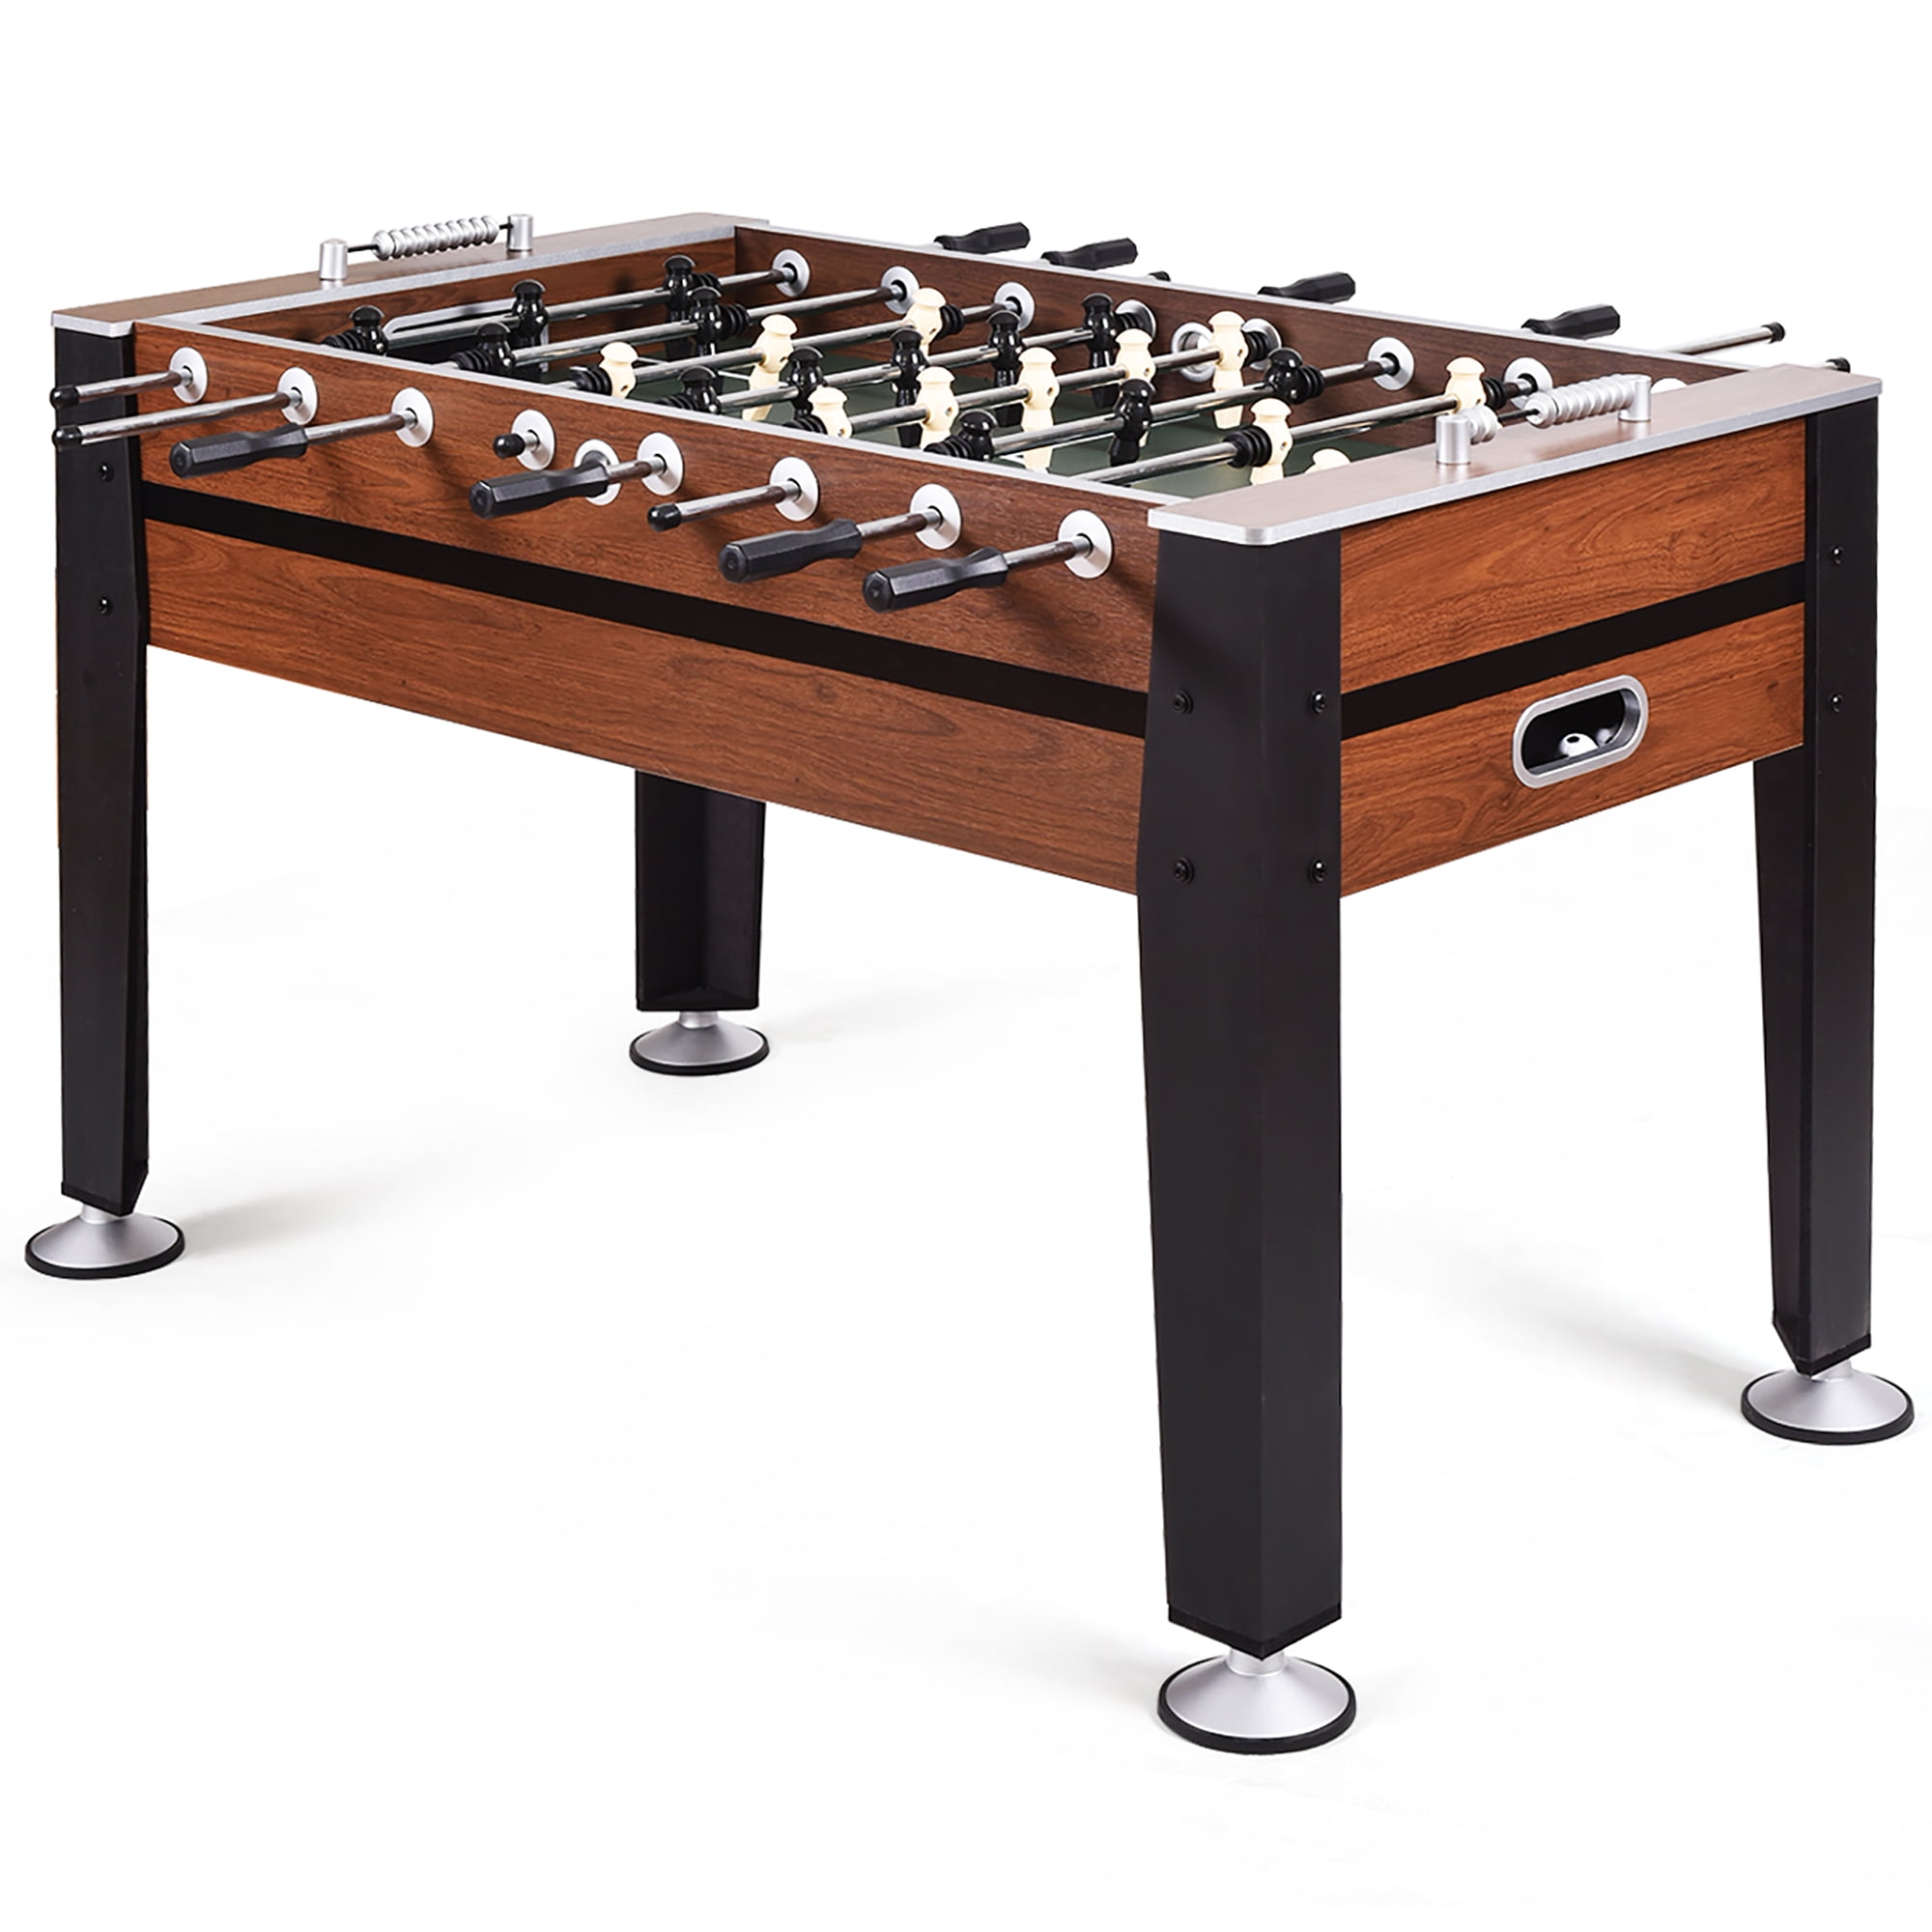
Building the Box
Next, I screwed the sides together to make the main box. Used some wood glue too, for extra strength. I clamped it all together while the glue dried, to make sure it was solid.
The Playing Field
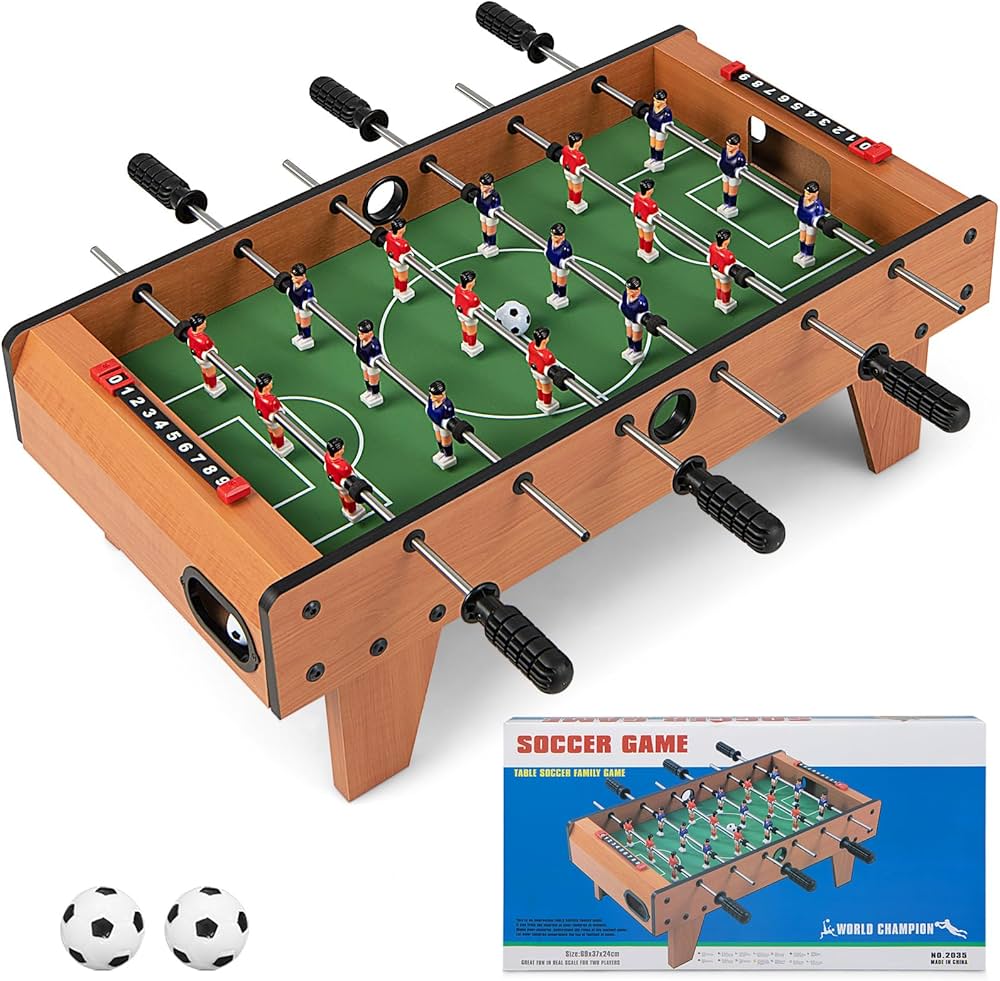
For the playing surface, I used the plywood. I painted it green, naturally, to look like a football pitch. Then I carefully marked out the lines with white paint. It was a bit fiddly, but I took my time and it turned out alright.
The Players and Rods
This was the really fun part. I bought some metal rods and some little plastic football players. I got two different colors, red and blue, for the teams. I had to drill holes in the sides of the box for the rods to go through. Then I attached the players to the rods, making sure they could spin freely.
Adding the Goals
I fashioned some simple goals out of some leftover wood and some netting I found. Glued them on at each end. It wasn’t fancy, but it worked.
Finishing Touches
Finally, I added some handles to the ends of the rods, so they were easier to grip. I also screwed some small wooden blocks on the bottom of the box, to act as legs and raise it up a bit.
And boom! Just like that, my very own. I’ve spent hours playing it with my friends and family. It’s not perfect, a bit rough around the edges, but I made it myself, and that’s what counts. And most important,it’s brought so much fun!