
Alright, so the bike started weeping from the front right fork. You know the look – that tell-tale oily sheen slowly creeping down the stanchion, making a nice mess. Just what I needed, another weekend project. But hey, if you want things done right, or at least to your own questionable standards, sometimes you gotta do it yourself.

Getting Started – The Teardown
First things first, I had to get the front end up in the air. My trusty old stand did the job, though it always feels a bit sketchy lifting the beast. Then it was off with the front wheel, calipers (remember to tie those up, don’t let ’em hang by the hoses!), and the fender. Pretty standard stuff, really. Loosened the top triple clamp bolts, then the bottom ones, and slowly, carefully, wiggled the first fork leg out. Man, those things can be stubborn sometimes.
Once it was on the bench, the real “fun” began. I always put down a ton of rags because, let’s be honest, this job is messy. Always messy. I cracked the top cap loose while the fork was still slightly clamped in the triple, just to make it easier. Then, fully removed, I carefully unscrewed that cap, ready for the spring to try and launch it across the garage. Not this time, though! Drained the old oil – wow, that stuff looked like a swamp. Definitely overdue.
- Pulled out the spacer, washer, and the main spring. Laid them out in order. You think you’ll remember, but trust me, take a picture or lay it out.
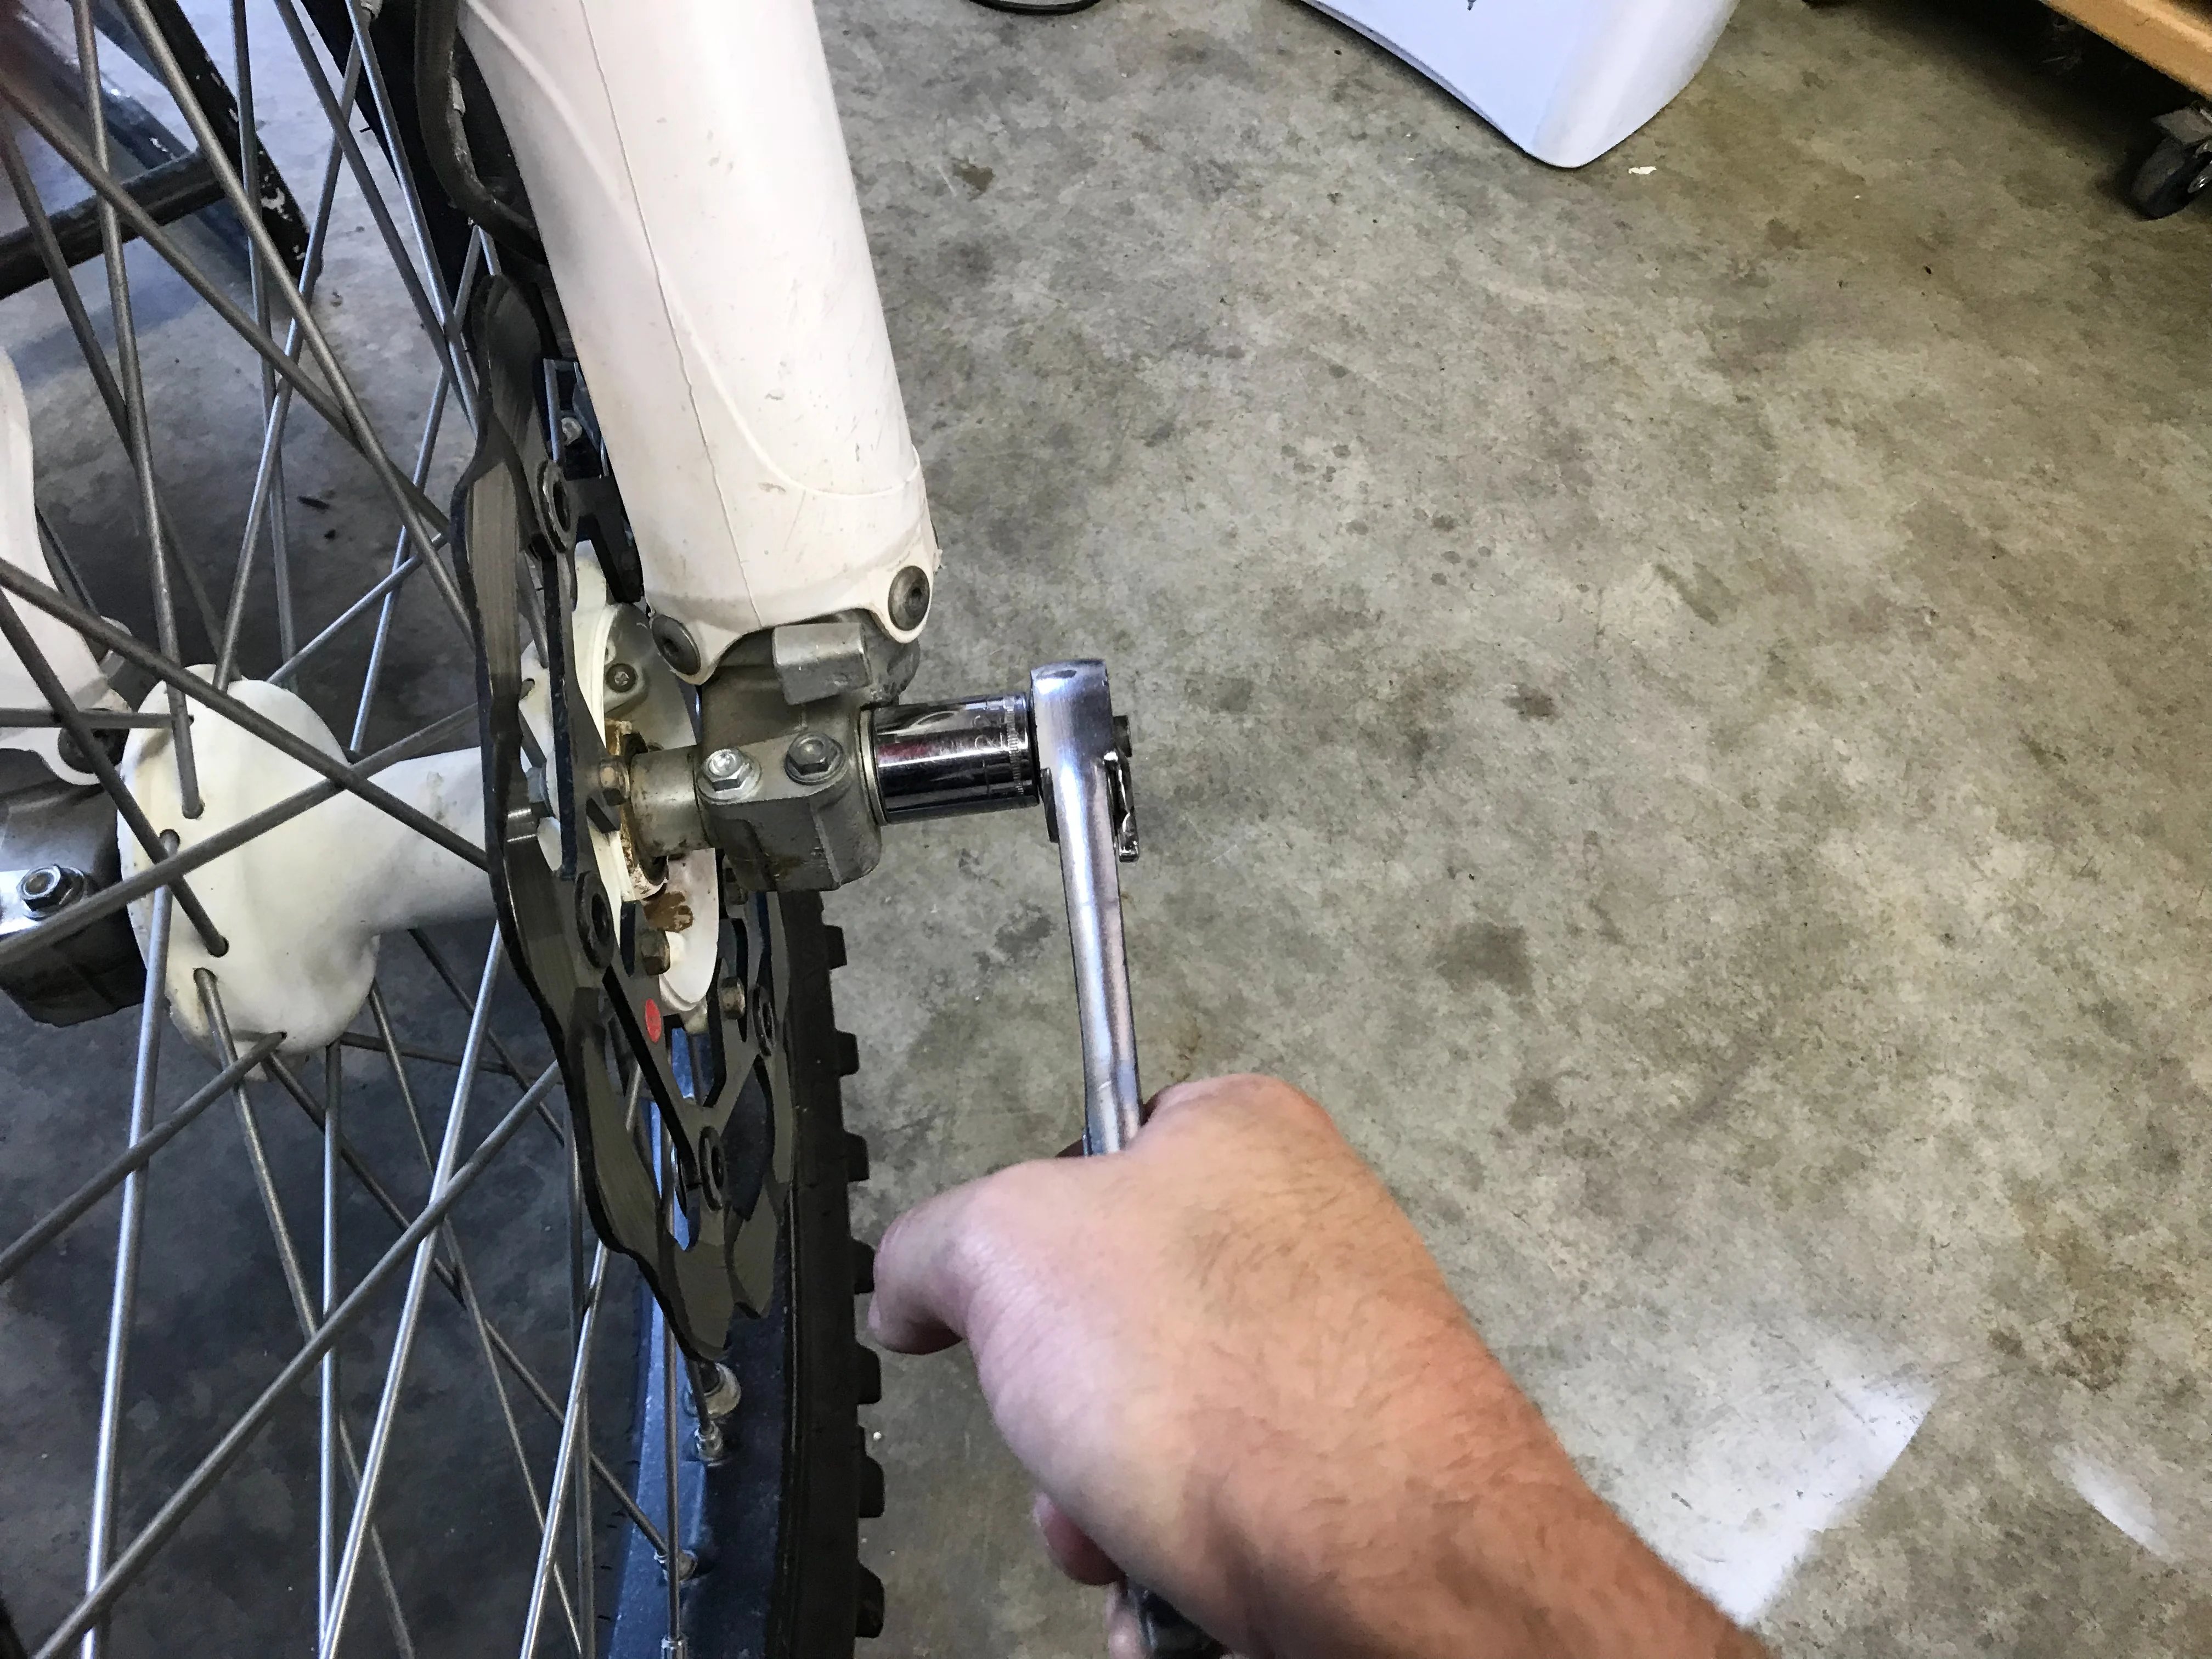
- Then, the dreaded damper rod bolt at the bottom. Sometimes it spins, sometimes it doesn’t. I got lucky, a quick buzz with the impact wrench and it was out. I’ve heard horror stories, people using broom handles shoved down the fork, all sorts of crazy contraptions.
The Nitty Gritty – Seals and Slime
With the damper rod out, it was time to tackle the seals. Popped off the dust seal with a small screwdriver – easy. Then, the little retaining clip. That thing! Always a pain, trying to get it out without scratching the fork leg. Needed a pick and some patience. Finally, the moment of truth: separating the inner and outer tubes to get at the old oil seal. I just used a few sharp tugs, like a slide hammer motion, and pop! Out it came, along with a bit more nasty oil.
Cleaning. Oh, the cleaning. Everything gets a thorough wipe-down with brake cleaner or your solvent of choice. You want it spotless before the new stuff goes in. Any grit left behind will just chew up your new seal, and you’ll be doing this all over again next month. No thanks. I spent a good while making sure the seal recess was perfect.
Putting It All Back Together
New seal time. I always lube up the new seal with a bit of fresh fork oil, or even better, some fork seal grease. Makes it slide in much easier and protects it. Getting it in straight is key. I don’t have a fancy seal driver for every size, so sometimes it’s a big socket, sometimes a carefully cut piece of PVC pipe. Tapped it in gently, making sure it was seated all the way down. Then the clip went back in – much easier going in than coming out, thankfully. Popped on the new dust seal.
Reassembly is pretty much the reverse of disassembly, but with more care, I reckon.
- Damper rod back in, new crush washer on the bottom bolt, torqued it up.
- Then, the oil. This is where you gotta be precise. Measured out the exact amount specified in the manual. Used a little syringe thingy to get the level spot on. Fresh oil looks so nice and clean compared to what came out.
- Spring, washer, spacer back in.
- Now for the fun part: compressing that spring and trying to get the top cap threaded on without cross-threading it. A bit of downward pressure, a prayer, and usually it goes.
Slid the fork leg back into the triple clamps, set the height right, and torqued everything to spec. Did the other leg – rinse and repeat. Then wheel back on, calipers, fender. Gave the front brake a few pumps to seat the pads. Lowered it off the stand, bounced the forks a few times. Felt good. No leaks so far!
It’s not the worst job in the world, but it takes time and patience. And a lot of rags. But hey, saved a few quid, and I know it’s done. Plus, there’s that satisfaction of tackling something yourself, right? Now, what to do with all this old, stinky fork oil…