
Okay, so I decided I needed a gambler hat. Don’t ask me why, just got the urge, you know? Saw one in an old movie, maybe, or perhaps just felt like my hat collection was missing that specific vibe. Anyway, the idea got stuck in my head.
Getting Started – The Materials Hunt
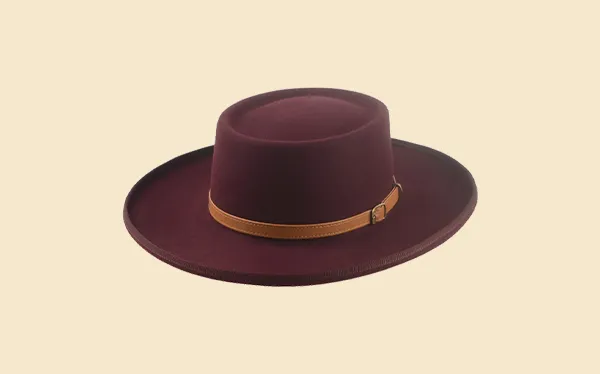
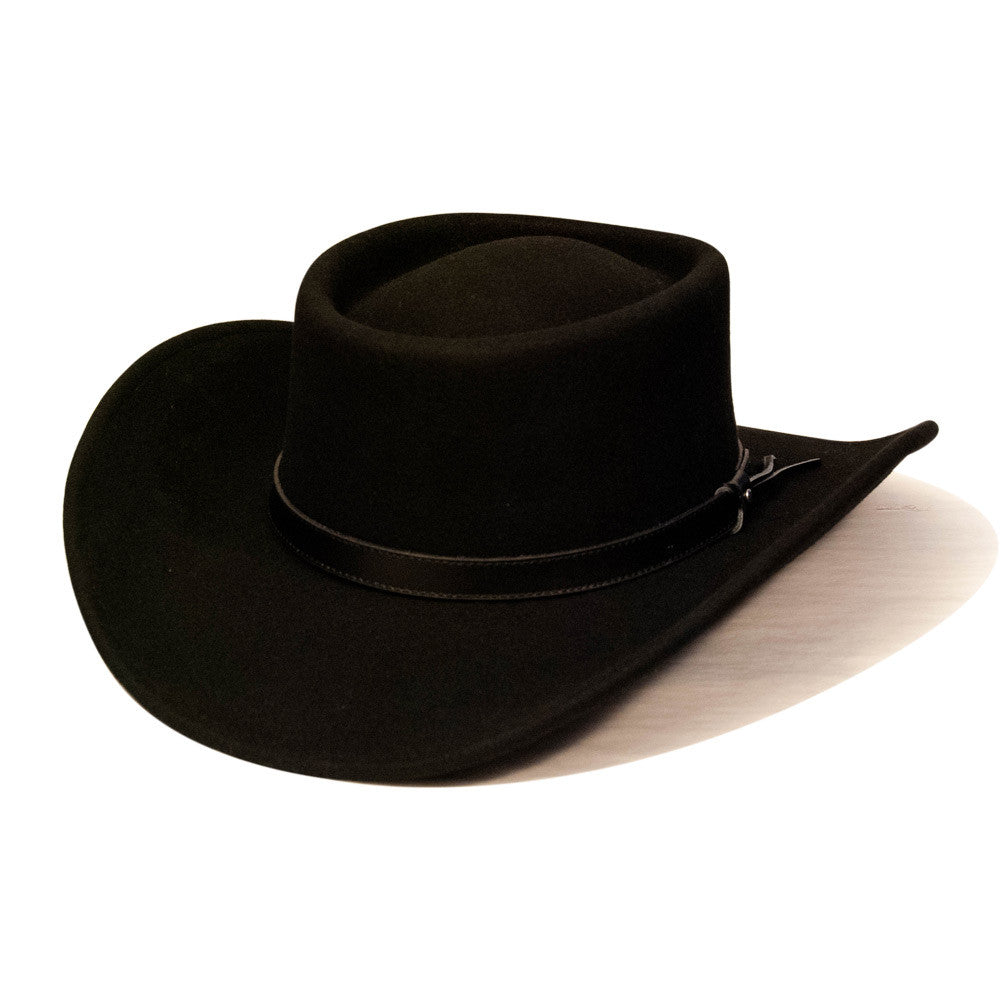
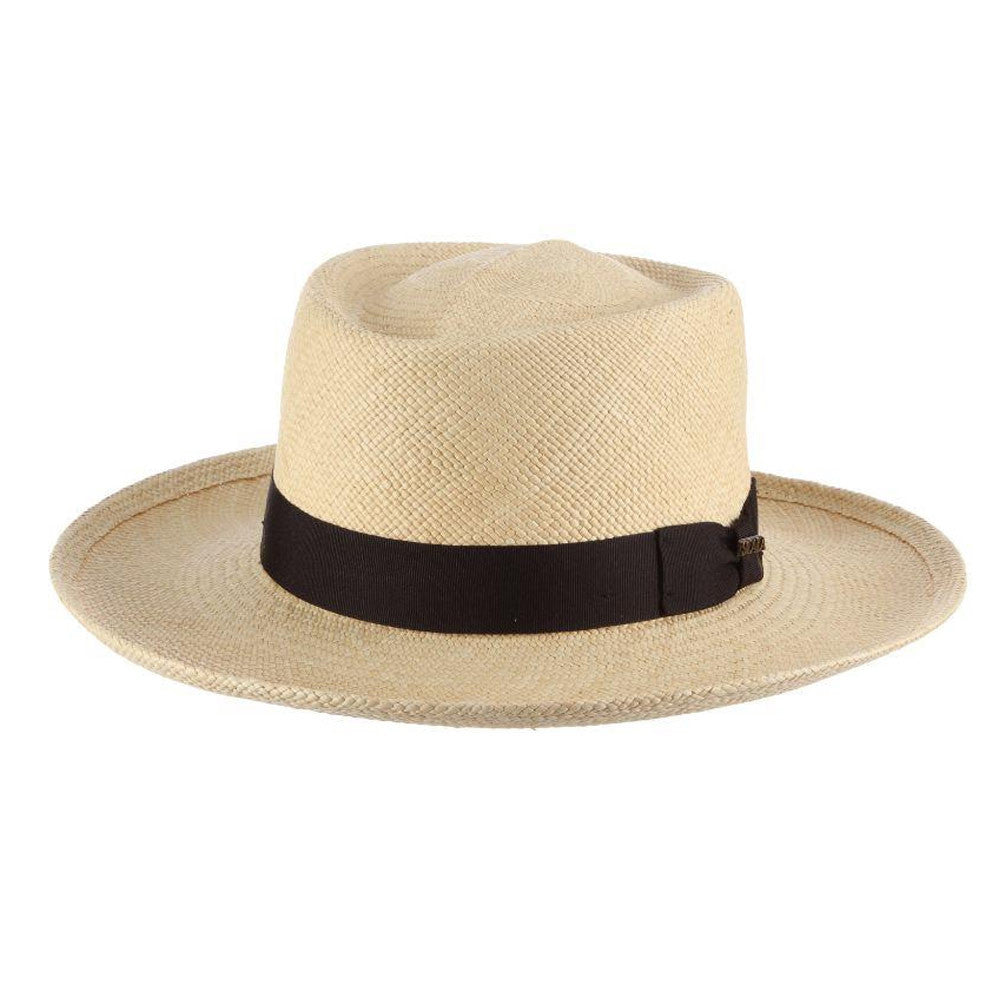
First thing, I had to figure out what these things are actually made of. Looked like felt, mostly. So, I went hunting for some good, stiff wool felt. Not that flimsy craft stuff, but proper hat-making felt. Took a bit of digging online and finally found a supplier. Ordered a big piece, probably way more than I needed, in a classic dark grey.
Then I realized, oh yeah, you need to shape this stuff. You can’t just fold it like paper. That meant getting a hat block. Found an old wooden one that looked about the right shape for the crown – kind of a round, telescope crown thing that gamblers seem to have. Getting the block was easier than the felt, actually. Picked it up from some antique place.
Other bits and pieces I gathered:
- Some stiffener spray, because I read felt can get floppy.
- Wire for the brim edge, to hold the shape.
- Grosgrain ribbon for the hatband. Went with black, classic contrast.
- Basic sewing stuff, heavy-duty thread.
The Actual Making Part – Steaming and Stretching
Alright, got my felt cone. Thing looked huge. The instructions I vaguely remembered said ‘steam’. So, I got the kettle going, full blast. Holding that felt over the steam wasn’t fun. It gets hot, damp, and a bit weird smelling. You gotta get it really pliable, though.
This part was tricky. I had to quickly stretch the steamed felt over the wooden hat block. It took some serious pulling and smoothing. You’re basically wrestling with hot, wet wool. Got a few wrinkles I had to steam out again. Tied it down tight around the base of the block with some string and left it to dry completely. Took like, a day or two. Patience isn’t my strong suit, so waiting was annoying.
Shaping the Crown and Brim
Once it was bone dry, I took the string off. Hey presto, it actually held the shape of the crown! Looked like a proper hat crown, which was cool. Then I had to deal with all the leftover felt sticking out – that becomes the brim.
Marked out how wide I wanted the brim. Gambler hats have that distinctive curl, especially on the sides. This meant more steaming, but just the brim part. Carefully worked it over the edge of a table, trying to get that upward roll. Used some clips to hold it while it cooled. Sprayed it with that stiffener stuff too, hoping it would help.
Then, the crown needed its ‘dents’. Gamblers usually have that telescope crease on top and maybe some side dents. I kind of just… pushed them in while the felt still had a tiny bit of give, referencing pictures. Used my fingers mostly. It’s not perfect, not machine-made looking, but it’s got character, right?
Finishing Touches
Cut the brim edge neat and tidy. Then came the wire. Sewed the wire carefully around the very edge of the brim. This was fiddly work, trying to keep the stitches hidden. This wire really helps the brim keep that specific gambler shape.
Last step was the hatband. Measured the black grosgrain ribbon, cut it, folded the ends neatly, and stitched it around the base of the crown, covering where the brim meets the crown. Put a simple flat bow on the side, nothing too fancy.
The Result
So, after all that wrestling with steam and felt, I’ve got myself a gambler hat. It’s definitely handmade – you can tell if you look close. It’s not factory perfect. The crown dent is maybe a little off-center, the brim curl is maybe a bit uneven. But honestly? I kinda dig it. It fits my head, it feels solid, and I made it. Stood back, put it on, looked in the mirror. Yeah, not bad. Not bad at all. Now I just need somewhere to wear the darn thing.