
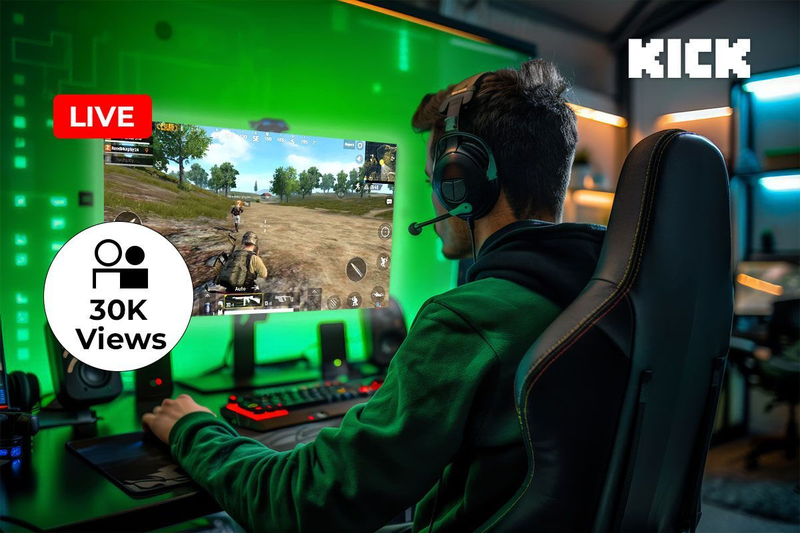
Alright, so a bunch of you were asking me how I actually got my stream going on Kick. It’s one of those things, sounds complicated maybe, but once you poke at it, it’s not too bad. I figured I’d just walk you through how I got it done, no fancy stuff, just what I did.

So, first off, I decided I wanted to give Kick a try. Heard some buzz, you know how it is. My first thought was, okay, how do I even send my game or whatever to their platform? It’s not like there’s a magic “broadcast now” button on their website that just reads your mind. Nah, you gotta have something on your computer that does the heavy lifting.
Figuring Out The Tech
I knew I’d need some kind of broadcasting software. There are a few out there. Some folks talk about Streamlabs, others use XSplit, but I just went with OBS Studio. Mostly because I heard it was free, and well, free is good, right? Especially when you’re just testing the waters. So, I went online, searched for “OBS Studio,” found their main spot, and got it downloaded and installed. Pretty standard install, nothing wild there.
Then, obviously, you need an account on Kick itself. If you don’t have one, go make one. That part’s just like signing up for anything else.
Getting Kick and OBS to Talk
Okay, here’s the part where you actually connect the dots. Once I was logged into my Kick account, I had to go looking for my stream key. This is super important. It’s basically the password that lets your OBS software send video to your Kick channel and not someone else’s. I remember poking around my Kick dashboard, in the settings or creator section. Took me a hot minute to find it, they tuck it away sometimes, but it’s there. They’ll also give you a server URL, you need that too.
Then I fired up OBS Studio. Looked a bit intimidating at first, all those buttons. But I just went to File, then Settings. Inside settings, there’s a section called Stream. That’s the place. I think I selected ‘Custom’ from the service dropdown, but sometimes Kick might be listed there directly, depends on your OBS version. Then, there are two important boxes: one for that server URL from Kick, and another for your precious stream key. Copied and pasted those in very carefully.
After that, I had to set up my actual “scene” in OBS – like what camera to use, what part of my screen to show if I was gaming. That’s a whole other can of worms for another day, getting all that looking slick. But just to get live, the stream key and server URL are the main hurdles.
Once all that was plugged in, I saw the big ‘Start Streaming’ button in OBS. Took a deep breath, clicked it. Then I quickly jumped over to my Kick channel page in my web browser. And bam! After a few seconds, my stream popped up. I was live! Honestly, a bit of a relief and pretty cool to see it working.
So yeah, that was my journey into hosting on Kick. It wasn’t some mystical process. Get the software (OBS worked for me), find your stream key on Kick, tell OBS where to send the stream using that key and the server URL, and hit go. The first time involves a bit of searching and clicking, especially finding that key on Kick’s site. But once you’ve done it, it’s pretty straightforward. It’s funny, I remember back in the day, trying to figure out streaming felt like you needed a degree in computer science. Things are a bit more user-friendly now, or maybe I’ve just gotten used to tinkering. Either way, hope that helps someone out there!