
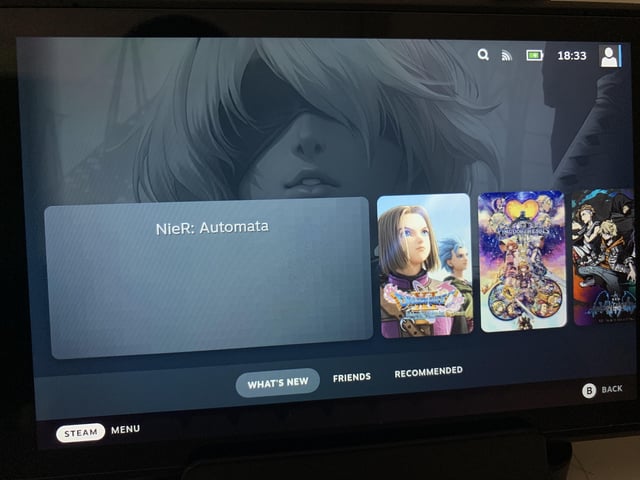
Alright, so I’ve been messing around with my Steam Deck, adding a bunch of non-Steam games, you know how it is. But the thing that bugged me was how they looked in my library. Just plain, sometimes no icon, or some weird generic thing. Didn’t feel right next to all my official Steam games with their nice artwork. So, I decided to figure out how to change those non-Steam game icons and make ’em look proper.
First Things First: Desktop Mode is Your Friend
Whenever I need to do some deeper tinkering on the Deck, I always switch over to Desktop Mode. Gaming Mode is slick for playing, yeah, but for this kind of customization, you gotta get under the hood a bit. So, that was my first step – hold down the power button, select “Switch to Desktop.” Easy peasy.
Locating the Ugly Ducklings
Once I was in Desktop Mode, I fired up the regular Steam client. You know, the one that looks just like it does on a PC. I went to my Library and found the non-Steam game I wanted to fix up. For me, it was an old classic I’d manually added.
To get started with changing the art, I right-clicked on the game in my Steam library list. From the menu that popped up, I selected “Properties…”. This is where most of the magic happens for the basic icon, or what Steam calls the “grid image.”
The Hunt for Good Lookin’ Pictures
Now, before I could change anything, I needed the actual images. I usually just pop open a web browser (Firefox comes pre-installed on the Deck, which is handy) and search for “Steam grid images” or “Steam game artwork” for the specific game. There are some awesome community-run websites out there where people upload all sorts of custom artwork – covers, hero banners, logos, the whole shebang. Super useful.
I typically download a few key pieces for each game:
- The main cover art: This is the vertical poster-like image you see in your library grid view.
- The hero banner: That wide image that shows up at the top of the game’s page in your library.
- The logo: Usually the game’s title, often transparent, that sits on top of the hero banner.
I just saved these images to my Downloads folder on the Deck. Made it easy to find them later. I try to get PNGs if I can, especially for logos, but JPGs work fine too.
Applying the New Artwork: Step-by-Step
Okay, with my shiny new images downloaded, I went back to Steam in Desktop Mode.
Changing the Grid Image (Cover Art):
This one’s pretty straightforward. With the game selected in my library, I right-clicked it and went back into “Properties…”. In that little window, there’s a section where you see the current (ugly) icon. There’s usually a button or an area there, sometimes it’s just a blank square you click, or it might say “CHOOSE ICON…”. I clicked that, and a file browser popped up. I navigated to my Downloads folder, selected the cool cover art I’d downloaded, and hit “Open.” Bam! New cover art was set for the grid view.
Setting the Hero Banner and Logo:

These are done a bit differently. I closed the “Properties” window. In my Steam library, I actually clicked on the game to go to its main page (still in Desktop Mode). This is where you’d see that big empty space at the top if no banner is set.
- To set the Hero Banner, I right-clicked on that big, usually blank, header area at the top of the game’s library page. A context menu appeared, and I chose “Set Custom Background.” Again, the file browser popped up, and I selected the wide hero banner image I’d downloaded.
- For the Logo, I right-clicked on that same header area again (where the banner now was, or where the logo should be). This time, I chose “Set Custom Logo” from the menu. Selected my downloaded logo file, and it usually pops right into place over the banner.
Sometimes I had to click around a bit, or if the logo looked off, I might remove it and try setting it again. It’s not super complicated, just a bit of pointing and clicking.
A Couple of My Own Observations
Just a few things I noticed while doing this a few times:
- If you switch back to Gaming Mode and the changes don’t show up immediately, try restarting Steam. Go to Steam -> Exit, then reopen it. Sometimes even a full reboot of the Deck helps refresh everything.
- The artwork from those community sites is usually sized pretty well. If you’re making your own, you might need to check the common dimensions. Like, covers are often 600×900 pixels, heroes are something like 1920×620.
- It doesn’t always look perfect on the first try. Maybe the logo alignment is a bit off. I just fiddled with it until I was happy.
The Payoff: A Nicer Looking Library
And that’s pretty much it! After setting all that up in Desktop Mode, I switched back to Gaming Mode. Lo and behold, my non-Steam games now had beautiful, custom artwork. They fit right in with everything else. Makes browsing my library a much nicer experience. Totally worth the little bit of effort to get it all looking consistent and spiffy.