
Alright folks, grabbed my trusty Kawasaki this morning determined to actually take some decent shots of it for once. You know how it is – you see amazing bike pics online, then you point your phone and… meh. Flat. Boring. Looks like every other bike parked at Walmart. Enough was enough.
Gear Up & Get Rolling
Dusted off my old DSLR – honestly, my phone just wasn’t cutting it, needed more control. Slung it over my shoulder, hopped on the Ninja, and headed out early. Goal? Find spots that didn’t scream ‘sidewalk’ or ‘garage corner’. Scouted a local industrial park with some cool textured walls and interesting shadows, then hit a quieter side road near some trees for contrast. First mistake? Not wiping the bike down properly beforehand – those fingerprints show up huge later!
The Struggle Was Real
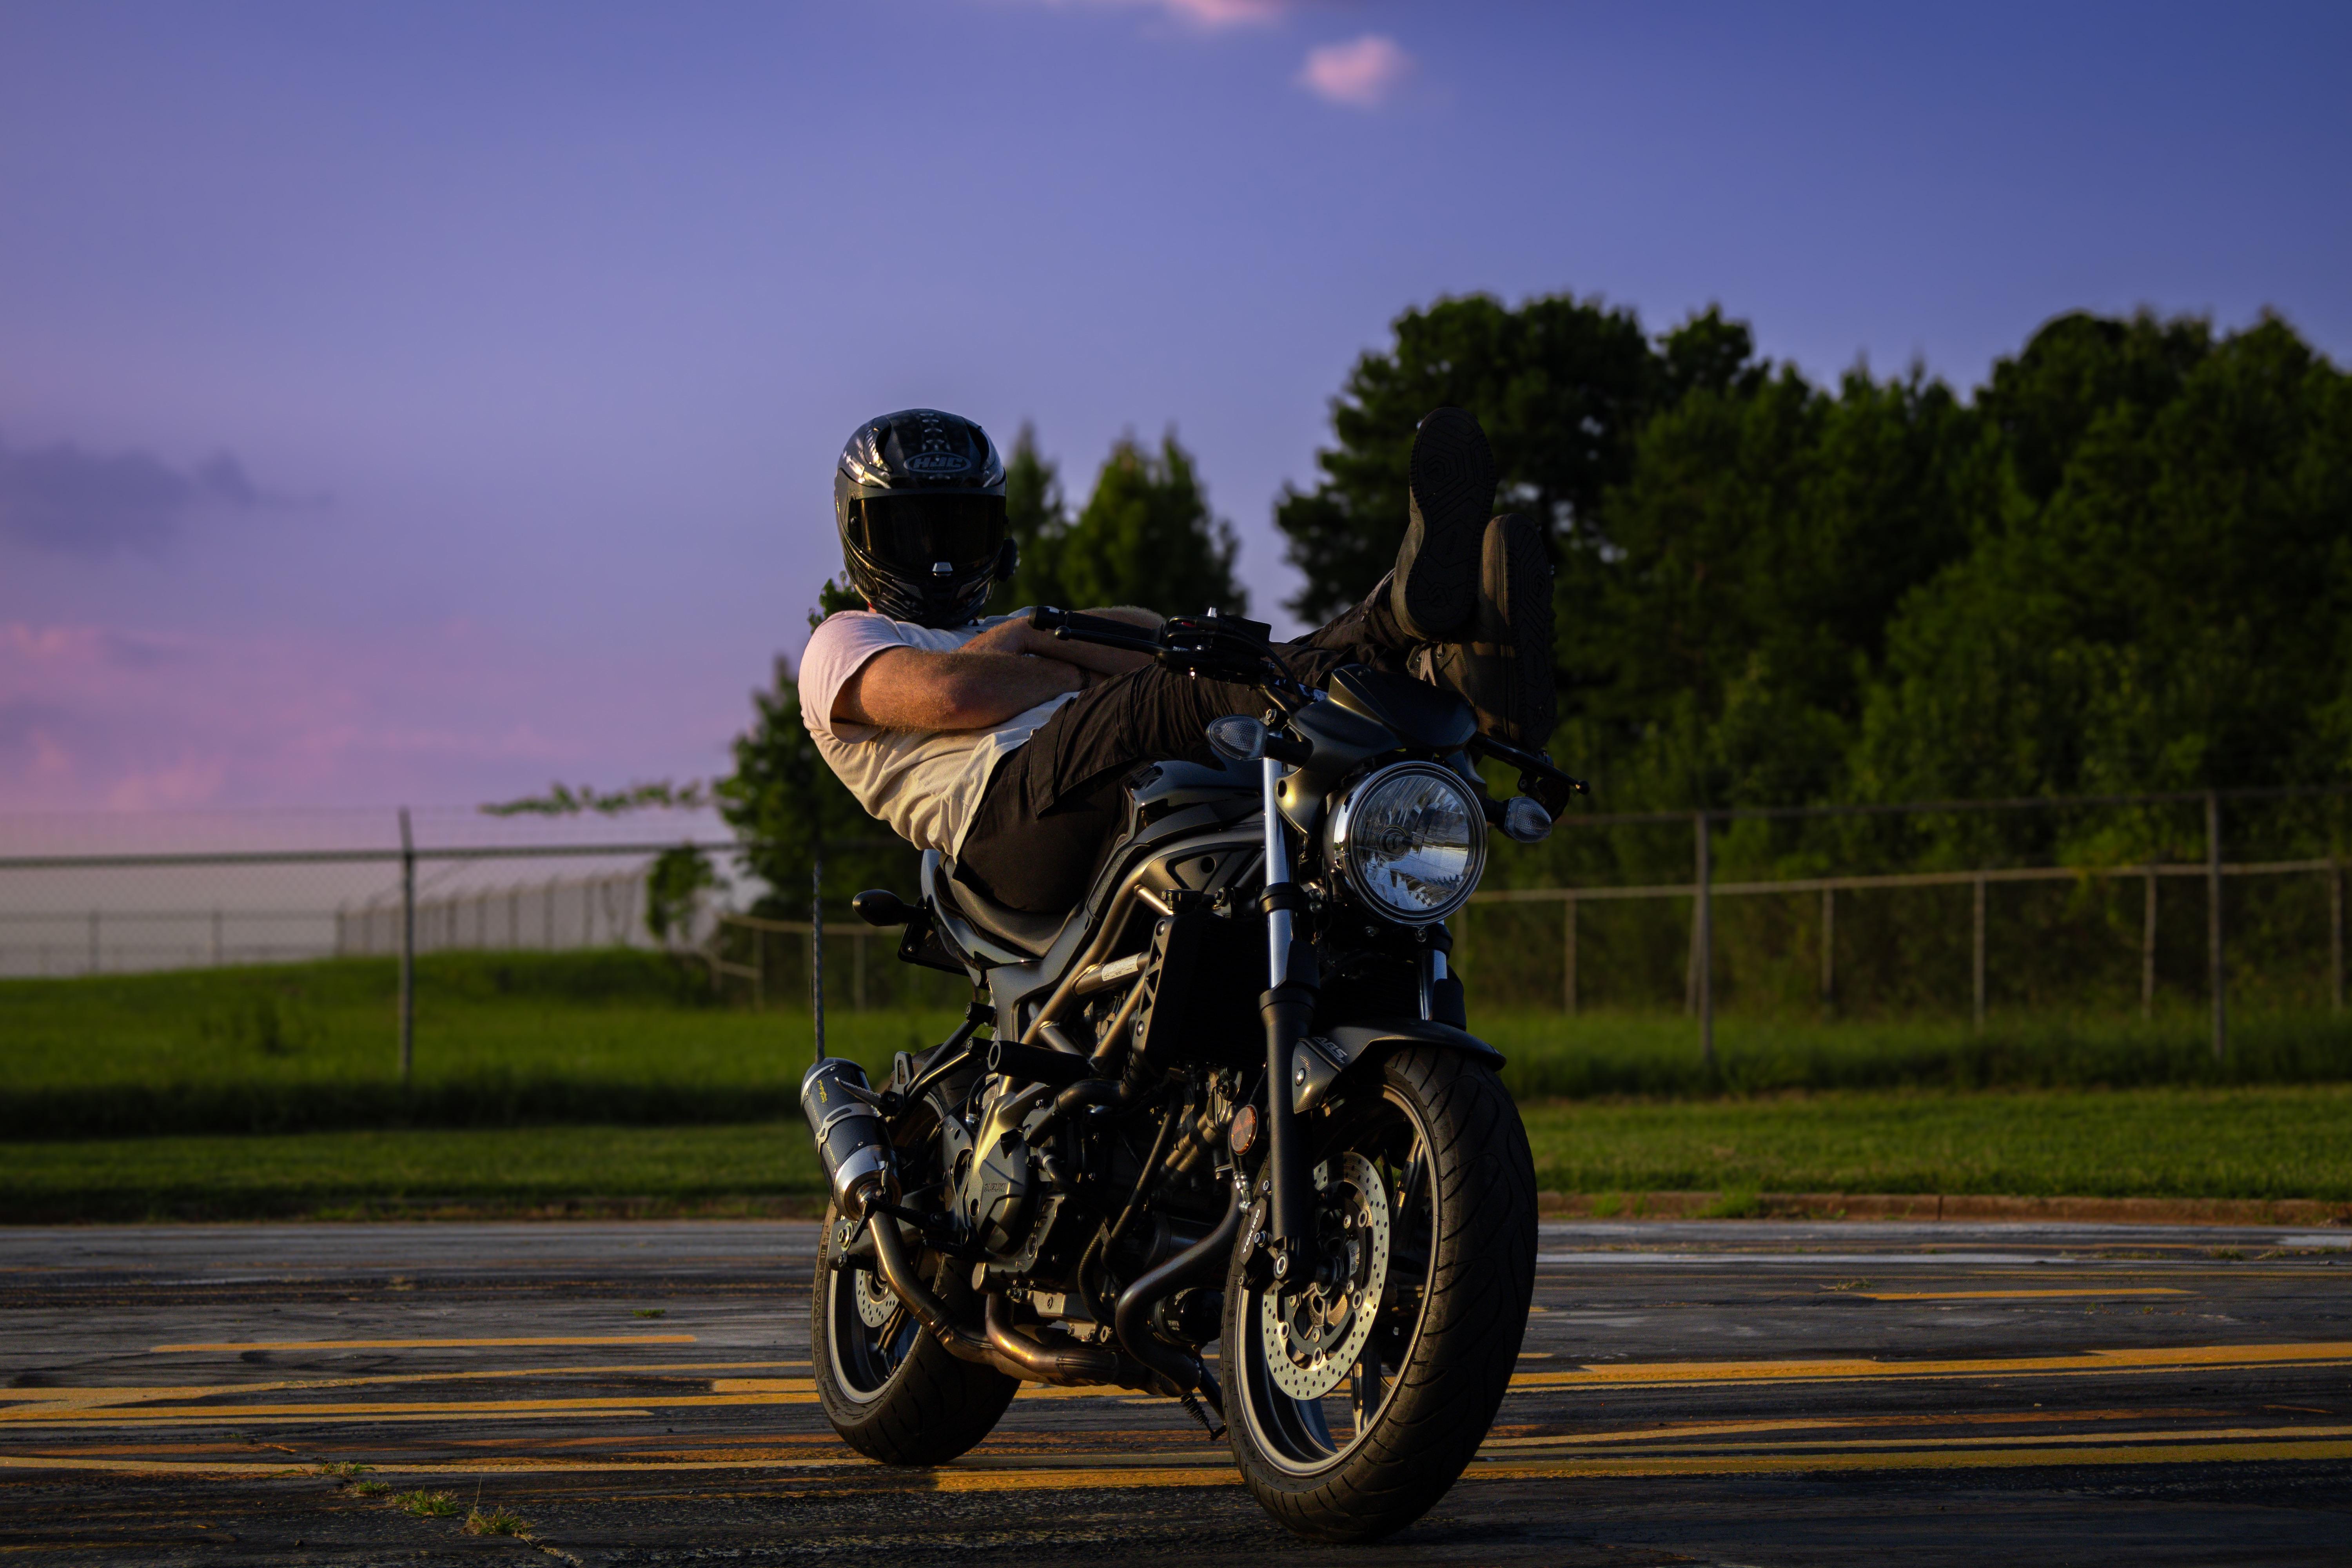
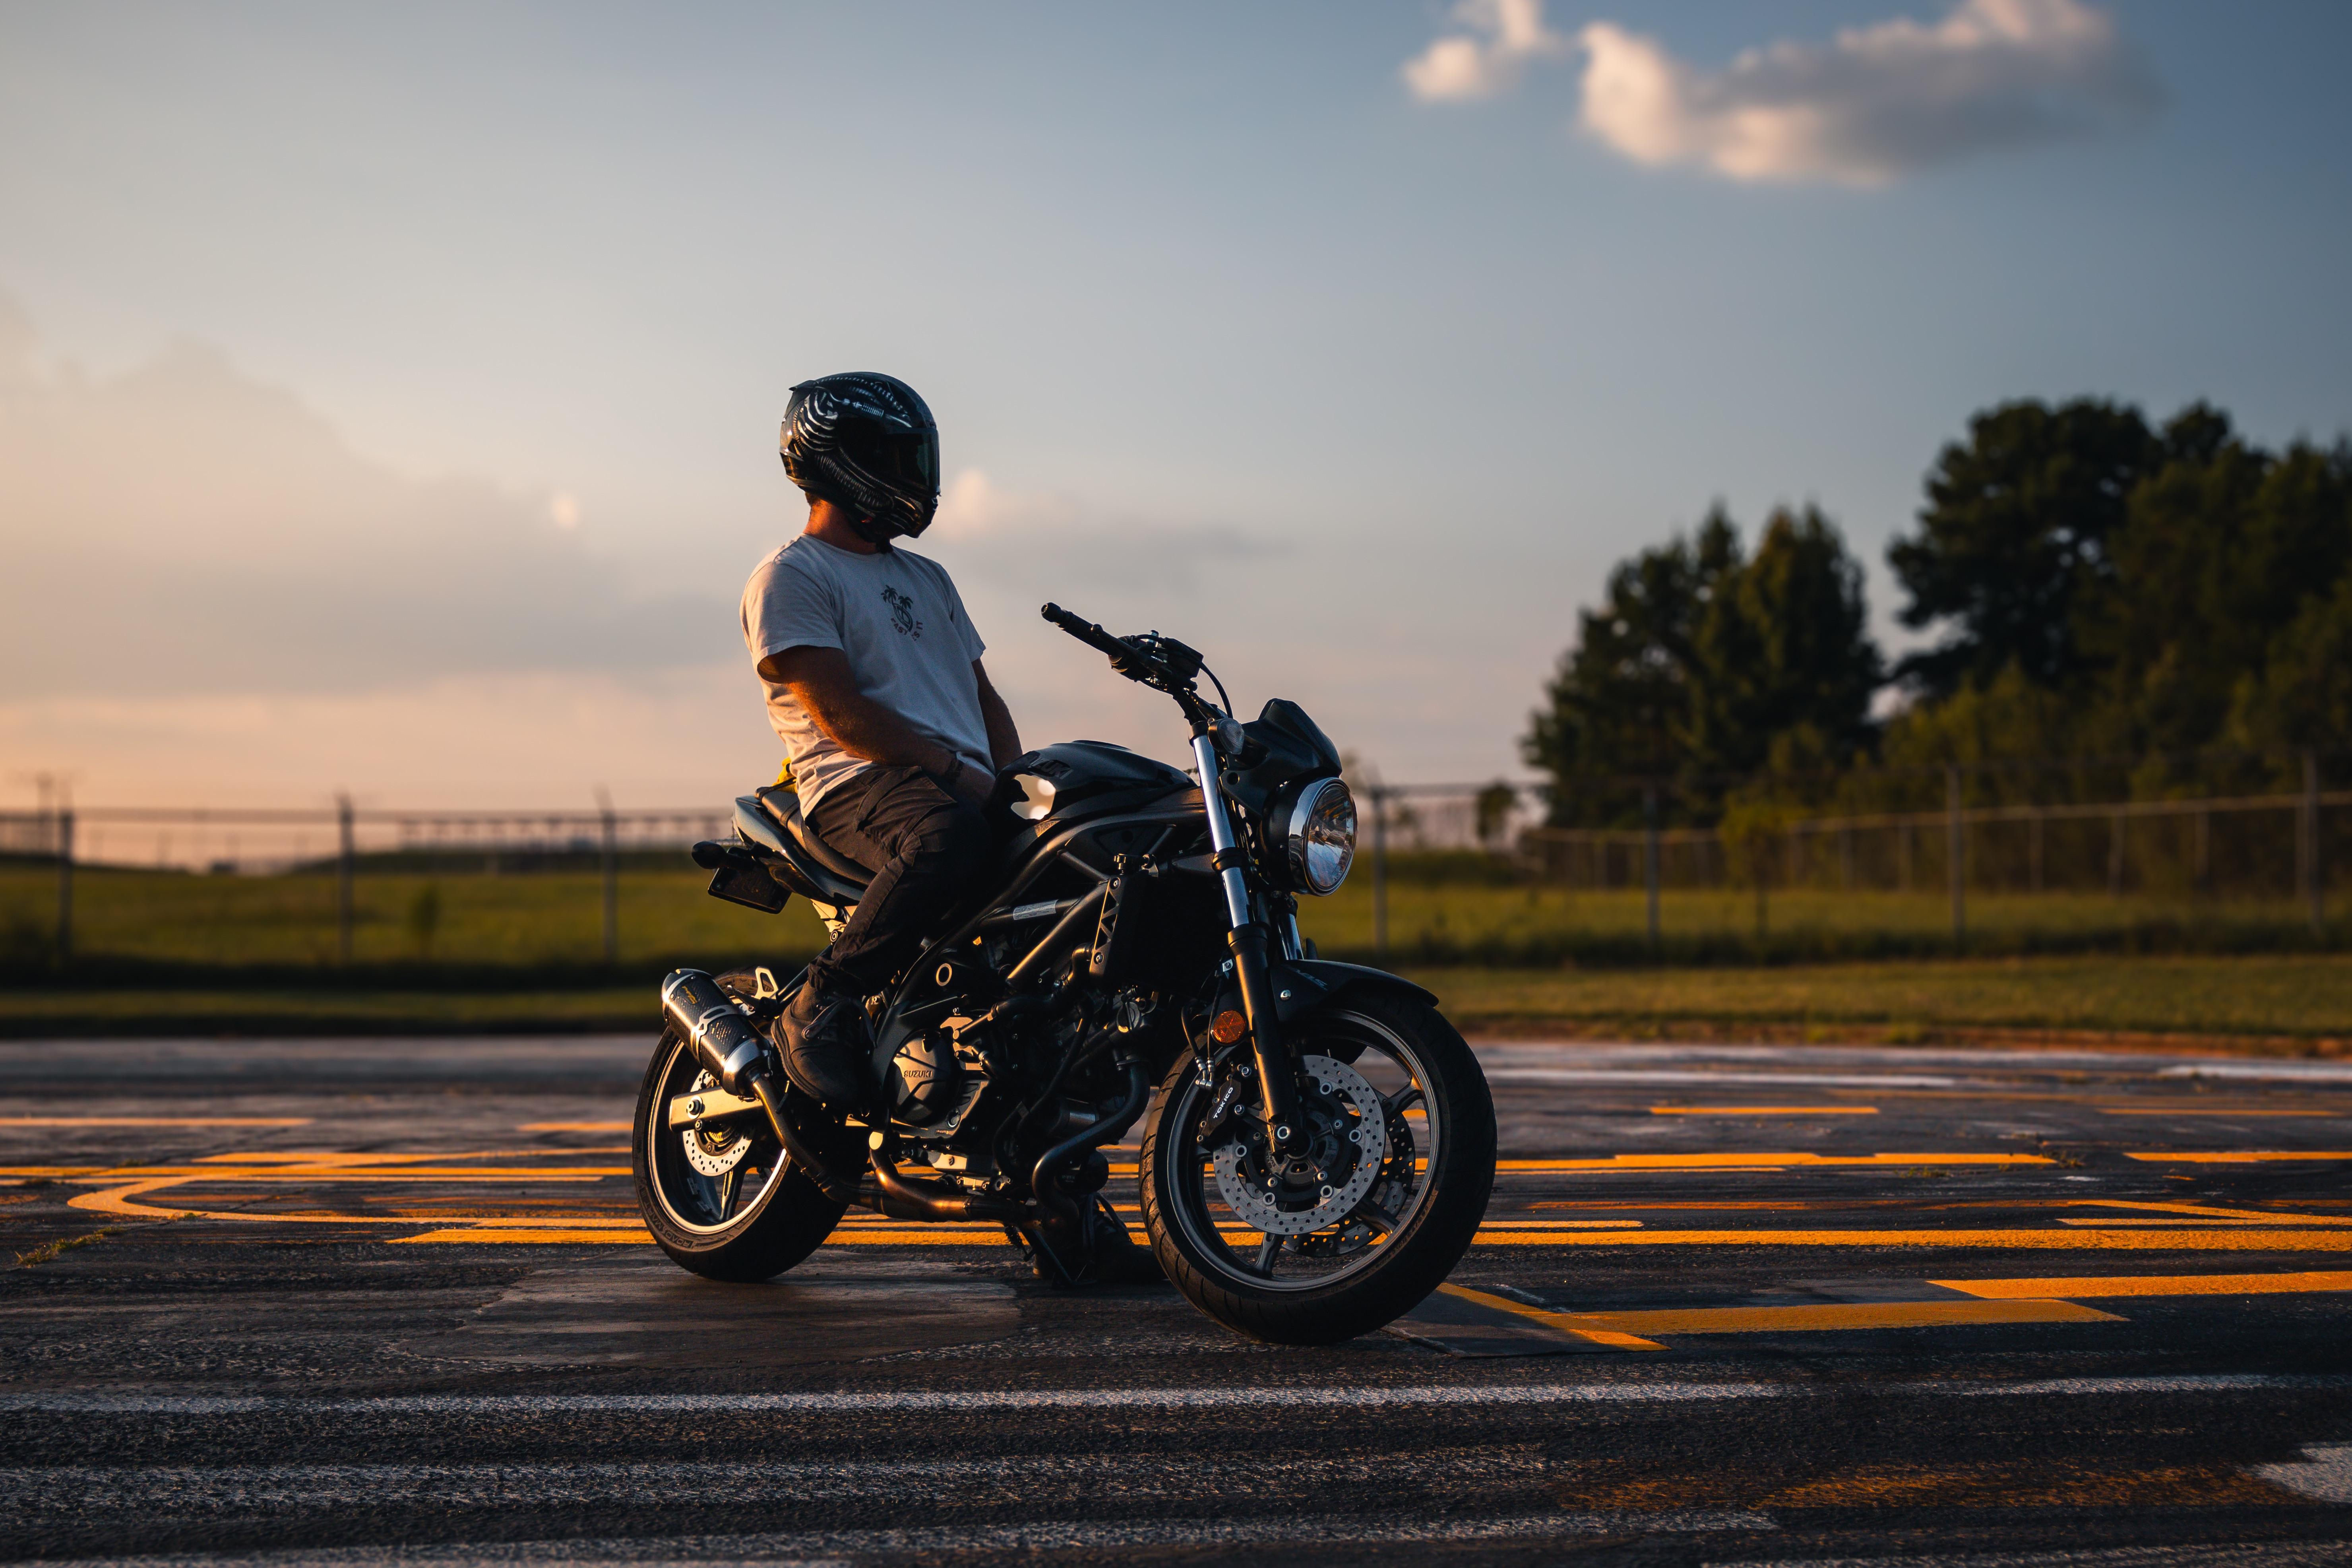
Started just standing there, snapping straight-on pictures. Yawn city. Bike looked squished, background was all messy fence and trash cans. Felt frustrated. Decided to actually move my feet. Tried crouching down low, nearly sat in an oil stain. Totally worth it though. Suddenly, the bike looked huge, mean, powerful against the sky. Angle changes everything! Remembered tip number two about watching the sun. Had it blasting directly into the lens, creating weird flares and blinding me. Walked around the bike until the sun was behind my shoulder. Instantly better light, way fewer harsh shadows on the chrome.
Getting Into the Weeds
Focused on those details next. Those little touches that make it MY bike. Swung the camera down to capture:
- The worn grip tape on the footpeg where my boot rests.
- The custom exhaust logo catching the light.
- The subtle scuff on the tank nobody else would notice.
Cropped in tight. These weren’t full-bike shots, but they screamed personality. Also tried some motion ideas. Secured the camera on a little tripod I tossed in my backpack. Set it on burst mode as I rolled slowly past on the bike, kicking up a tiny bit of dust. Took like ten passes before I got one where I wasn’t half out of frame!
The Final Polish (Well, Almost)
Got back home, dumped the pics onto my laptop. Didn’t go crazy with fancy software, just used the basic photo editor already there. Pulled a few key levers:
- Bumped up the brightness just a tiny bit on the shots where the bike looked dark.
- Increased the contrast slightly to make the lines and chrome pop more.
- Very carefully adjusted shadows/highlights to recover details lost in dark spots or blown-out chrome.
Resisted the urge to oversaturate the colors – wanted it to look real, not like a cartoon. Cropped some shots tighter to get rid of that distracting fire hydrant photobombing the background.
What Actually Worked (For Me)
Looked back at the best shots. Hands down, the low angle shots made the bike look imposing. Getting that sun behind me fixed 90% of the lighting headaches. The detail shots? Those had the most character, told a story. The slight motion blur on the rolling shot gave it life. Messing with brightness/contrast in post? Essential. Could finally see the bike properly.
Biggest lesson? Move your body. Don’t just stand there! Kneel, climb (safely!), walk around. Find that angle. And seriously, check your light source before you press the button. Saved me so much headache. Took all morning, got dusty, nearly tripped, but finally have pics I’m not embarrassed to share. My bike actually looks like itself now. Give it a shot!