
Alright, buckle up, because I’m about to walk you through my latest garage adventure: building a motorcycle hitch! This wasn’t exactly a walk in the park, but hey, that’s what makes it fun, right?
So, it all started with this crazy idea of hauling my dirt bike with my car. I know, I know, probably should have just bought a truck. But where’s the fun in that? I like a challenge, and besides, I already had a perfectly good car sitting there.
First things first: Research. I spent a solid week scouring the internet, watching YouTube videos, and reading forum posts about motorcycle hitches. There’s a surprising amount of info out there, but wading through the BS was a task in itself. I needed to figure out what kind of hitch I needed, what the weight capacity should be, and how the heck to actually install the thing.
- Hitch Type: Decided to go with a Class II hitch. Seemed sturdy enough for my dirt bike without being overkill.
- Weight Capacity: Made sure to factor in the weight of the bike, the carrier, and a little extra for good measure. Safety first, people!
- Installation: This was the tricky part. Some hitches require welding, which I’m not exactly proficient at. Luckily, I found one that bolted onto the car’s frame. Phew!
Next up: Ordering the parts. I went with a hitch from etrailer, seemed reputable enough. Also grabbed a motorcycle carrier, some straps, and a few other odds and ends. The anticipation was killing me!
The day the parts arrived, it was like Christmas morning! I ripped open the boxes and laid everything out in the garage. Time to get to work.
Installation Time
Okay, so the instructions that came with the hitch were…less than helpful. It was basically a diagram of the hitch with a few arrows pointing to different parts of the car. Great. Luckily, YouTube came to the rescue again. I found a video of someone installing the exact same hitch on my car model. Lifesaver!
- Remove the Bumper: This was the first step, and already I was sweating. I’d never taken a car bumper off before. Turns out, it’s mostly just a bunch of screws and clips. Took me about an hour to figure it all out, but I got it off without breaking anything!
- Attach the Hitch: With the bumper out of the way, I could finally see the car’s frame. The hitch bolted directly onto the frame using existing bolt holes. This part was surprisingly easy. I just lined up the holes, bolted it in, and tightened everything down.
- Reinstall the Bumper: Okay, this was the reverse of taking it off, right? Wrong! Getting the bumper back on was way harder than taking it off. The alignment was tricky, and I spent a good hour wrestling with it. But eventually, I got it back on, and it looked pretty darn good, if I do say so myself.
With the hitch installed, it was time to mount the motorcycle carrier. This was pretty straightforward. It just slid into the hitch receiver and secured with a pin.
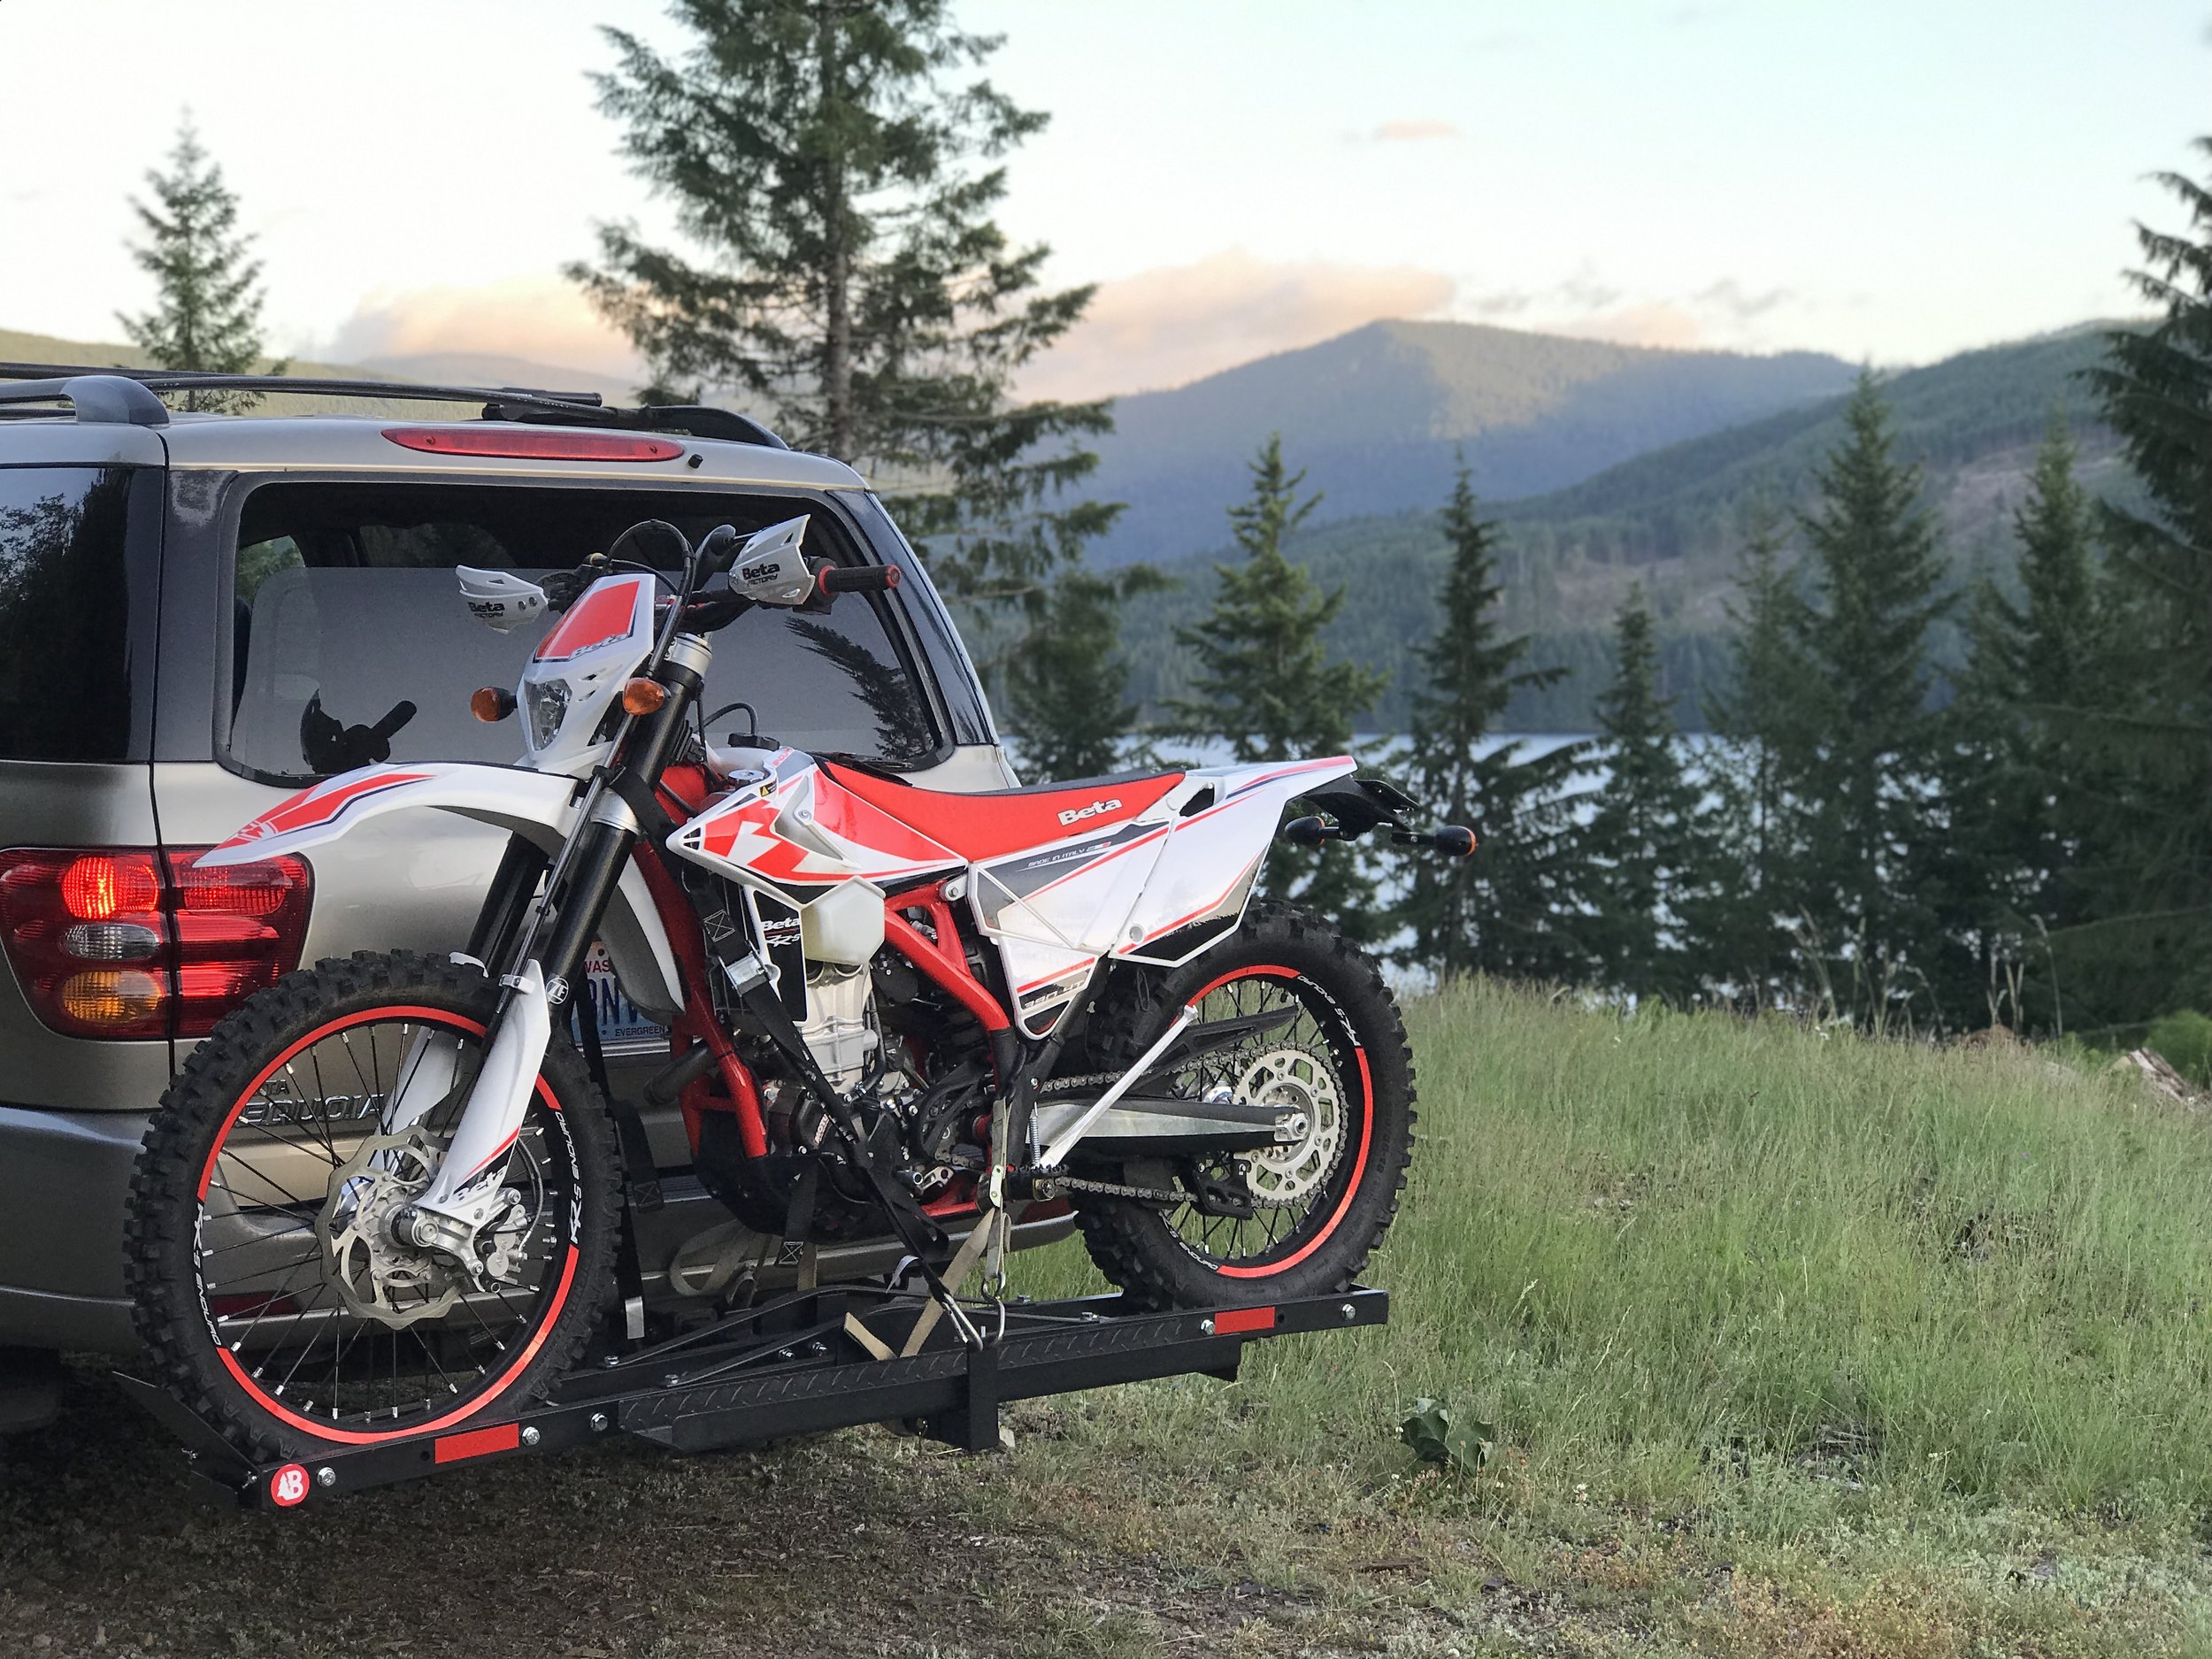
The moment of truth: loading up the dirt bike. This was a bit nerve-wracking. I mean, I didn’t want to drop my bike. I slowly and carefully wheeled it onto the carrier, making sure it was centered and secure. Then I strapped it down with heavy-duty ratchet straps. I gave everything a good shake to make sure nothing was going anywhere.
And there it was, my dirt bike securely mounted to my car! I was stoked! I took it for a short test drive around the block, just to make sure everything was stable. It felt surprisingly solid.
So, there you have it. My motorcycle hitch build in a nutshell. It was a challenging project, but totally worth it. Now I can haul my dirt bike wherever I want without having to borrow a truck or rent a trailer. And best of all, I did it myself!