
Getting Started with the Old Honda
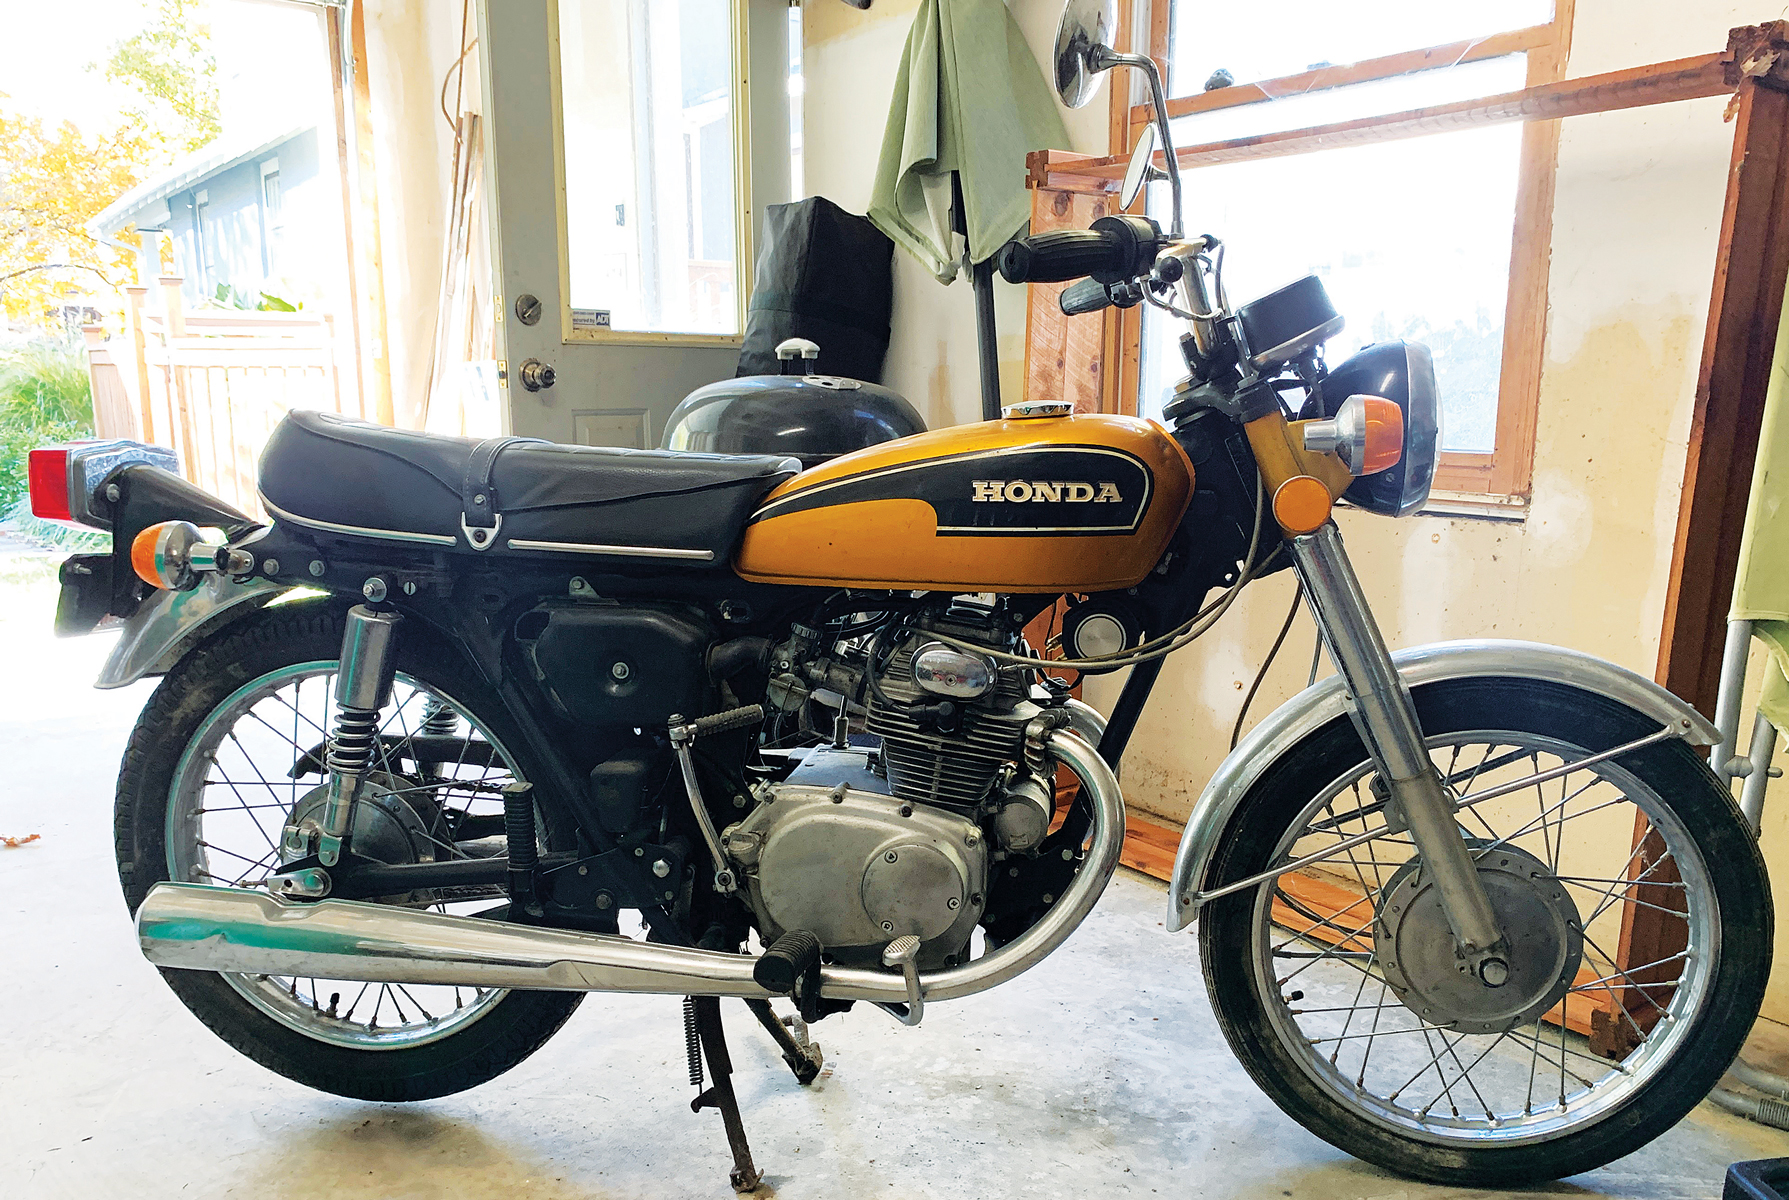
So, I finally got my hands on this 1972 Honda bike. It wasn’t exactly pretty when I first saw it. Looked like it had been sitting in someone’s shed for ages, covered in dust and grime. But something about these old Hondas, you know? They just have that charm. First thing I did was just roll it into my garage and stare at it for a good long while. Trying to figure out where to even begin.
The Teardown Phase
Alright, decision made. Time to take it apart. I started slow, taking lots of pictures with my phone. Learned that lesson the hard way on a previous project! Began with the easy stuff: seat off, tank off, side covers popped off. Then moved onto the fiddly bits like the controls, cables, and the exhaust. The exhaust bolts were a real pain, totally rusted. Needed some heat and a lot of patience there. Eventually, I got the engine out of the frame. That was a bit heavy, definitely needed a hand or at least some careful maneuvering with a jack. Once everything was off, I had a bare frame sitting there and boxes full of parts. Looked like a real mess, honestly.
Cleaning and Checking Everything
This part is always dirty but kinda satisfying. I spent days cleaning parts. Used degreaser, wire brushes, rags, you name it. Found a lot of hidden rust and wear once the dirt was gone. The frame needed some attention, especially around the welds near the back. Some pitting, but nothing too serious structurally, thankfully. I laid out all the parts and made lists. What needed replacing? What could be saved?
- Carburetors definitely needed a full rebuild.
- Wiring harness looked super brittle. Better to replace it.
- Wheel bearings felt gritty.
- Brakes were completely shot, front and back.
- Engine seemed okay externally, but I knew I’d have to peek inside.
Engine Work and Finding Parts
Pulled the head and cylinder off the engine. Piston and bore looked surprisingly decent, just some carbon buildup. Cleaned it all up. Checked the valves, they needed adjusting for sure. Replaced the gaskets, naturally. Finding parts wasn’t too bad, actually. Lots of stuff still available online for these old Hondas, which is great. Got a carb rebuild kit, new cables, brake pads, seals, and a new wiring harness. Had to wait a bit for some bits to arrive, but that’s just part of the game.
Paint and Putting It Back Together
While waiting for engine parts, I tackled the frame and bodywork. Sanded down the frame, treated the rusty spots, and gave it a fresh coat of black paint. Did the same for the swingarm. The tank and side covers needed more work. Had a few small dents. Filled those, sanded everything smooth, primed it, and then sprayed the original Honda color I managed to find. It took a few tries to get it looking right, but pretty happy with the result.
Reassembly was the fun part, seeing it come back to life. Started with getting the engine back in the frame. Then the swingarm, rear shocks, and wheels went on. Carefully routed the new wiring harness – this always takes longer than you think. Hooked up the controls, lights, and ignition. Installed the rebuilt carbs and the cleaned-up exhaust. Put the freshly painted tank and side covers on. Finally, the seat. Step by step, it started looking like a motorcycle again.
Final Touches and First Ride
Filled it up with oil and gas. Checked everything over about ten times. Connected the battery, turned the key… and it actually had lights! Hit the starter button (after checking the kickstart worked too, just in case). It took a bit of coaxing, adjusting the idle and choke, but then it sputtered to life. That sound, after all that work, is just the best. Let it warm up, listening for any weird noises. Seemed okay. Took it for a very short, very careful ride down the street. Brakes worked, shifted through the gears. Felt amazing. Still got some fine-tuning to do with the carbs, but yeah, the old ’72 Honda is back on the road. What a journey!