
Alright folks, so today I wanna share my experience with rucking. I’ve been hearing about it for a while, how it’s great exercise, good for mental toughness, all that jazz. So, I finally decided to give it a shot. Here’s how it went down.
Getting Started: The Gear
- First things first, I needed a rucksack. I didn’t want to drop a ton of cash right away, so I grabbed an old military-style backpack I had lying around. It’s nothing fancy, but it’ll do.
- Next up: weight. I started with some old barbell plates wrapped in towels to keep them from clanging around too much. I figured I’d start light, around 20 pounds, and see how it felt.
The First Ruck: A Reality Check
I decided to hit a local trail near my house for my first ruck. I mapped out a simple 3-mile loop. Seemed easy enough, right?
- Mile 1: Felt pretty good at first. The weight was noticeable, but not unbearable. I kept a brisk walking pace.
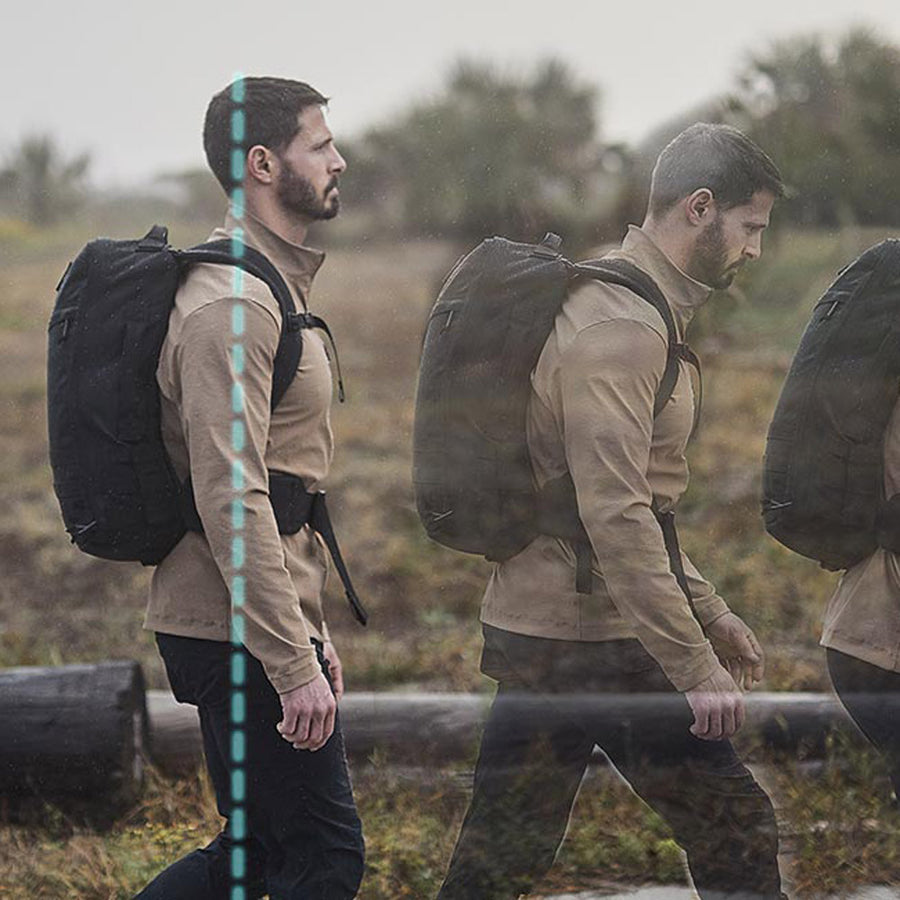
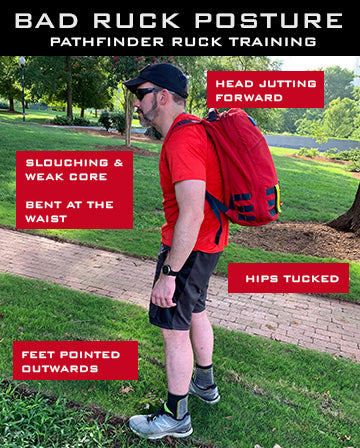
- Mile 2: Okay, things started to get real. My shoulders were definitely feeling it, and I could feel my lower back starting to tighten up. I slowed my pace a bit and focused on my posture.
- Mile 3: Hoo boy. My feet were starting to ache, my shoulders were screaming, and I was definitely sweating. I just kept telling myself to keep moving, one step at a time. Finally finished the loop!
Lessons Learned (The Hard Way)
My first ruck was rough. I made some mistakes, but that’s how you learn, right?
- Proper Pack Fit is Key: My backpack wasn’t adjusted correctly, and the weight was sitting too low. This put a lot of strain on my lower back. I need to adjust the straps next time.
- Start Slow: I probably went a little too hard out of the gate. Next time, I’ll start with a shorter distance and lighter weight.
- Footwear Matters: I wore some old sneakers that didn’t provide enough support. My feet were killing me by the end. I need to invest in some decent hiking boots.
- Hydration is Crucial: I didn’t bring enough water. I was definitely dehydrated by the end. Next time, I’m bringing a hydration pack.
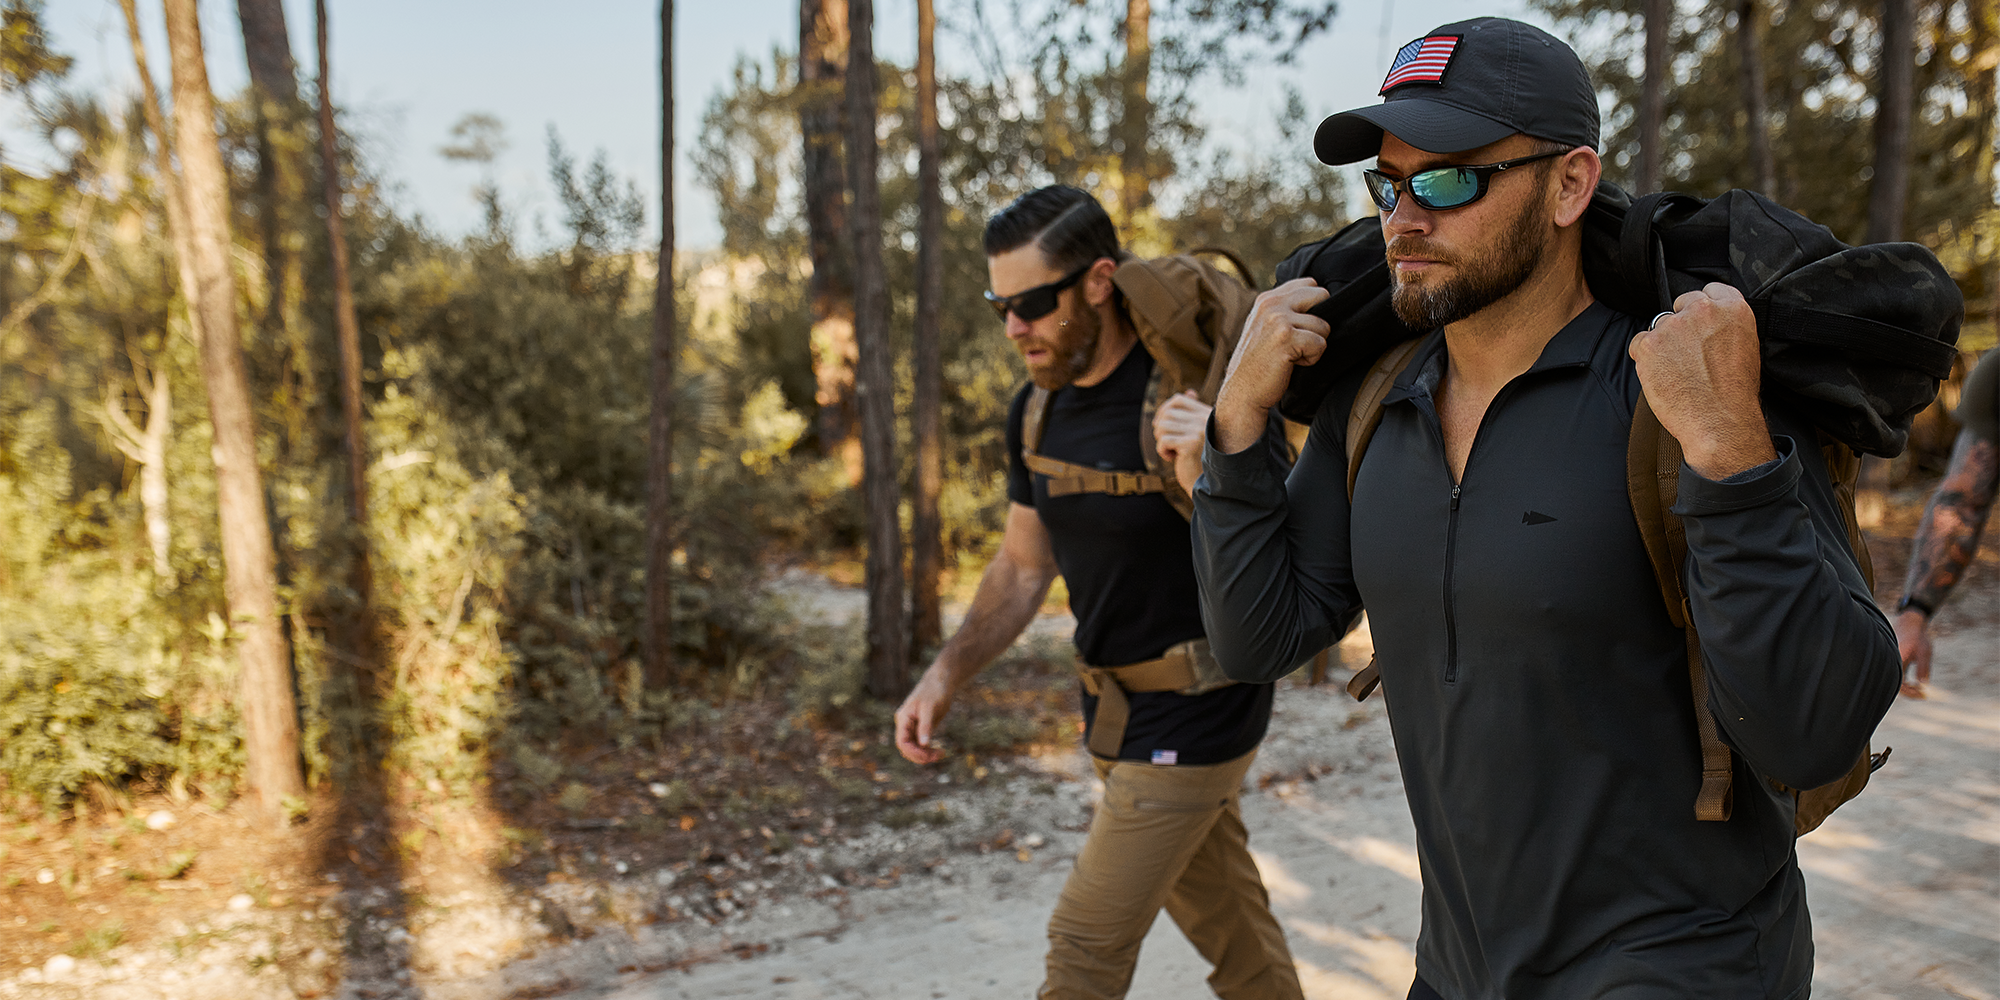
The Second Ruck: Adjustments and Improvements
Armed with my newfound knowledge, I prepared for my second ruck a few days later.
- I adjusted my backpack straps for a better fit, making sure the weight was sitting higher on my back.
- I switched to a sturdier pair of hiking boots.
- I brought a hydration pack filled with plenty of water.
- I stuck to the same 3-mile loop but focused on maintaining a consistent pace and good posture.
The Results: A Much Better Experience
The second ruck was a HUGE improvement! The backpack fit much better, my feet felt great in the hiking boots, and I stayed properly hydrated. I still felt the weight, but it was much more manageable. I even enjoyed myself a little bit!
What’s Next?
I’m definitely going to keep rucking. I plan to gradually increase the weight and distance as I get stronger. I also want to explore some different trails and maybe even try rucking with a friend. I’ll keep you guys posted on my progress!