
So, the other day I needed to reset my Chromecast Audio. It was acting up, refusing to connect properly, and I figured a factory reset might just do the trick. Here’s how I went about it.
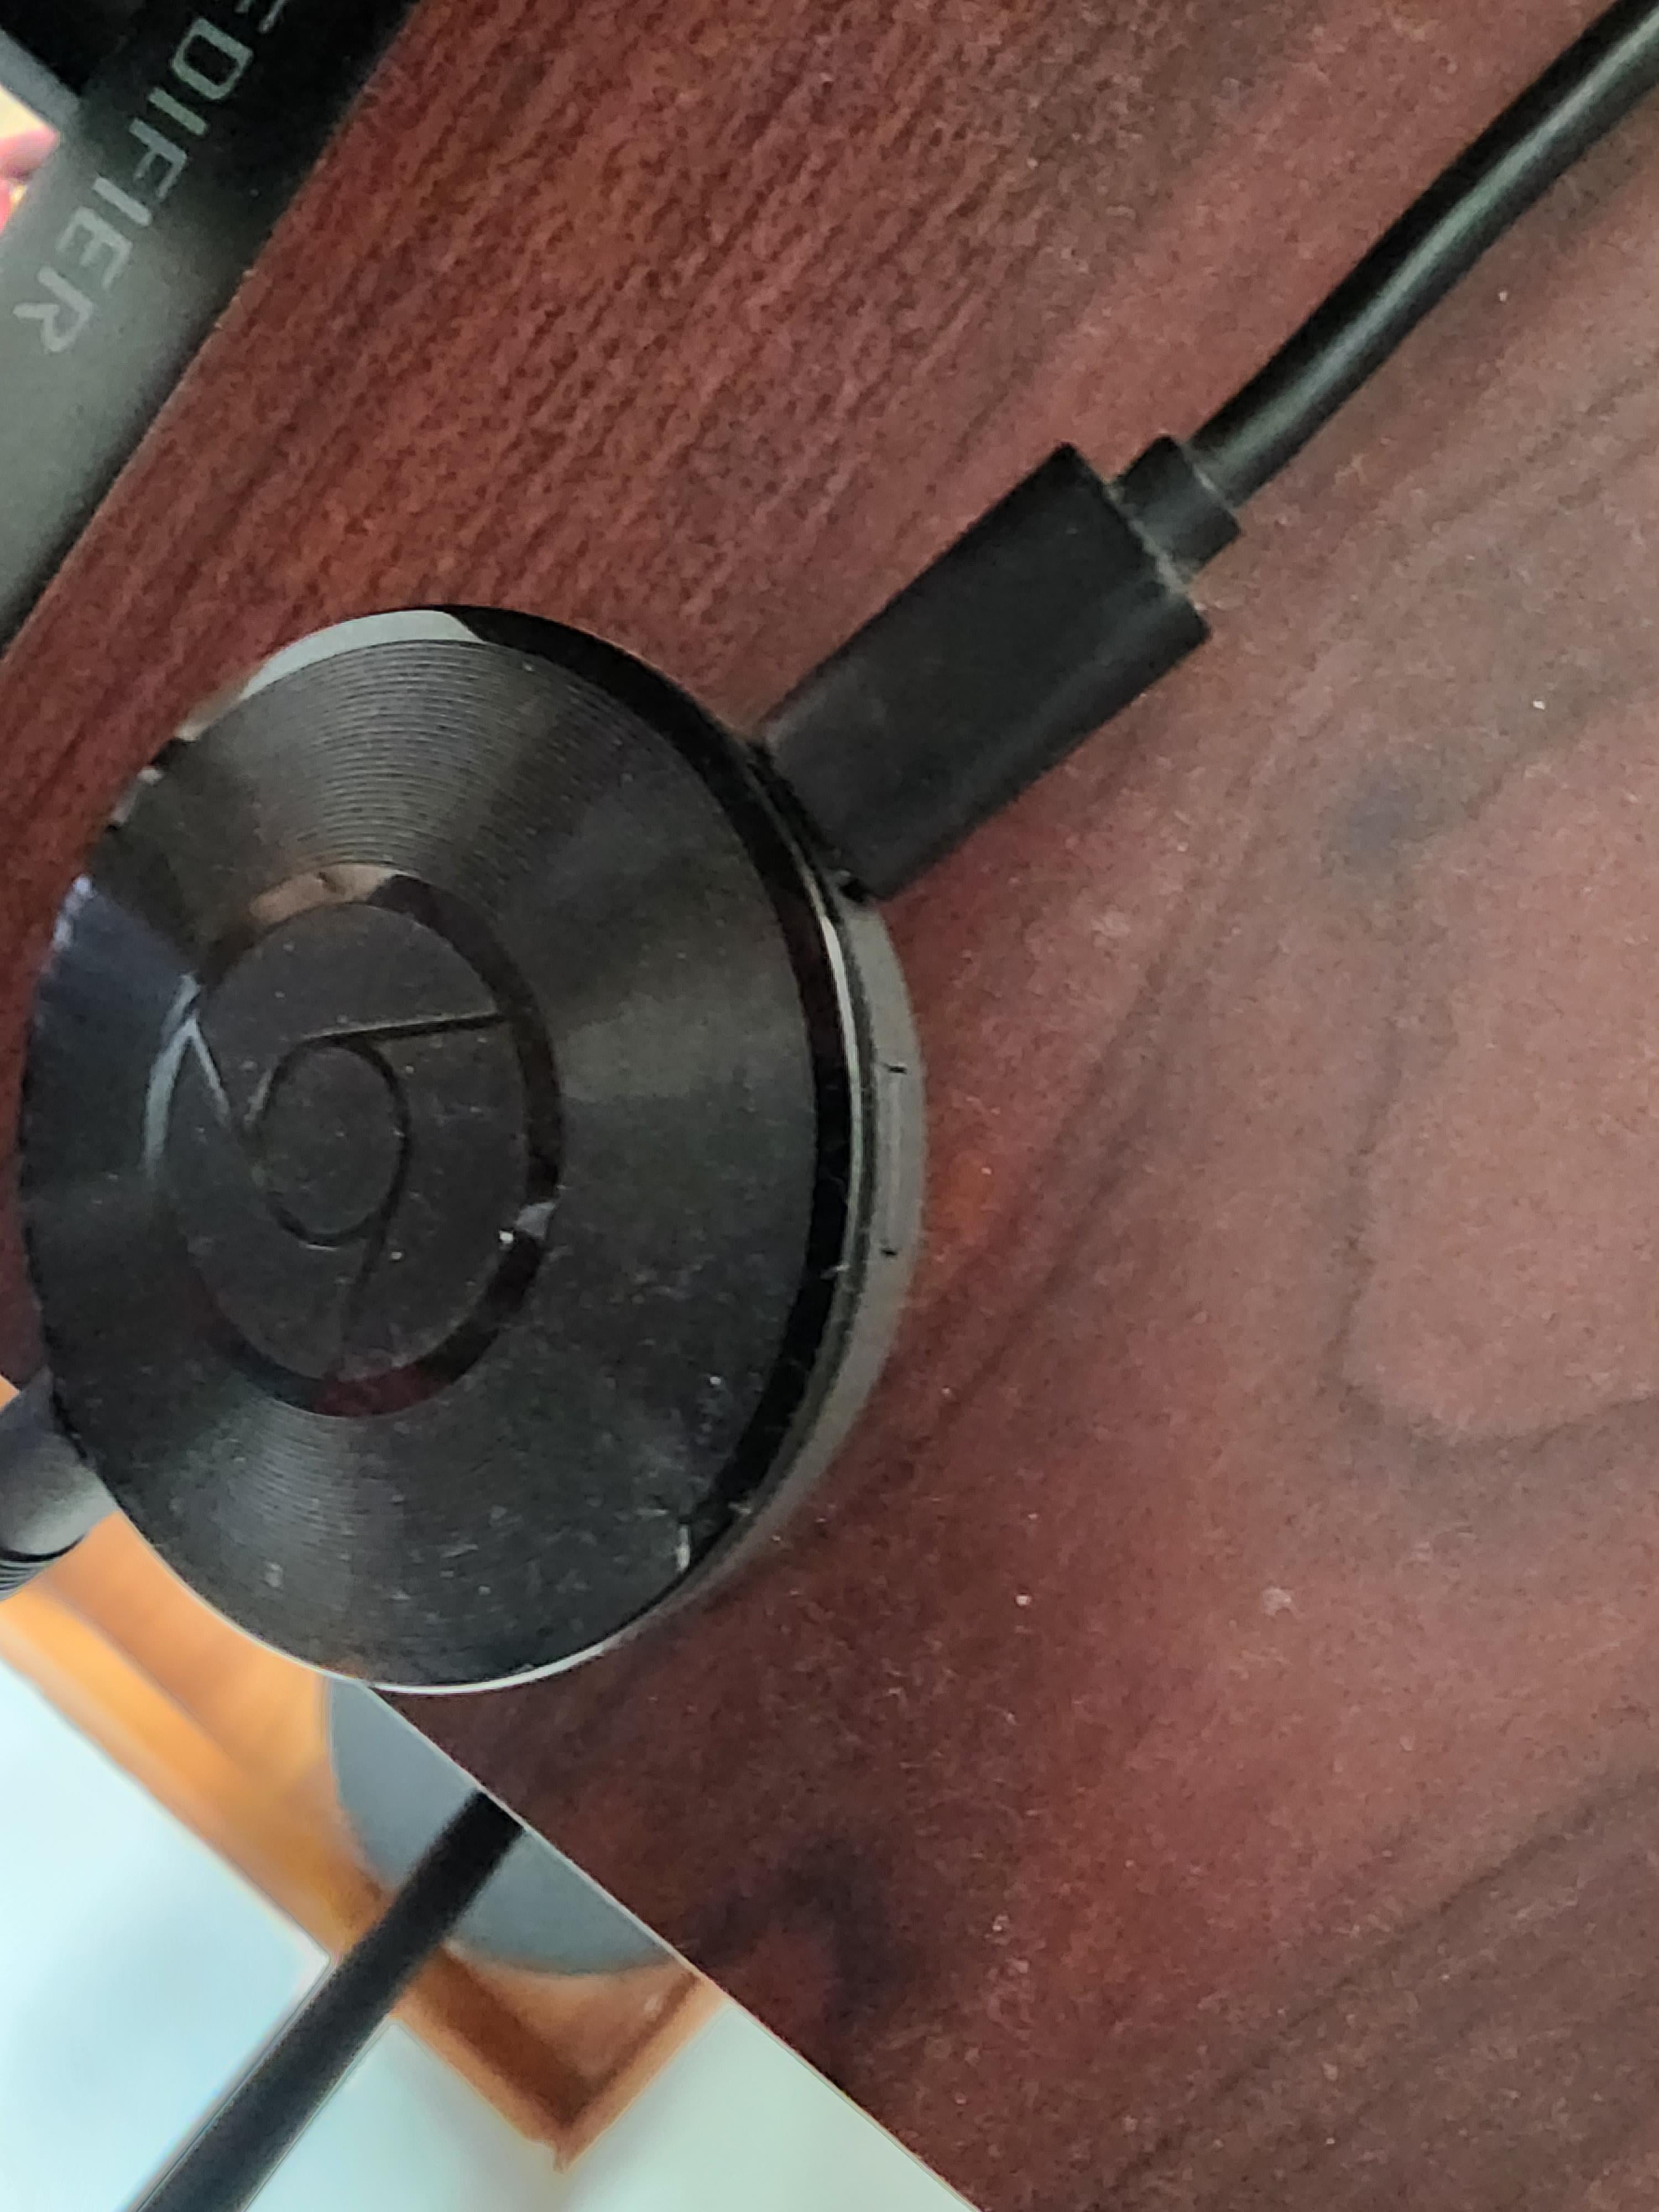
First, I made sure the Chromecast Audio was plugged into a power source. It’s gotta be powered on for this to work, you know? Once that was confirmed, I located the little button on the side of the device. It’s pretty small, so you might need to feel around for it.
With the Chromecast Audio powered on, I pressed and held that button. I kept holding it, and after a few seconds, the LED light started blinking orange. I didn’t let go, though. I kept my finger on that button until the light turned solid white. That’s when I knew the reset process had begun.
- Hold the button on the side of your Chromecast Audio.
- The LED will begin blinking orange.
- Continue holding the button until the LED turns solid white.
- Release the button.
Once I released the button, the Chromecast Audio restarted itself. It took a couple of minutes for it to reboot and go through its setup process again. I just patiently waited it out, occasionally checking the light to see if it had changed.
After the restart, I had to set up the Chromecast Audio again, just like I did when I first got it. I grabbed my phone, opened the Google Home app, and followed the on-screen instructions to add the device. It was pretty straightforward, just connecting it to my Wi-Fi network and all that jazz.
Eventually, the app confirmed that the Chromecast Audio was successfully set up. I tested it out by casting some music, and voila! It worked perfectly. The connection issues were gone, and I was back to enjoying my tunes without any hiccups.

So, yeah, that’s how I factory reset my Chromecast Audio. It wasn’t too complicated, just a matter of holding a button and waiting a bit. If you’re ever having trouble with your Chromecast Audio, give this a try. It might just solve your problems like it did mine.