
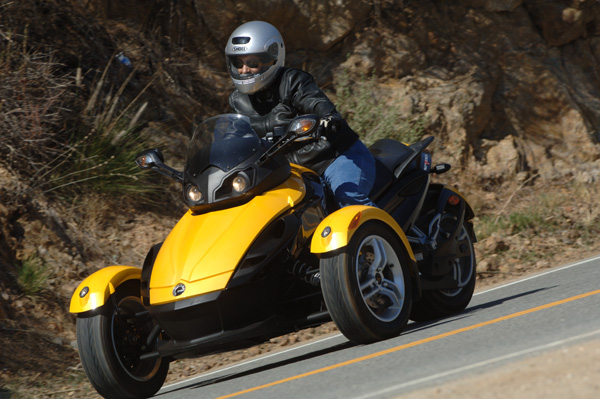
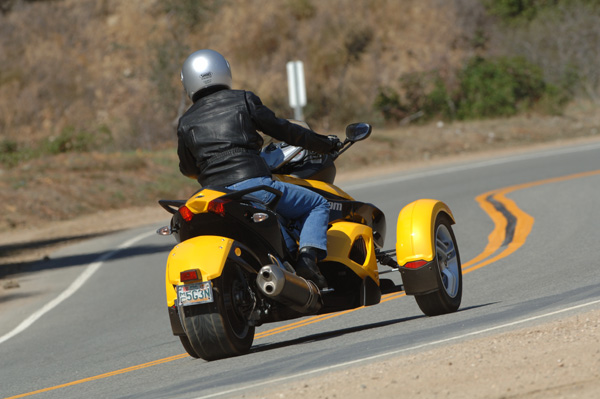
Alright folks, buckle up! Today I’m spilling the beans on my latest contraption: a three-wheeled motorcycle with two wheels up front. Sounds wild, right? Let me walk you through the whole messy, glorious process.

The Idea Strikes
It all started with a nagging feeling. I wanted something more stable than a regular motorcycle, but cooler than a car. The thought of a reverse trike – two wheels in the front, one in the back – just wouldn’t leave my head. I started sketching ideas during my lunch breaks, doodling different frame designs and suspension setups. I knew it wouldn’t be easy, but that’s half the fun, isn’t it?
Gathering the Parts (and the Courage)
First, I needed a donor bike. Scoured Craigslist and found a beat-up old sportbike for cheap. Engine was solid, which was the main thing. Next up was sourcing the front end. This was tricky. Looked at ATV parts, car suspension bits, all sorts of crazy stuff. Finally, I settled on a pair of independent suspensions and steering knuckles from a small off-road buggy. They seemed sturdy enough and the geometry looked promising.
The Chop Shop Commences
This is where things got real. I completely stripped down the sportbike, keeping only the engine, rear wheel, and swingarm. Then, I built a custom frame from steel tubing. This was mostly trial and error. Cut, weld, test fit, repeat. My garage looked like a bomb went off – sparks flying, metal shavings everywhere. My neighbors probably hated me.
Front End Frenzy
Attaching the front suspension was a puzzle. Had to fabricate custom mounts to integrate the buggy suspension with my frame. Spent days measuring, welding, grinding. The steering geometry needed to be spot-on to avoid crazy handling issues. Used a laser level and a whole lot of guesstimation.
Braking Bad
Brakes are kinda important, right? Reused the rear brake from the sportbike. For the front, I adapted a pair of motorcycle calipers to the buggy rotors. Fabricated new brake lines and a custom master cylinder setup. Bled the brakes about a million times to get a firm pedal feel.
Bodywork Blues
Okay, I’m not gonna lie, the bodywork is still a work in progress. I’m aiming for a Mad Max meets cafe racer vibe. Using fiberglass and some sheet metal, shaping the panels by hand. It’s messy, itchy, and takes forever. Sanding is my least favorite activity, but hey, gotta make it look decent, eventually.
First Ride Jitters
Finally, the moment of truth. Rolled the beast out of the garage, fueled it up, and fired it up. It roared to life! Idle was rough, but it was ALIVE! Put on my helmet, took a deep breath, and eased it into first gear. It wobbled a bit at first, but quickly straightened out. The steering was surprisingly responsive. Acceleration was… brisk! Handled way better than I expected.
Ongoing Tweaks
It’s not perfect, not by a long shot. Still needs tuning, bodywork refinement, and a proper paint job. But it runs! It turns! It stops! And it’s a total blast to ride. This project has been a rollercoaster of frustration and triumph, but I wouldn’t trade it for anything.
Lessons Learned
- Welding skills are essential. Practice, practice, practice.
- Measure twice, cut once (or in my case, measure five times, cut twice, and still mess it up).
- Don’t be afraid to experiment. The best ideas often come from unexpected places.
- And most importantly, never give up. Even when you’re staring at a pile of scrap metal, remember why you started in the first place.
Thanks for following along on this wild ride. Stay tuned for more updates as I continue to refine my three-wheeled monster. Ride safe (or at least try to)!