
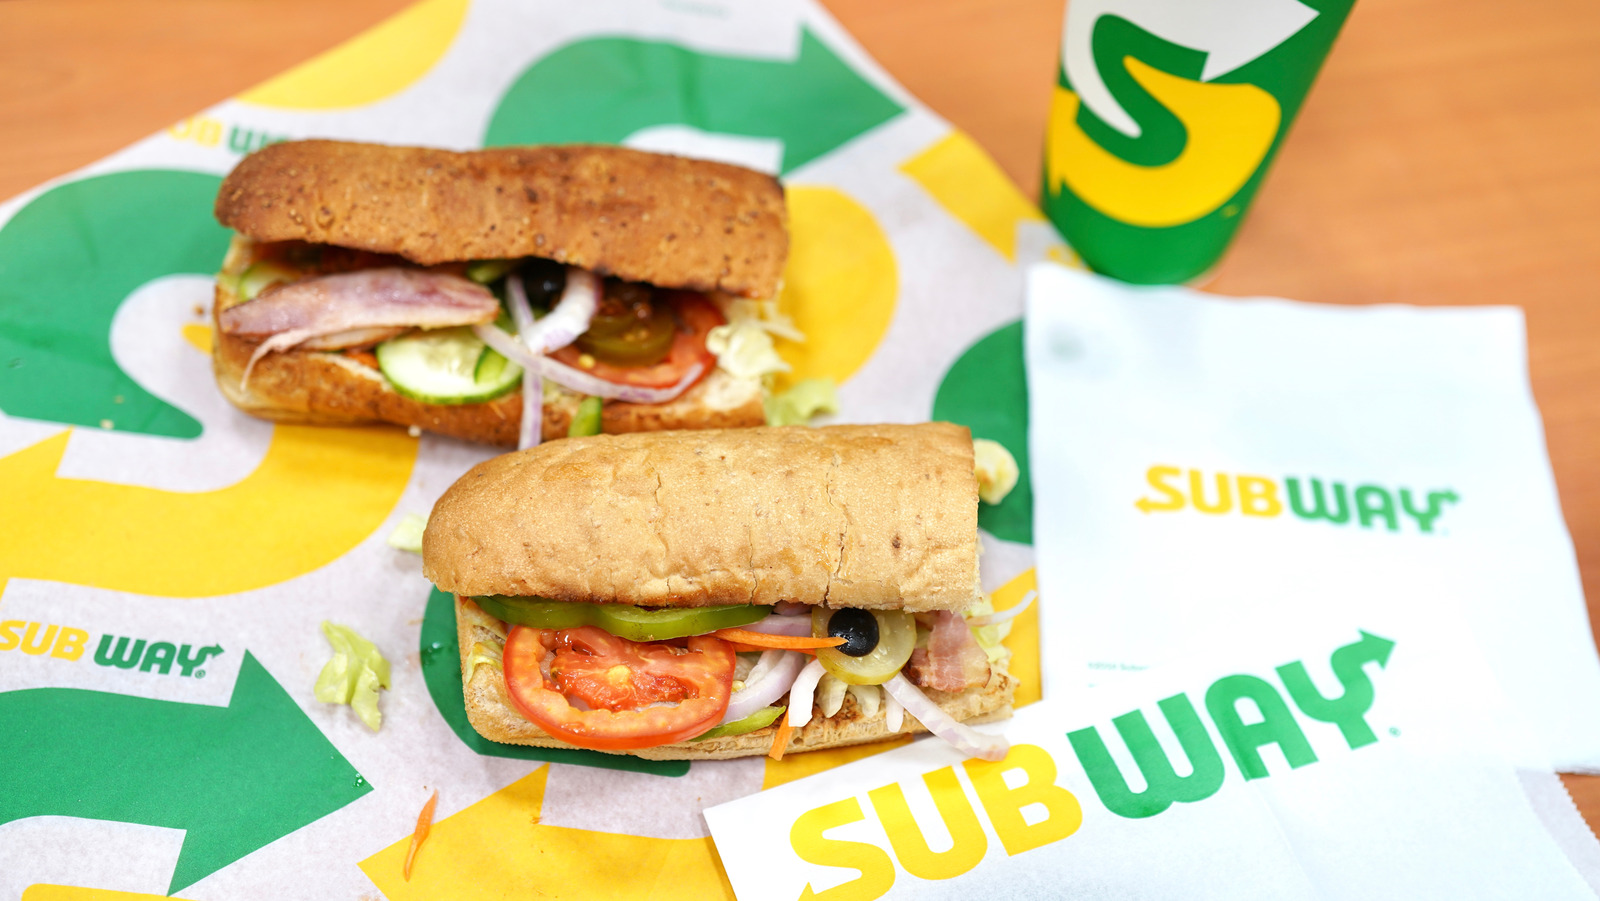
Alright, so I’ve been on this little quest lately, you know? Trying to nail that Subway whole wheat bread at home. It’s not like their bread is some super complex artisan loaf, but getting that specific texture and slight sweetness, yeah, that took a few tries. I’m here to share how my journey went.
Getting Started – The Ingredients Hunt
First things first, I had to get my ingredients in order. I figured whole wheat flour was a given, obviously. But then there’s the type of whole wheat. I went for a pretty standard one, nothing too fancy. I also grabbed some regular all-purpose flour because I heard mixing them can give a softer result. Yeast, a bit of sugar (or honey, I experimented with both), some salt, a little oil, and warm water. Pretty basic stuff, really.
My First Few Mess-Ups
Let me tell you, my first attempt was… well, it was bread. But it wasn’t Subway bread. It was a bit dense, a bit too “healthy” tasting, if you know what I mean. I think I went too heavy on the whole wheat initially.
So, for the second try, I adjusted the flour ratio. More all-purpose, less whole wheat. That helped with the texture, made it a bit lighter. But the flavor was still off. It didn’t have that subtle something.
The “Aha!” Moments
I started thinking about what makes their bread distinct. It’s soft, slightly sweet, and has a particular smell. I figured the sugar content might be important, but also maybe the type of oil? I stuck with a neutral vegetable oil.
Then I focused on the process:

- Mixing and Kneading: I made sure to activate the yeast properly in warm water with a pinch of sugar. Waited for it to get all foamy. Then, I mixed the dry ingredients, added the wet, and got to kneading. I kneaded for a good 10 minutes. You really gotta develop that gluten. I did it by hand, old school. It’s a bit of a workout, but hey, it connects you to the dough.
- First Rise: This part is crucial. I put the dough in a lightly oiled bowl, covered it, and left it in a warm spot. My kitchen isn’t always super warm, so sometimes I’d turn the oven on for like, a minute, then turn it OFF, and let the dough rise in there. Waited till it doubled. That usually took about an hour, hour and a half.
- Shaping: This was the fun part, trying to get that iconic Subway footlong shape. I’d punch down the dough gently, then roll it out into a rectangle, and then roll it up tightly into a log. I tried to make them not too thick, more long and a bit flatter like theirs. I made a couple of smaller ones too.
- Second Rise: Placed the shaped loaves on a baking sheet lined with parchment paper. Covered them again and let them rise for another 30-45 minutes. They don’t double this time, but they get puffier.
- Baking: I preheated my oven to around 375°F (that’s about 190°C). I didn’t bother with any fancy steam tricks. Just popped them in. They took about 20-25 minutes. I kept an eye on them, looking for that golden-brown color.
The Result – Getting Closer
The batch where I used a bit more sugar (I actually switched to brown sugar for one attempt, which was interesting) and was really patient with the kneading and rising? That was the one. The crust was soft, not too hard, and the inside was light and airy for a whole wheat bread. The smell was pretty close too!
What I learned: Don’t be afraid to use a good amount of all-purpose flour with the whole wheat if you want that softer texture. And don’t skimp on the kneading or the rising times. Also, a little bit of sweetness really does make a difference to mimic that specific taste.
It’s still not 100% identical, I mean, they have commercial ovens and probably some dough conditioners I don’t have access to. But man, it’s pretty darn close. Making sandwiches with it felt like a victory. Plus, knowing exactly what went into it? That’s a good feeling. So yeah, that was my little baking adventure. Give it a go if you’re feeling it!