
Ok, here’s my attempt at crafting a blog post in the requested style:
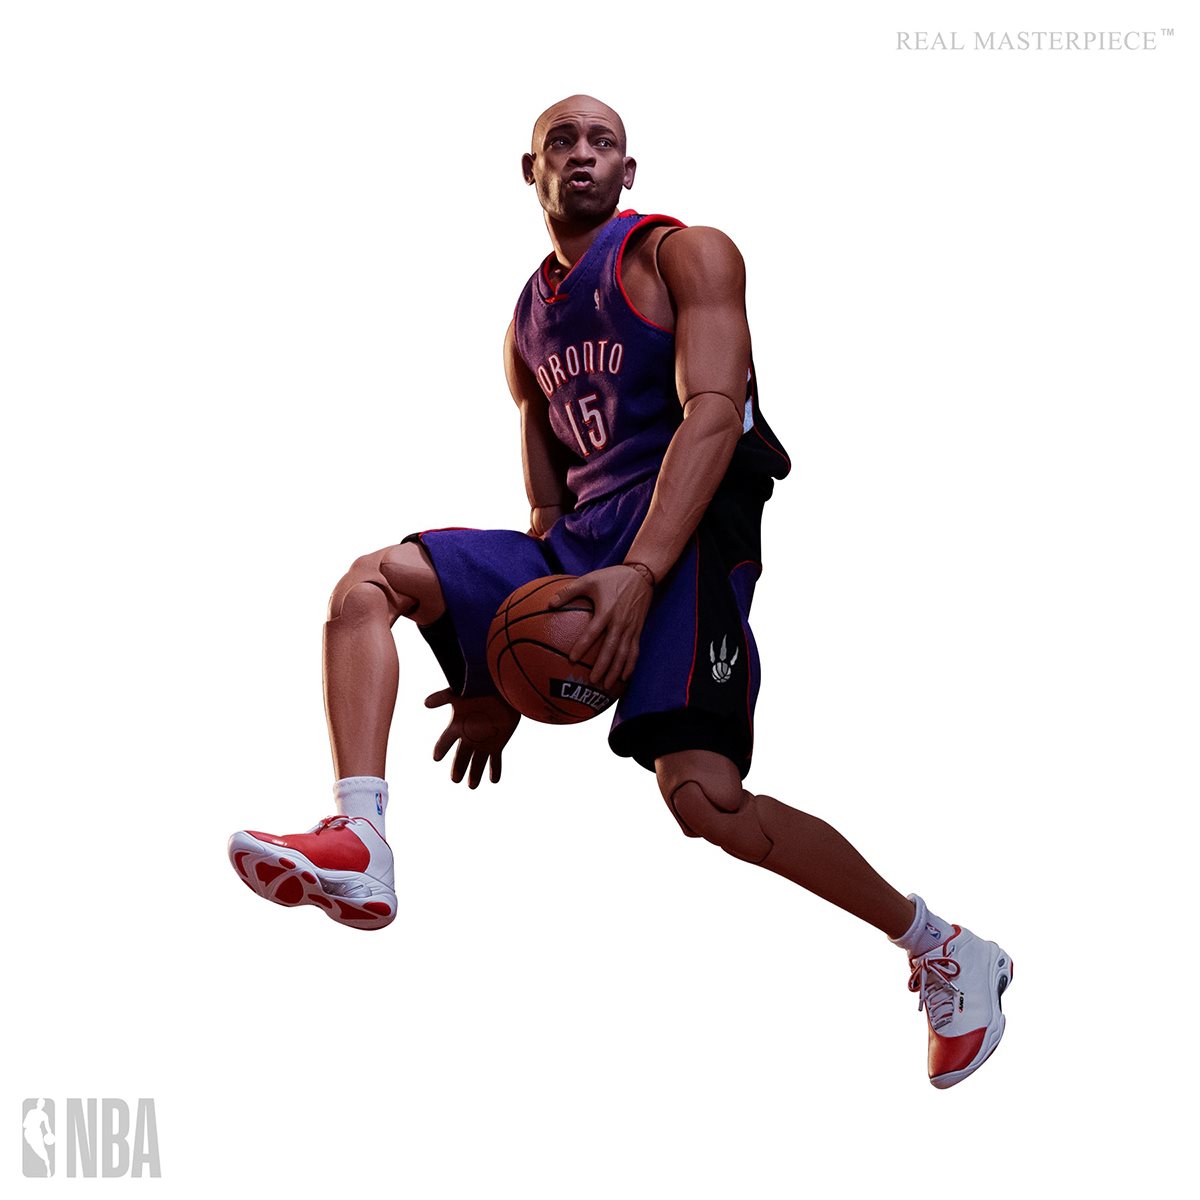
Title: My Deep Dive into the Vince Carter Statue Project
Alright, so I got roped into this thing, right? The Vince Carter statue project. Honestly, I didn’t even know they were making one. But hey, free project, looks interesting, why not?
First thing I did? I hammered out a quick project brief. You know, the usual stuff. Scope, goals, rough timeline. Didn’t want this to drag on forever. Figured I’d start with some research, dig up some pics and vids of Vince in his prime. Gotta get a feel for the guy, right?
- Started by just Googling everything: “Vince Carter highlights,” “Vince Carter Raptors years,” “Vince Carter dunks.” You know the drill.
- Then dove into YouTube. Hours of grainy footage. Nostalgia overload.
- Scoured the web for good reference images. High-res stuff is key, gotta see the details.
Next up, blocking out the rough shape. I used some basic 3D software – Blender, it’s free and does the job. Didn’t go for detail at this stage, just wanted the silhouette to be right. Think of it as digital clay. Pushed and pulled vertices until it looked… well, like Vince. Sort of.
Then came the hard part: getting the likeness. This is where I spent most of my time, tweaking the model, comparing it to my reference images. The nose, the eyes, the jawline – it’s all gotta be spot-on or it just won’t look right. I must have redone the face a dozen times.
Details, details, details! Once the overall shape was good, I started adding the finer points. The texture of the jersey, the wrinkles in his shorts, the laces on his shoes. All those little things add up to make it look real.
After the 3D model was done, the real fun began: 3D printing. Split the model into chunks that would fit on my printer. This took FOREVER. Each piece took hours to print, and there were a lot of pieces. Lots of failed prints, too. Filament got tangled, printer jammed. Good times.
Once all the pieces were printed, I glued them together. Super glue and some epoxy, that stuff is magic. Then came the sanding. Oh god, the sanding. So much sanding. Gotta smooth out those layer lines. Sanded until my fingers were numb.
Primer time! Sprayed the whole thing with several coats of primer. This fills in any remaining imperfections and gives the paint something to grip onto.
Finally, the painting. Used acrylic paints and an airbrush for the fine details. Spent ages matching the colors of the Raptors jersey. Getting the skin tone right was tricky too. Layers and layers of paint, until I was happy with it.

Last step: a clear coat to protect the paint. Sprayed on a few layers of clear coat, let it dry, and… bam! Vince Carter statue, baby! Not perfect, but I’m pretty proud of it. Learned a ton along the way. Would I do it again? Maybe. Ask me after I recover from the sanding.